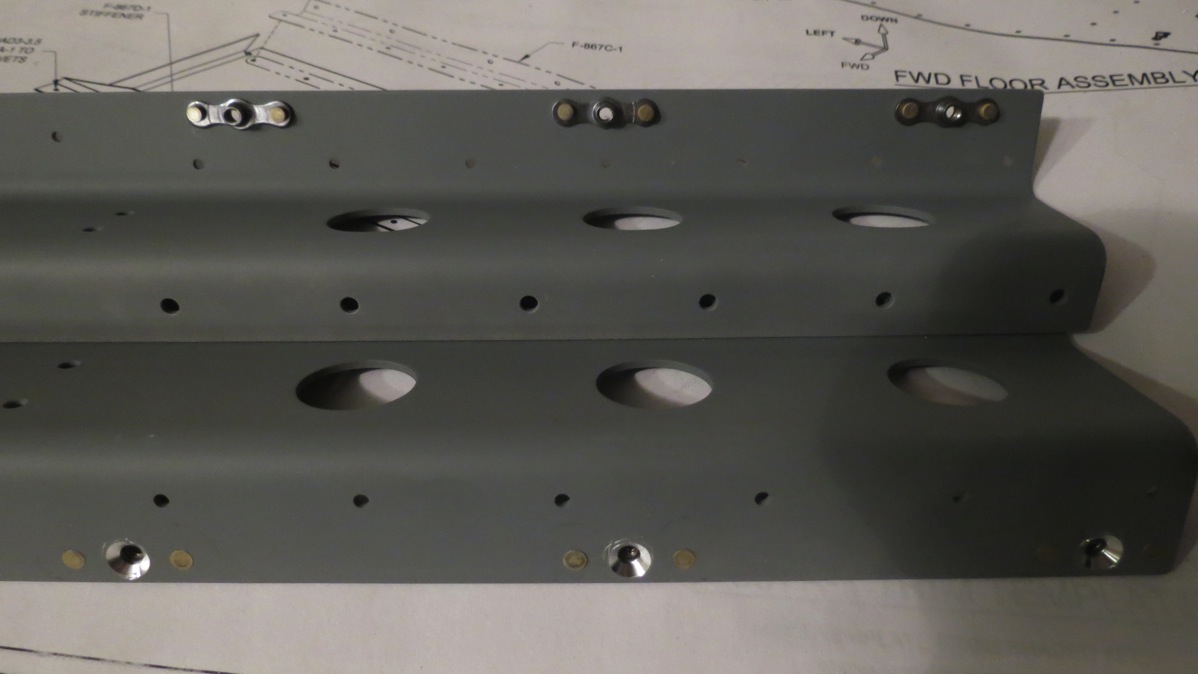
Deburred/bent firewall

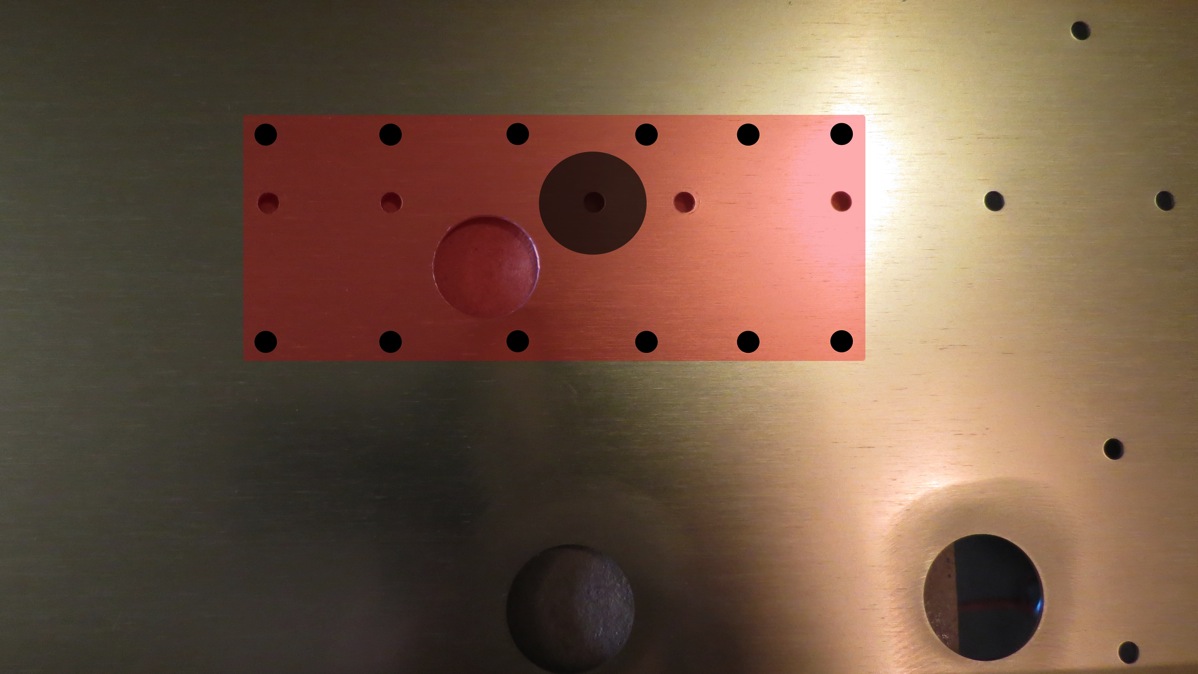
Short session tonight, mostly cause I’m tired. I pulled all the angle/reinforcement pieces back off the firewall again, deburring the rivet holes as I went. Nest up was deburring the rivet holes in the firewall itself. Most of these – that is, the prepunched holes I match drilled –  were pretty straightforward, but the 1/4” holes I drilled for the rudder mounts were truly ugly. I’m not even sure you can call what I had on those holes a burr, it was more like a lip. So instead of just hitting those with the deburring tool, I manually sanded them down the the Dremel and flap wheel, ran the 1/4” bit through them again to ensure they were still sized OK, and finished the the deburring bit.

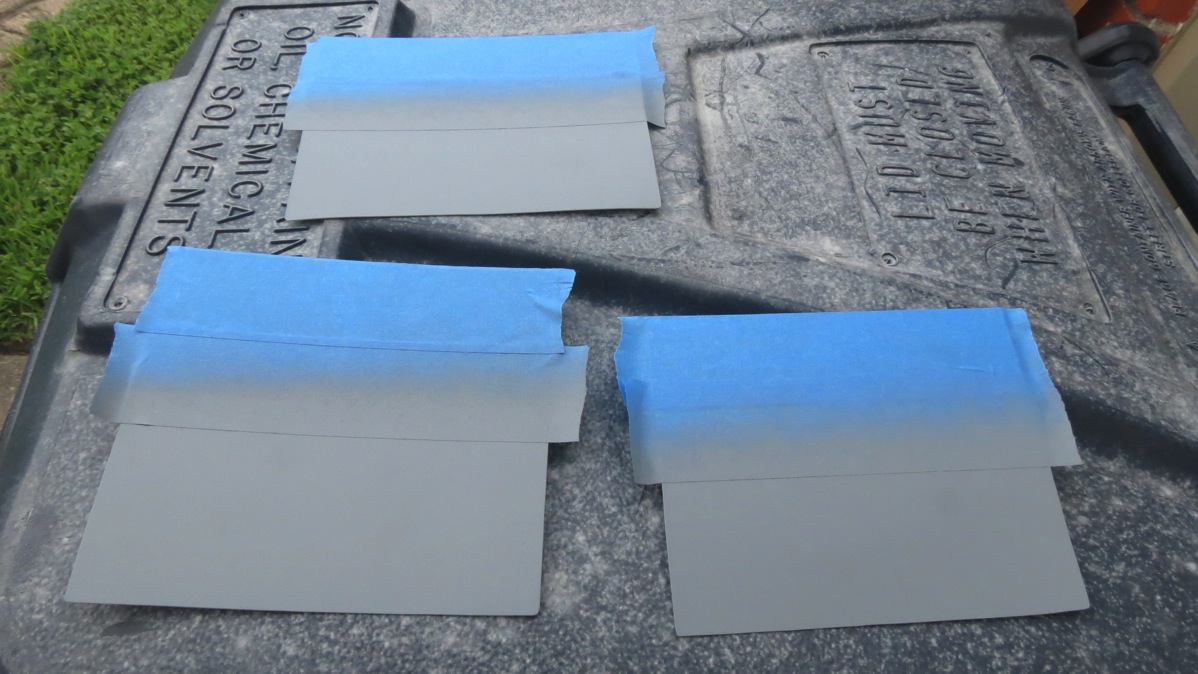
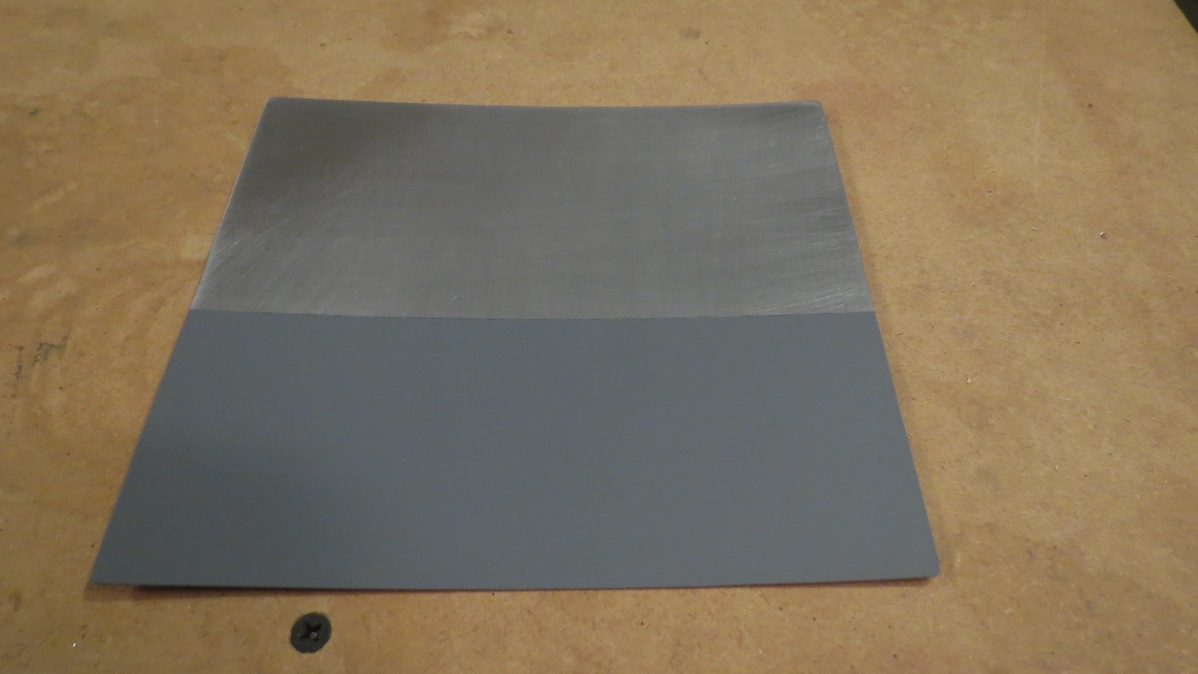
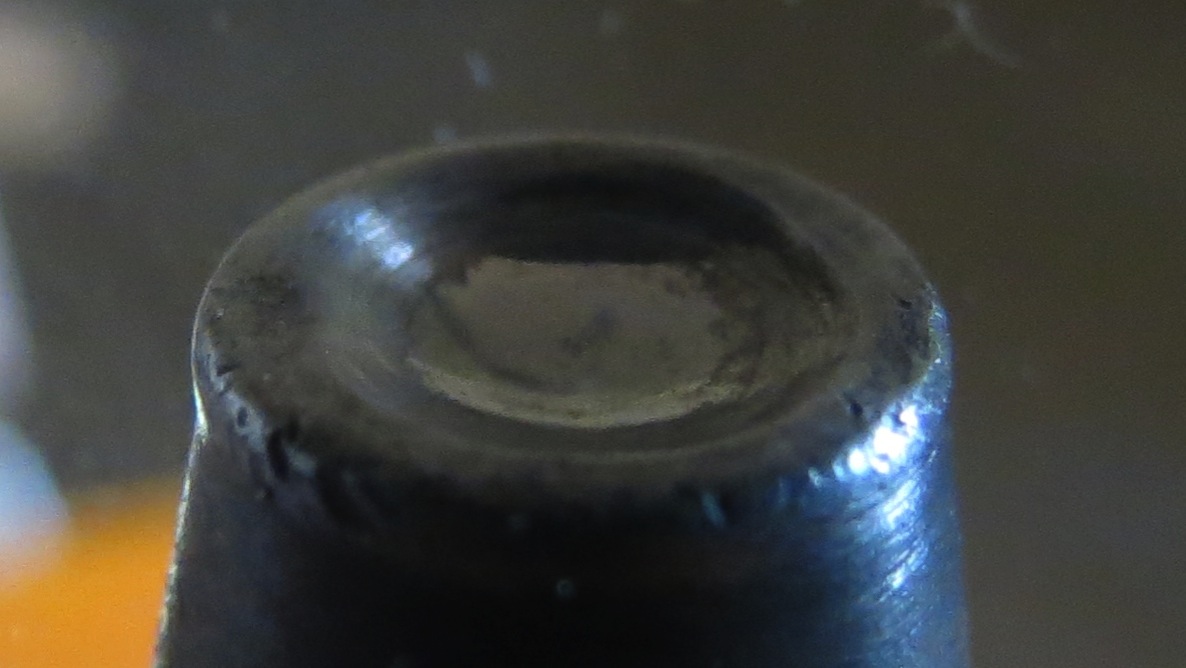
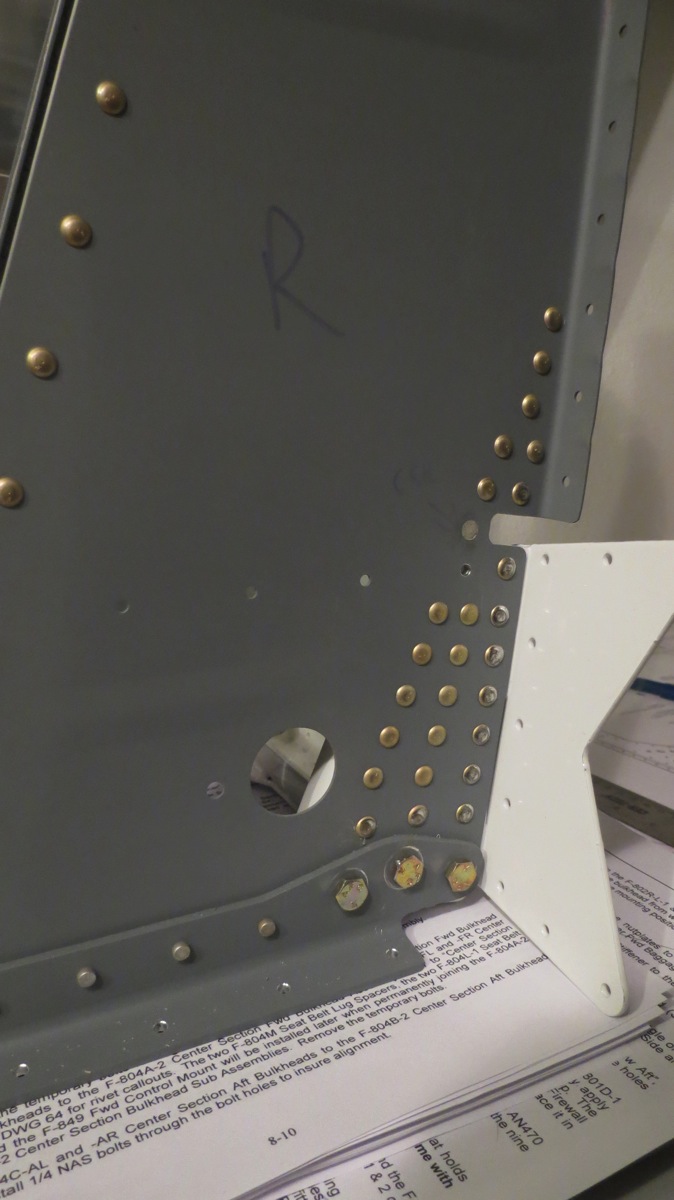
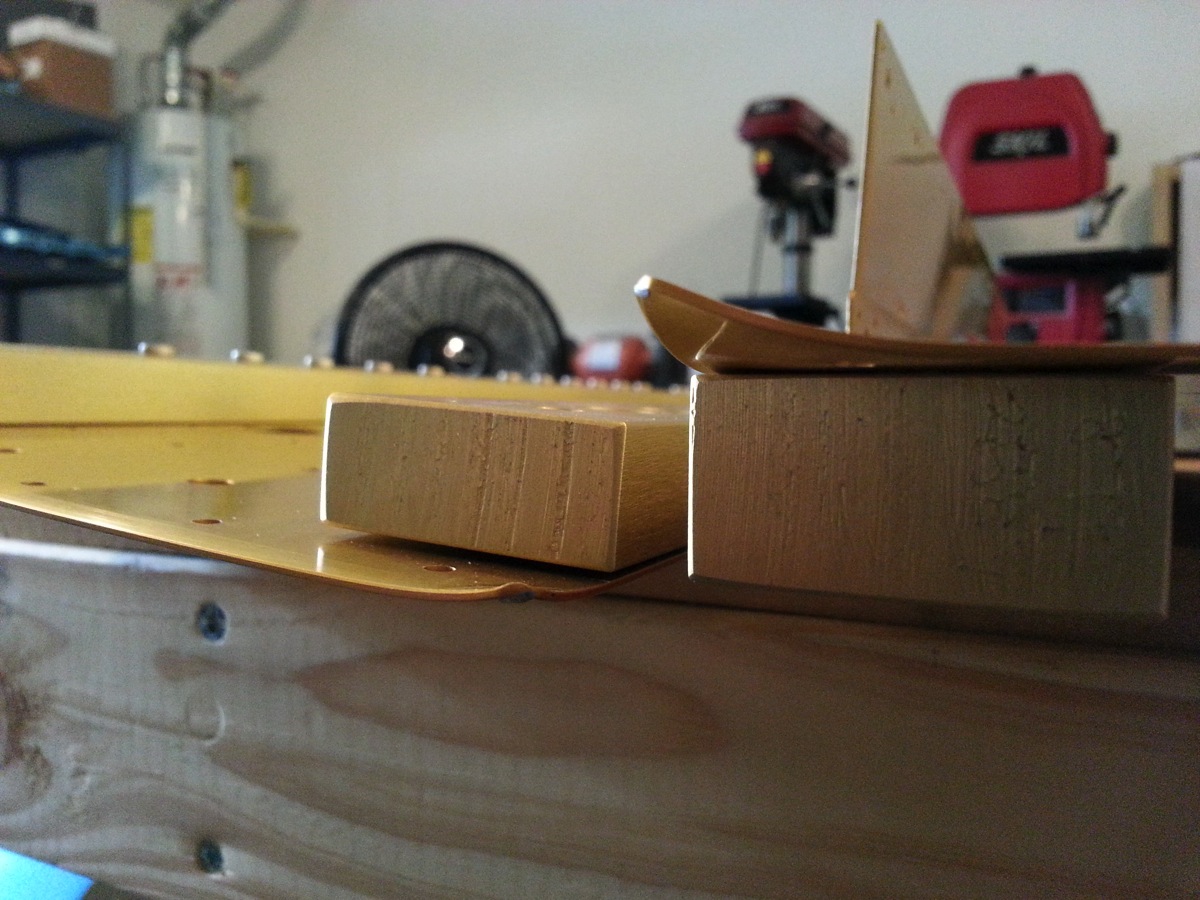
The last order of business was to put a required bend in the firewall. The upper portion is bent eight degrees forward, I believe to facilitate a better fit with the cowling. The instructions are pretty useful here, providing a good method. I used my digital level to gauge the bend, which was really easy. Compared to the aluminum sheet I’m used to bending, the stainless is pretty soft and doesn’t have a lot of springback. It was pretty easy to get an acceptable bend:

IMG 5745

IMG 5747

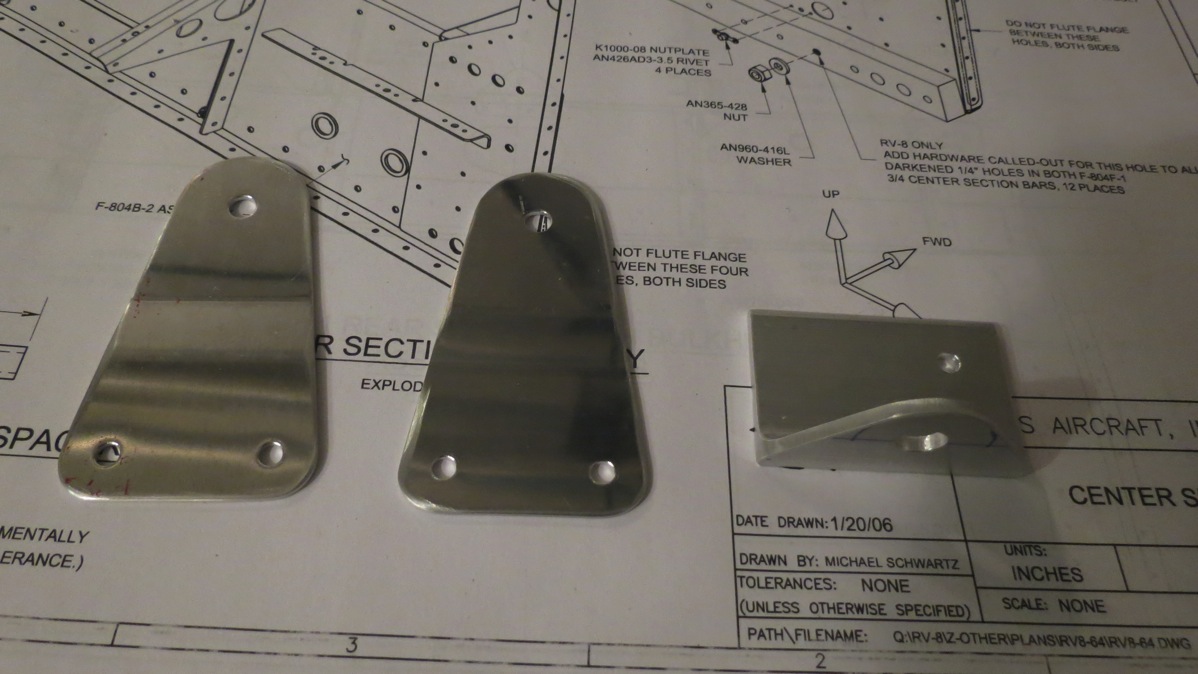
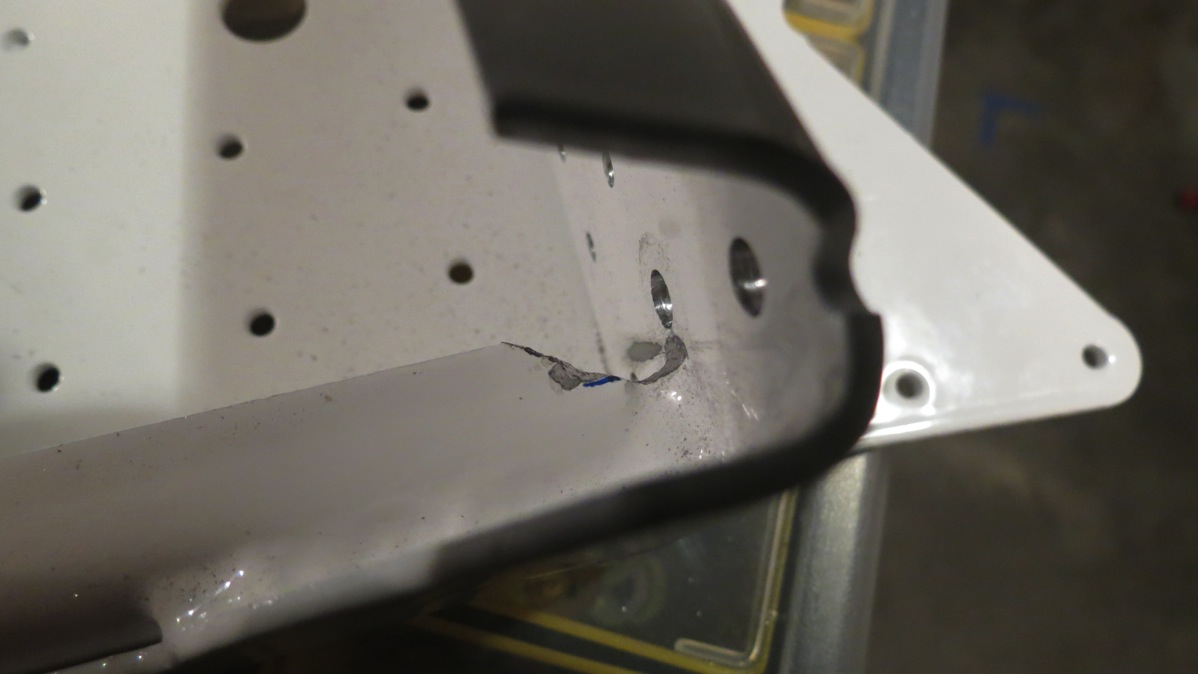
IMG 5748

Next up is a whole bunch of dimpling and countersinking. Seems like this firewall assembly should be together in no time!

Posted in Fuselage | Hours Logged: 1.5

Firewall prep and match drilling

While I’m waiting on my stuff from Spruce to arrive so I can red rill the inboard flap hinges, I went back to work on the firewall. Most of my time tonight was spent deburring all the angles and stuff; the angles themselves are pretty complex, with lots of little nooks and crannies, so they were a bit tedious. And then there was smoothing the edges on the firewall itself. That piece is stainless steel and that stuff is kind of tough. I used a brand-new flap wheel in the Dremel and the wheel was pretty much toast by the time I was done.

Then I clecoed all the angles, engine mount weldments, and reinforcements in place, and went to town match drilling. The match drilling went pretty well; I was expecting it to be tough based on how tough the deburring was. That gave me a bit of a false sense of security; the next task was to drill two 1/4” holes through the firewall, which will presumably be used for mounting the adjustable rudder pedal assembly. Turns out there’s a big difference between slightly enlarging an existing hole and making a new (and large) one from scratch. Even using lots of lube, it took some time to get through the stainless.

Here’s the firewall assembly after match drilling:

IMG 5743

Tomorrow I get to take all that apart again and do lots and lots more deburring…I bet deburring the stainless is going to be fun too. I wonder if I have spare deburring bits around, I might need a new one after tomorrow!

Posted in Fuselage | Hours Logged: 2.5

Hung both flaps temporarily

Wasn’t quite as productive as I’d hoped to be today, thanks to other stuff to do around the house, but I still managed to wrap up work on the flaps. Well, almost…more on that later.

This time, we flipped the left wing out of the cradle and onto the workbench. Lined everything up, clamped the flap in place, and went to town drilling. All in all, it went pretty quickly, as things always seem to do the second time around. I didn’t get any photos of the process this time, but I did take some gratuitous garage dog photos, so you get to enjoy those:

IMG 5725

IMG 5727

After finishing up the drilling and getting the wing back in the cradle, I cut and bent the hinge pins for the left flap, then moved on to installing the nutplates for the hinge pin retainer clips. Pretty straightforward stuff, though working with the flap brace in place made access interesting. I tried one solid rivet on the first nutplate, had it go badly, and summarily decided to use flush blind rivets instead:

IMG 5730

IMG 5734

Unfortunately, I ran into a problem here. When I removed the wing-side hinge halves from each wing, I found that the rivet holes on the inboard end did not have sufficient edge distance. With the flap aligned to the aileron, there’s a very slight angle between it and the wing, so the rivet holes slightly crooked on the hinge, and they’re closest at the inboard end. I need to have 3/16” edge distance here (from the center of the hole), and I’m significantly under that. The calipers in this photo are set to 3/16”, showing the issue:

IMG 5732

This seems to be a common issue for builders; my bit of research ran across lots of instances. It’s common enough that there’s an accepted solution: replace the hinge half with a wider piece. The provided hinge material is 1.25” wide, so I’ll just order some 1.5” material. About the only downside is that it’ll probably be too wide to fit inside the flap brace, so I expect I’ll have to trim it some. I’ve been meaning to start up an Aircraft Spruce wish list for a while now, looks like I’ll be making my first order sooner than I thought.

Anyway, despite the hinges being subpar, I clecoed them back in place and went ahead and mounted both flaps. Mainly this is just for storage purposes; seems better than finding somewhere to lay them:

IMG 5736

IMG 5738

So I guess I’ll get back to work on the firewall until I get some goodies from Spruce.

Posted in Flaps, Wings | Hours Logged: 3.5

Garage cleanup, right flap mounting

As alluded to yesterday, the garage was in a horrible state after the whole right flap fiasco. Even in the best of times I have a tendency to just leave tools out as I finish up with them, even when I quit of the day. (“in case I need them again later”) It’s even more pronounced when things don’t go well; I used lots of various tools while dealing with the right flap issues, and they were all left strewn about. I’d also been meaning to do a larger-scale garage cleanup and reorganization, oriented towards getting things laid out to make room for fuselage work. Since the weather had turned nice by noon, I opened the garage door, rolled the wings out in the driveway, and got to work cleaning up.

The new arrangement puts the wings out of the way in one corner, with the second workbench up against another wall. The first workbench still lives out in the open, but even so, that leaves the major it of one garage bay wide open for whatever I’m working on at any time:IMG 5710

IMG 5711

The cleanup took a few hours, and once it was done, I shut the garage for, turned on the A/C, and went inside for a bit to cool off. It was already up in the high 80s today…gotta love Houston. Once I got back to work, I started planning on how to get the flaps hung. The first thing I needed to do was to take the wing side hinge half for each flap and remove a couple eyes in the middle, where the hinges are split. This setup will result in each flap having two hinge pins, which will be removed towards the center of the flap.

The scrap bits I cut out of those hinge halves got turned into the clips that will retain the ends of the hinge pin pairs. Each retainer is just two pieces of hinge material riveted together, with a center hole where the retainer will attach to the flap brace. More on how this works later…

IMG 5713

Next, I clecoed the bottom skins onto the right wing. These are needed to position the flap brace correctly, which is in turn necessary to drill the hinge properly. The fun part here is that the flap brace doesn’t quite naturally line up with the trailing edge of the skin; it has to be pulled into place slightly when clecoing the two parts together. Problem is, the brace and the skin can’t be clecoed together while drilling the hinge half, since the hinge is drilled in assembly with that same joint. I’d been worrying over how to get this done for a couple weeks, but in the end I hit upon a decent solution. Since I’m doing the split hinge approach, there’s one rivet hole, roughly in the center of the flap, that won’t have the hinge attached to it. So I put a cleco in that hole, which gave me a starting point for aligning all the parts later on:

IMG 5715

Next, I got Josie to come out and help me move the right wing onto a workbench, top side down. I put my aileron alignment jig in place and got the aileron in the neutral position, then clamped on a piece of angle to help align the flap and aileron trailing edges. There’s also a wooden spacer attached to the end of the aileron to help get the proper spacing (1/4”) between the two pieces:

IMG 5716

Then we got the flap lined up in place, clamped it in the center and at the inboard end (about the only places where there’s access to do so), checked the alignment several times, and then I got to drilling. As per usual when drilling hinge like this, I put a cleco in each hole as I went. This also helped to gradually pull the flap brace in alignment as I worked down from the center to each end

Everything drilled and clecoed:

IMG 5718

IMG 5720

IMG 5721

Then I pulled the hinge pin, removed and set aside the flap, and we put the wing back into the cradle. I wasn’t quite ready to quit for the night, so I decided to go ahead and make the hinge pins for the right flap. This was just a bit of trial and error, cutting to length, tapering the ends, bending for proper fit, etc. I finished up by taking a photo with one of the retainer clips loosely in place. Obviously, in practice this clip would be screwed into the flap brace to secure the pins. I’ll deal with drilling that screw hole and mounting the nutplate some other time; I just wanted to illustrate the setup:

IMG 5724

And that really was a good stopping point. Tomorrow we should be able to get the left flap mounted as well, and I’ll probably get the retainer nutplates mounted as well. Pretty soon I’ll be moving on to the fuselage full-time!

Posted in Flaps, Wings | Hours Logged: 5

Right flap done

Fairly uneventful evening, just repeating the work from last weekend, except without ruining any parts this time around. I had one blind rivet through the spar that didn’t set right, and I had to drill it out (CAREFULLY), but that went through with no issues. Beyond that, it was just lots and lots of riveting.

IMG 5706

IMG 5709

The garage is a hilarious mess at the moment. I guess first order of business tomorrow will be tidying up everything. The real question is, what comes next? I still have all the firewall parts lying around, so I’m not sure whether to get back working on the firewall or set that stuff aside and get the flaps hung. Eh, I’ll figure it out in the morning…

Posted in Flaps, Wings | Hours Logged: 2.5

Replacement flap rib prep

Got my shipment from Van’s today, including the replacement for my botched flap rib. After dinner, I retired to the garage to get this thing up to speed. This is a little more complex than many replacement parts like this, because there are no prepunched holes for the reinforcement plate that rivets to the rib. During initial assembly, all this stuff gets carefully drilled in assembly, but I couldn’t really pull that off here. So instead, I used a piece of scrap wood to create a template to transfer to the new rib.

First I used the tooling holes in the old rib to secure it to the piece of wood:

IMG 5699

Next I drilled through a few of the rivet holes into the wood. I stopped at three because all I really care about here is accurately locating the reinforcement to the new rib. Once it’s clecoed in place, I can drill the rest of the holes using the plate as a guide. Completed template:

IMG 5701

The plate fit great, and it didn’t take long at all to get all the holes drilled:

IMG 5703

Then I deburred, dimpled, scuffed, and cleaned the rib, blew it dry with the air gun, and set it aside to dry a bit more for good measure. While waiting for it to dry, I worked on the hinge halves and the flap assembly. Most of the rivet tails from all my drilling out were still in place, so I got to knock all those out. That, in turn, bent up the hinge halves a bit, so I also worked on them a bit to flatten them.

Finally, I went back to the rib and shot primer on it, just working inside the garage door. Not optimal lighting, but it worked fine for a small job like this:

IMG 5705

That’s it for tonight. Tomorrow I start putting all this stuff back together again – hopefully without mucking anything else up…

Posted in Flaps, Wings | Hours Logged: 1.5

Left flap done, right flap undone

Well, this day pretty much covered the full range of aircraft-building emotions. Friday I got in my shipment from Cleaveland, with my two new teeny tungsten bucking bars. These things are tiny (cleco for scale):

IMG 5680

And they worked great inside the flap, as I expected. I knocked out all the rivets to the top skin in about an hour; most of that was working out how to hold the bucking bar. What I ended up doing was adding a wad of tape on one end of the bucking bar, roughly the same thickness as a finished shop head. By doing this, I could just hold the bar against the skin and it would hold itself more-or-less level.

Next I installed the outboard rib and squeezed its rivets, followed by the spar and hinge halves. Installing the blind rivets between the spar and ribs was somewhat challenging due to the overhanging top skin, but I got it done by shortening the blind rivet stems and using my handy little blind rivet angle tool from Avery. And before long, I had a finished left flap:

IMG 5683

So I moved on to the right one. I figured this one would go even faster since I’d worked out my techniques with the left, and I was right…at first. I got the internal ribs and the end rib riveted in place, and installed the spar. Here I inadvertently went a little out of order by riveting the bottom spar flange and the hinge halves before doing the blind rivets to the spar. I didn’t think much of this, but I’d come to regret it later.

It all started when one of the blind rivets, on the inboard end rib, didn’t set correctly. The outside head was sitting proud of the surface by about 1/32”. OK, no worries, I’ll go take care of the rest of the blind rivets and then come back to that one. After all, drilling a rivet out is no big deal, right? Well, not in this case. I got the head popped off the rivet fairly easily, but the rivet shank didn’t want to come out. I kept hitting it with a punch, it’d move a little, then seem to hang up again.

I banged on it for way longer than I should have before stopping to think “maybe something is wrong here.” I reached my fingers through a spar lightening hole, groped over towards the rib…oh boy. I bent the absolute crap out of the rib flange. No no no no no nooooo…I tried to come up with some way to remedy this problem, but I had no ideas that weren’t just totally stupid. I had to make peace with the fact that I was going to have to drill out all those rivets on the spar, remove it, and then remove and replace the rib.

The especially fun part was drilling out the blind rivets in the spar. The ones that were a pain the install because of the skin overhang. I ended up using my angle drill attachment, which worked great until the drill bit snapped. AAARRRHGHGJHLJGKDH:LSJ

IMG 5685

IMG 5687

Fortunately, I had a slightly longer bit that I was able to use, but just barely. Finally, after drilling out all ~60 rivets between the spar flange, skin, and hinge halves, I got a look at the rib. And boy, did I do a number on that thing:

IMG 5688

IMG 5697

Well, it’s been a while since I ordered a replacement part from Van’s. Time to break that streak…

Posted in Flaps, Wings | Hours Logged: 6.5

Deburring firewall stuff

So with the firewall temporarily put together, tonight it was time to rip it all back apart and clean up the angle pieces and such. I had some fitment issues last night that should be helped out by this. I guess I could have match drilled while everything was together, but…umm…I didn’t. I have no real justification for this. Anyway, not much to see here, just a lot of tedious filing and working on the bench grinder. It’s fun to work on the edges of thick alclad pieces like these, and by fun I mean not that much fun. I didn’t get through everything tonight; I still have about half the work on the angles to do, and then I need to work on the firewall edges, before I accidentally slice my hand open on one of those rough edges.

Posted in Fuselage | Hours Logged: 1.5

Firewall prep

My original intention for tonight was to try and make some more progress on finishing the flaps. However, after seeking some advice from other builders, I decided that…wait for it…I should get a new tool to help out here. Specifically, in this case, I’m going to get another tungsten bucking bar, but this time one with a flatter, thinner profile. At 3/8” thick, I think it’ll work well for doing the flap internals and undoubtedly come in handy in other tight spaces down the road.

So instead I broke out the fuselage instructions and started gathering up all the firewall components. When I was putting the fuselage parts away, I remember thinking that I was probably going to spend a fair amount of time searching for parts, and boy was I ever right about that. I think it took me about 40 minutes to find all of the various angle pieces, reinforcements, and weldments that will attach to the firewall.

While working with all those parts, I ran into another of those odd building moments. In this case, the very first step for the fuselage is to remove a little tab on each of the side reinforcement angles, as shown below:

IMG 5677

Why is this tab even there if it’s to be removed? I can only assume that it’s somehow vital to the process of manufacturing the parts, but it sure seems odd.

Anyway, after handling little mundane tasks like that, I went ahead and clecoed together the entire firewall assembly. Technically this is skipping a step, namely deburring some of this stuff beforehand. In particular, the stainless steel firewall needs a good deburring – those rough edges feel like they could do some damage if I were to get inattentive while working with them. But seeing as how the firewall assembly looked kind of complex in the plans, I figured I’d go ahead and get a look at how it all went together:

IMG 5679

And that was it for the night. My new bucking bar won’t be in until Friday, so the flaps are on hold until then. So I’ll just keep rocking on the firewall, which seems like it’ll take a little while. There are tons of holes in this thing, and not all of them can even me match drilled at this point, since they’ll presumably fit along with other stuff down the road.

It’ll only get more complicated from here…

Posted in Fuselage | Hours Logged: 1.5

Nine rivets

Yes, that’s right, in an hour and a half in the garage we shot a grand total of nine rivets. Working inside these flaps is no fun at all. We started out finishing up the bottom skin rivets; most of those I did solo, but the ones at the trailing edges of the ribs require two hands to buck. Those weren’t so bad, unless you count me needing to have my fingers right between the bucking bar and the table, which made shooting the rivets a bit painful.

Then we flipped the flap, clecoed the top skin holes, and I started trying to figure out how in the world to buck those things. I didn’t have the top skin clecoed while I was doing the bottom rivets, so it was easy to lift the bottom and get some extra room to work. Not only was that luxury gone, but I also had the downward-curving part of the top skin blocking my access. I could barely even get my hand inside the flap at all, much less actually hold a bucking bar.

After much thought, I created a pretty hilarious redneck-engineered solution. I used a spare flap rib to cut a piece of wood at an angle matching the angle between the flap skins. Then I taped that wedge to my mini tungsten bucking bar, and finally I taped a paint stirrer stick to that assembly so I could hold it in place.

The final product:

IMG 5672

IMG 5674

IMG 5670

This setup allowed me to just rest the thing on the bottom skin, butt it against the rivet tail, an then just apply forward pressure while Josie operated the rivet gun. As the shop head formed, the bucking bar slide forward to keep striking the tail. It actually ended up working far better than I expected, and we made four beautiful rivet tails in no time.

I’d hoped to use that same device on the next line of rivets forward on the flap, but with more space to deal with, the bucking bar didn’t align correctly, and the tail of the rivet got mauled. So I decided to go ahead and call it a night after drilling that rivet out. I’m going to seek advice from VAF just to see if anyone has any other great ideas. My tool idea works well, but it’s rather painstaking since it seems I’d have to remake the tool for each row of rivets. But I guess if that’s what it takes…

Posted in Flaps, Wings | Hours Logged: 1.5