As alluded to yesterday, the garage was in a horrible state after the whole right flap fiasco. Even in the best of times I have a tendency to just leave tools out as I finish up with them, even when I quit of the day. (“in case I need them again later”) It’s even more pronounced when things don’t go well; I used lots of various tools while dealing with the right flap issues, and they were all left strewn about. I’d also been meaning to do a larger-scale garage cleanup and reorganization, oriented towards getting things laid out to make room for fuselage work. Since the weather had turned nice by noon, I opened the garage door, rolled the wings out in the driveway, and got to work cleaning up.
The new arrangement puts the wings out of the way in one corner, with the second workbench up against another wall. The first workbench still lives out in the open, but even so, that leaves the major it of one garage bay wide open for whatever I’m working on at any time: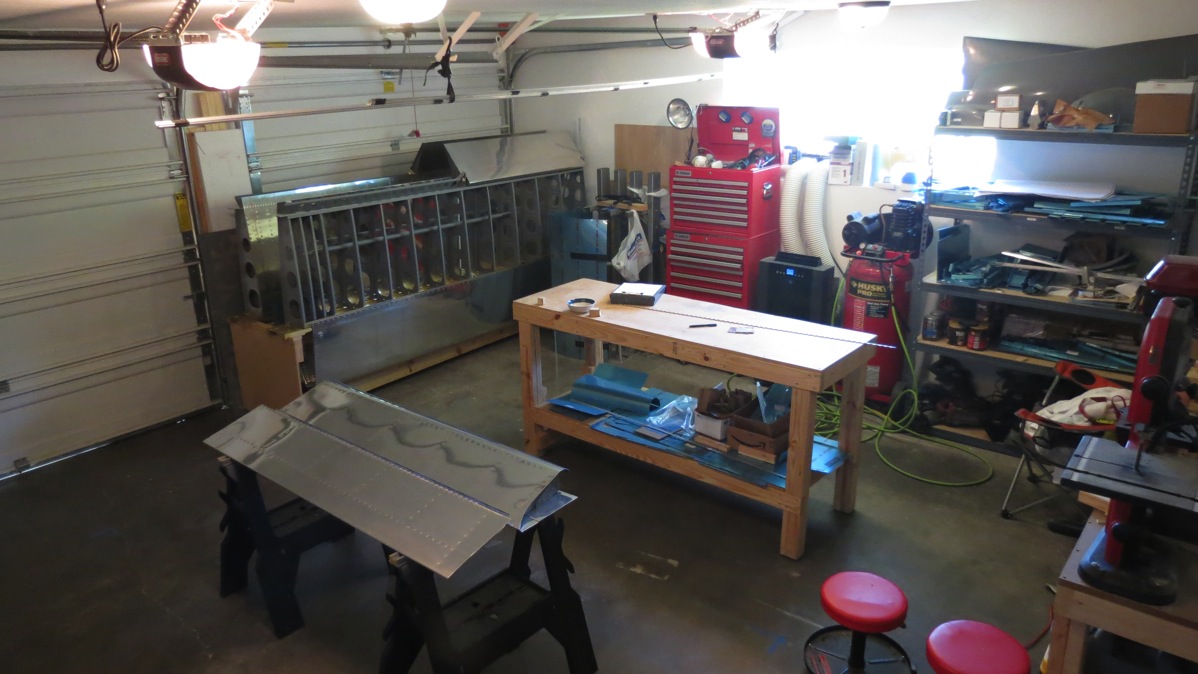
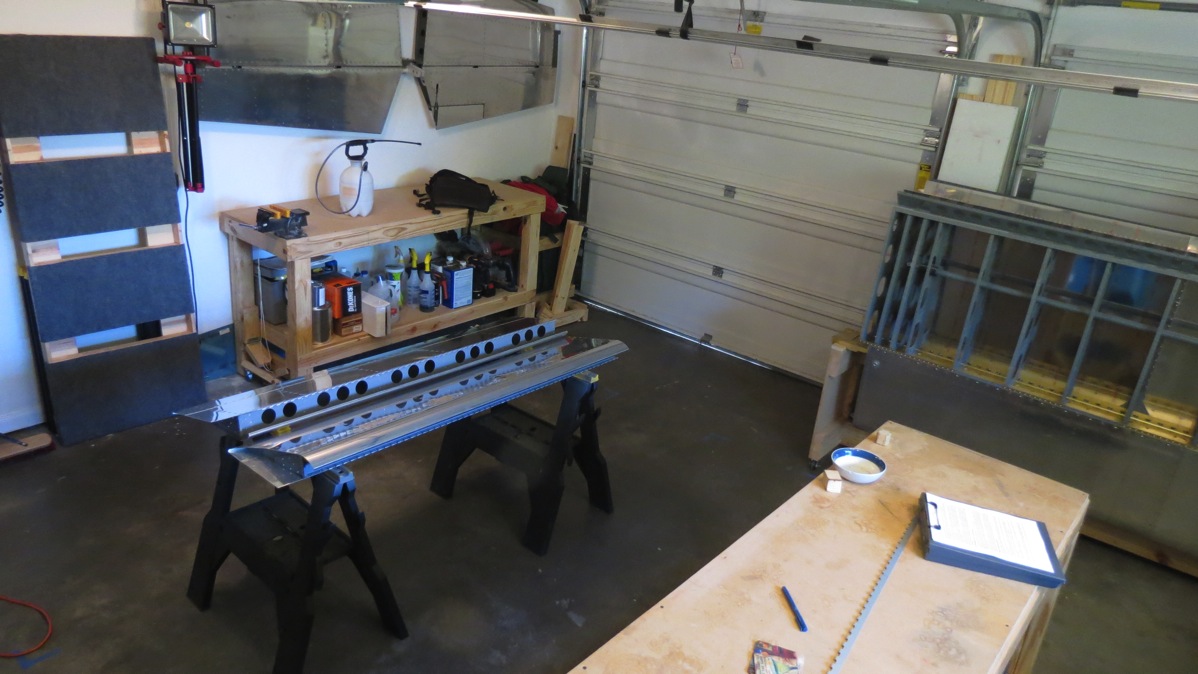
The cleanup took a few hours, and once it was done, I shut the garage for, turned on the A/C, and went inside for a bit to cool off. It was already up in the high 80s today…gotta love Houston. Once I got back to work, I started planning on how to get the flaps hung. The first thing I needed to do was to take the wing side hinge half for each flap and remove a couple eyes in the middle, where the hinges are split. This setup will result in each flap having two hinge pins, which will be removed towards the center of the flap.
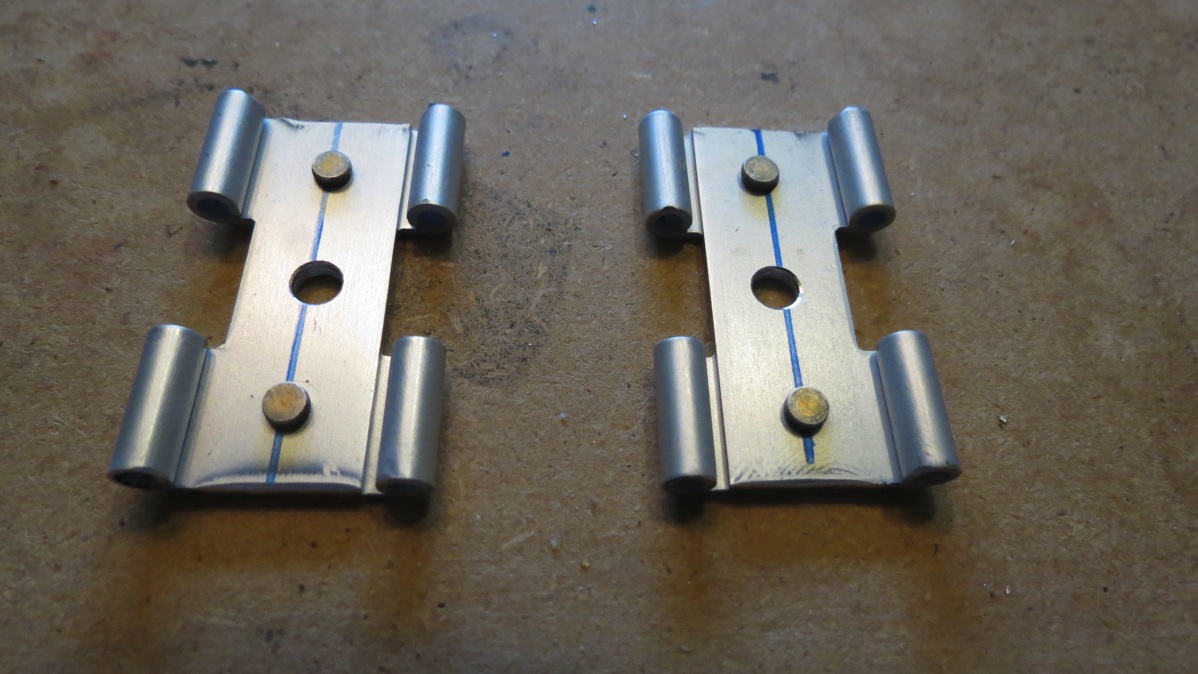
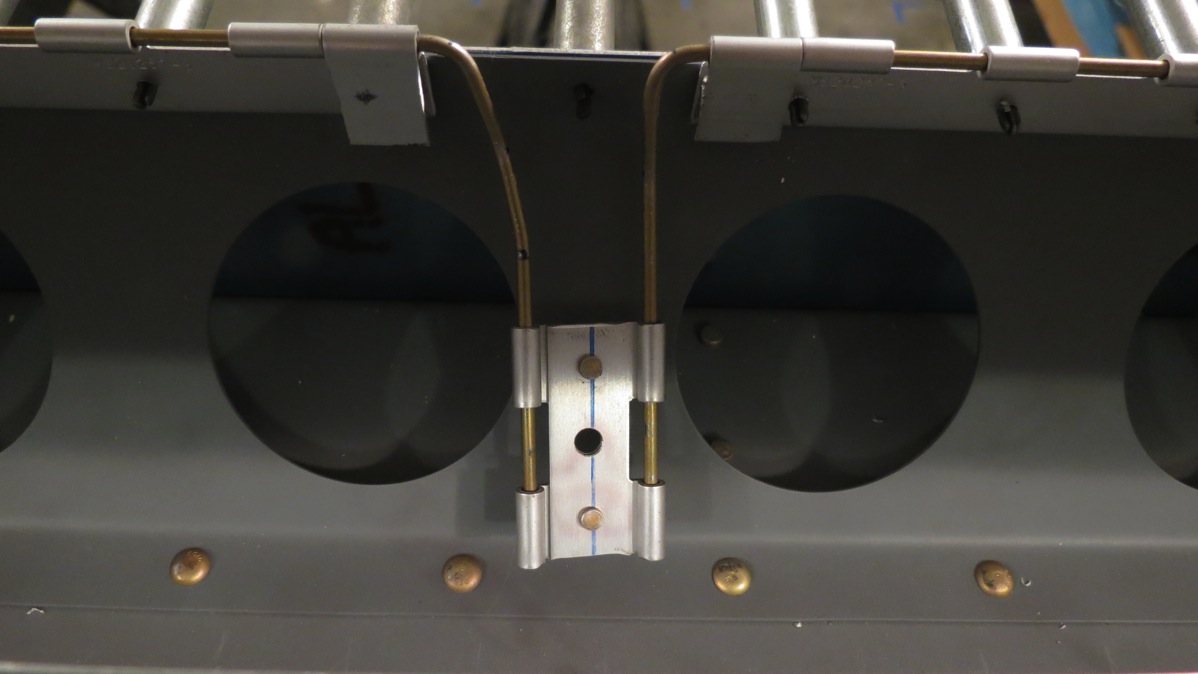
The scrap bits I cut out of those hinge halves got turned into the clips that will retain the ends of the hinge pin pairs. Each retainer is just two pieces of hinge material riveted together, with a center hole where the retainer will attach to the flap brace. More on how this works later…
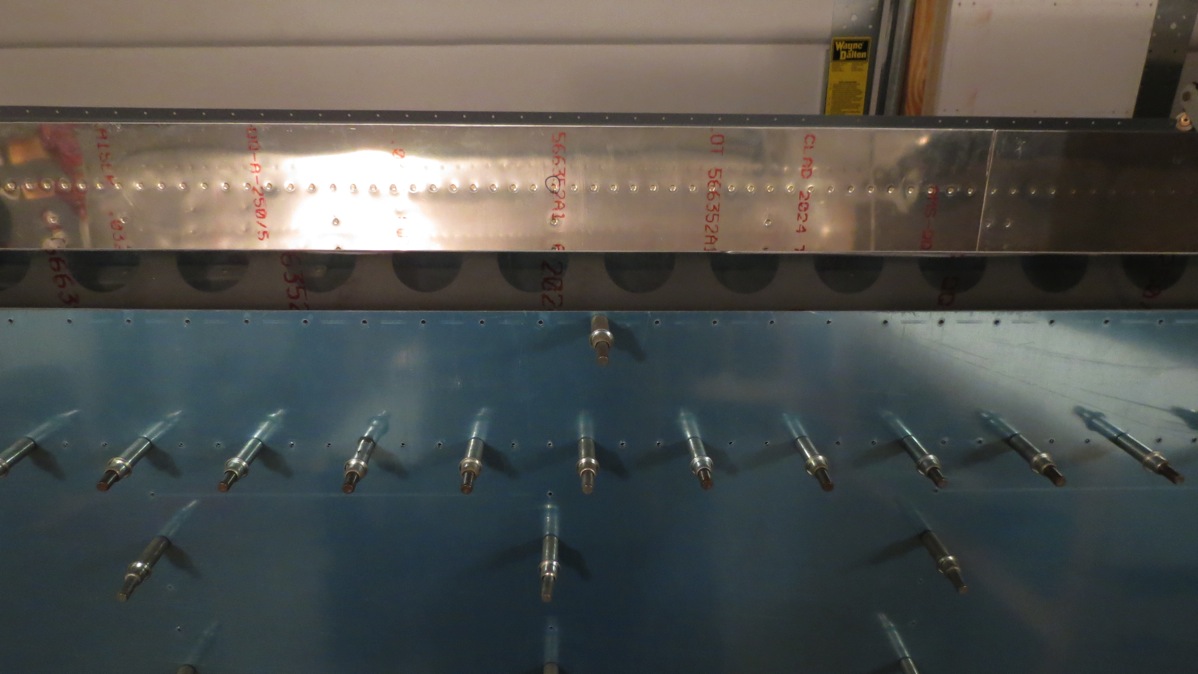
Next, I clecoed the bottom skins onto the right wing. These are needed to position the flap brace correctly, which is in turn necessary to drill the hinge properly. The fun part here is that the flap brace doesn’t quite naturally line up with the trailing edge of the skin; it has to be pulled into place slightly when clecoing the two parts together. Problem is, the brace and the skin can’t be clecoed together while drilling the hinge half, since the hinge is drilled in assembly with that same joint. I’d been worrying over how to get this done for a couple weeks, but in the end I hit upon a decent solution. Since I’m doing the split hinge approach, there’s one rivet hole, roughly in the center of the flap, that won’t have the hinge attached to it. So I put a cleco in that hole, which gave me a starting point for aligning all the parts later on:
Next, I got Josie to come out and help me move the right wing onto a workbench, top side down. I put my aileron alignment jig in place and got the aileron in the neutral position, then clamped on a piece of angle to help align the flap and aileron trailing edges. There’s also a wooden spacer attached to the end of the aileron to help get the proper spacing (1/4”) between the two pieces:
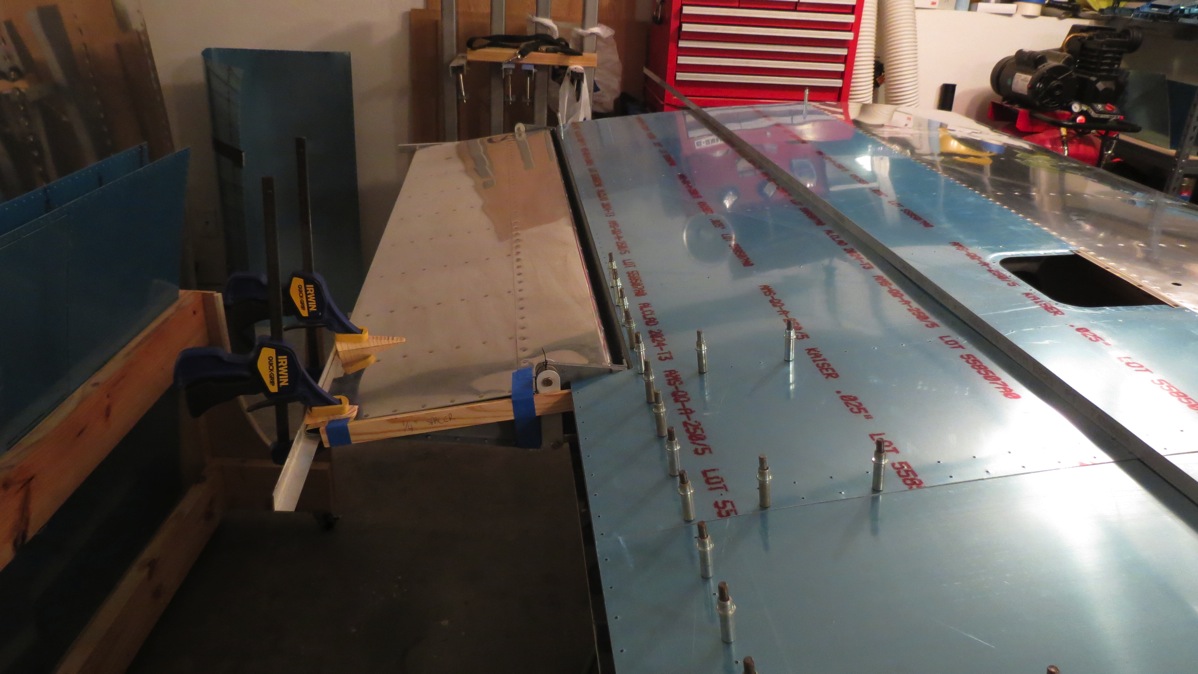
Then we got the flap lined up in place, clamped it in the center and at the inboard end (about the only places where there’s access to do so), checked the alignment several times, and then I got to drilling. As per usual when drilling hinge like this, I put a cleco in each hole as I went. This also helped to gradually pull the flap brace in alignment as I worked down from the center to each end
Everything drilled and clecoed:
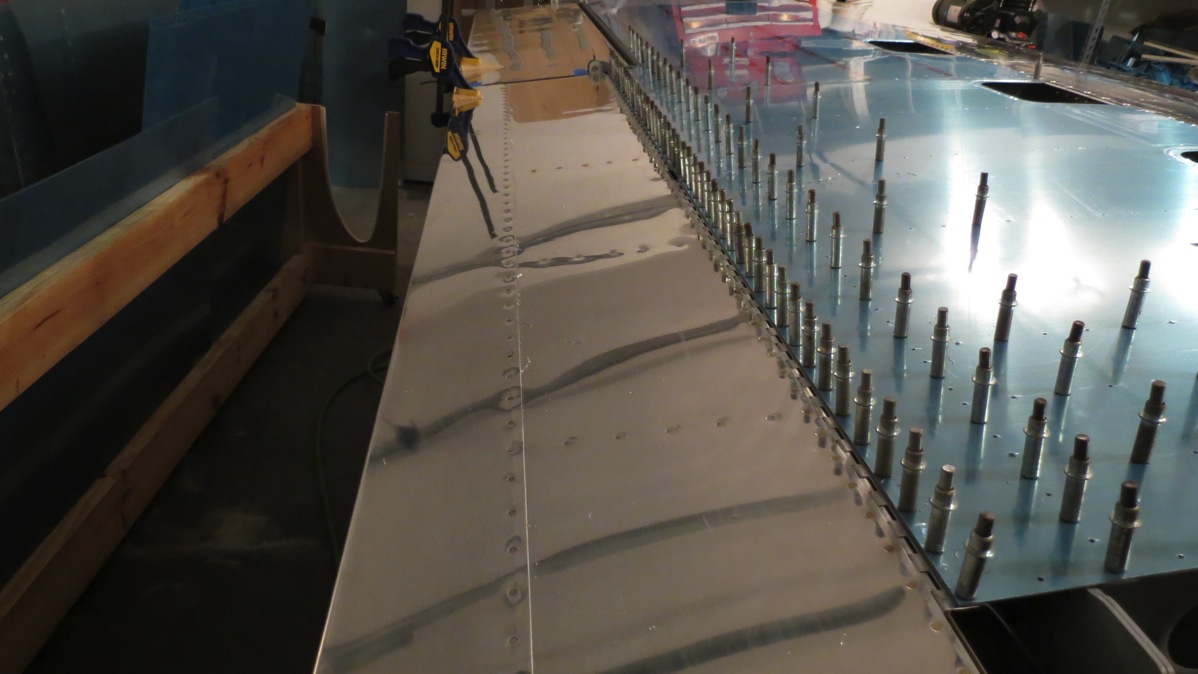
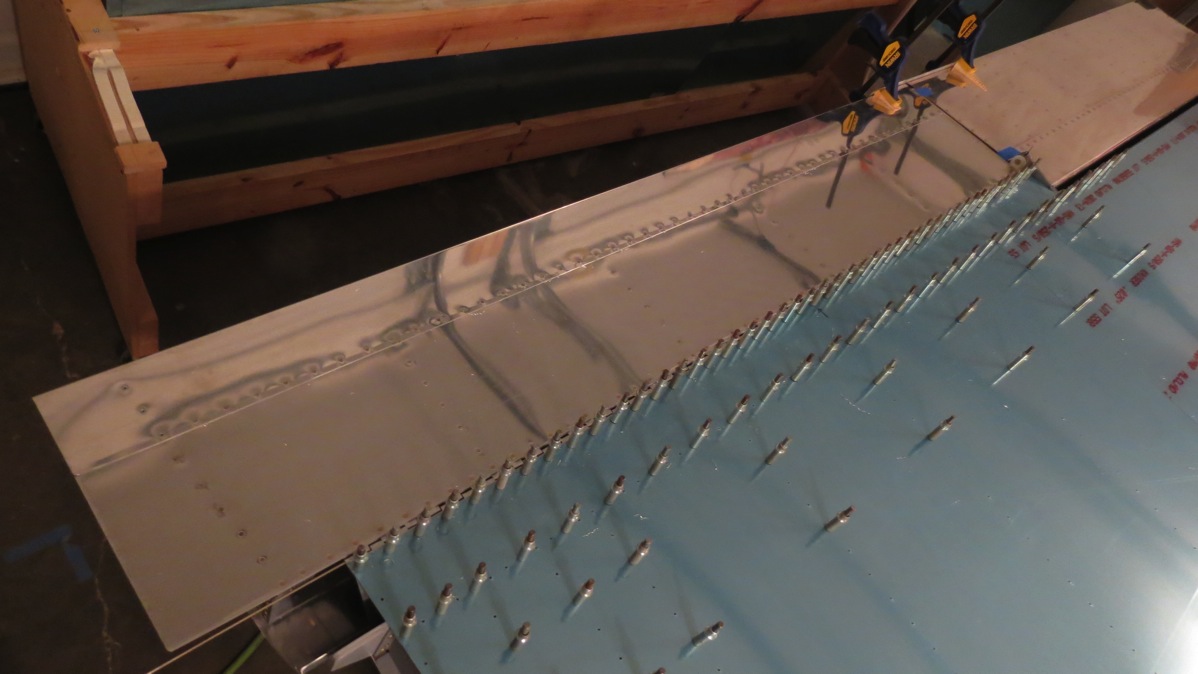
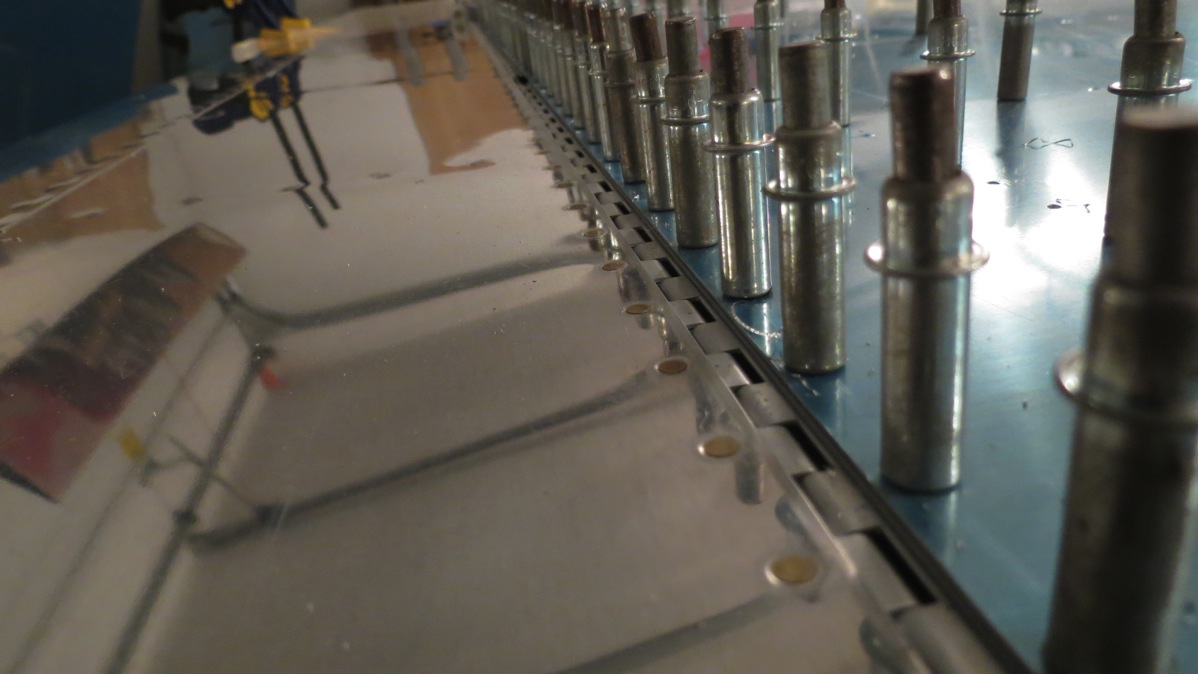
Then I pulled the hinge pin, removed and set aside the flap, and we put the wing back into the cradle. I wasn’t quite ready to quit for the night, so I decided to go ahead and make the hinge pins for the right flap. This was just a bit of trial and error, cutting to length, tapering the ends, bending for proper fit, etc. I finished up by taking a photo with one of the retainer clips loosely in place. Obviously, in practice this clip would be screwed into the flap brace to secure the pins. I’ll deal with drilling that screw hole and mounting the nutplate some other time; I just wanted to illustrate the setup:
And that really was a good stopping point. Tomorrow we should be able to get the left flap mounted as well, and I’ll probably get the retainer nutplates mounted as well. Pretty soon I’ll be moving on to the fuselage full-time!