Deburring DONE

Finally…a weekend without lots of other stuff to do. Last weekend my brother was in town and I helped him with some work on his car. The previous weekend was entirely spent doing suspension work on my car. Before that…well, I guess I was just lazy. We did actually have an afternoon engagement today, but for once I committed to doing some work before and after.

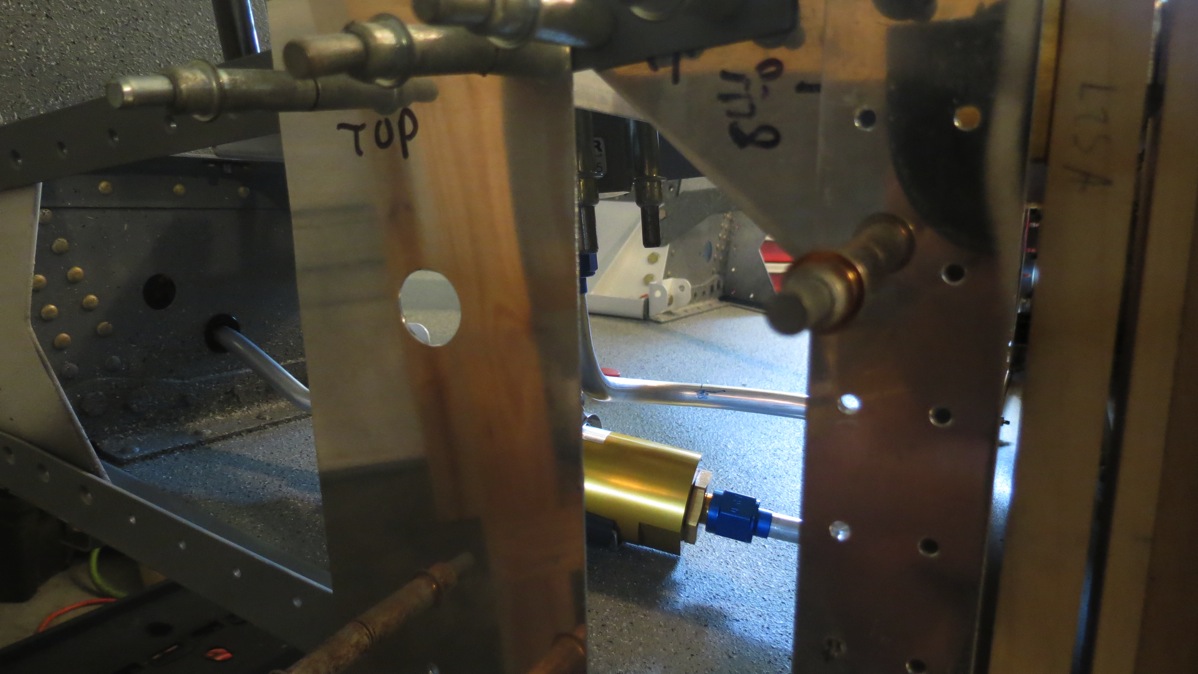
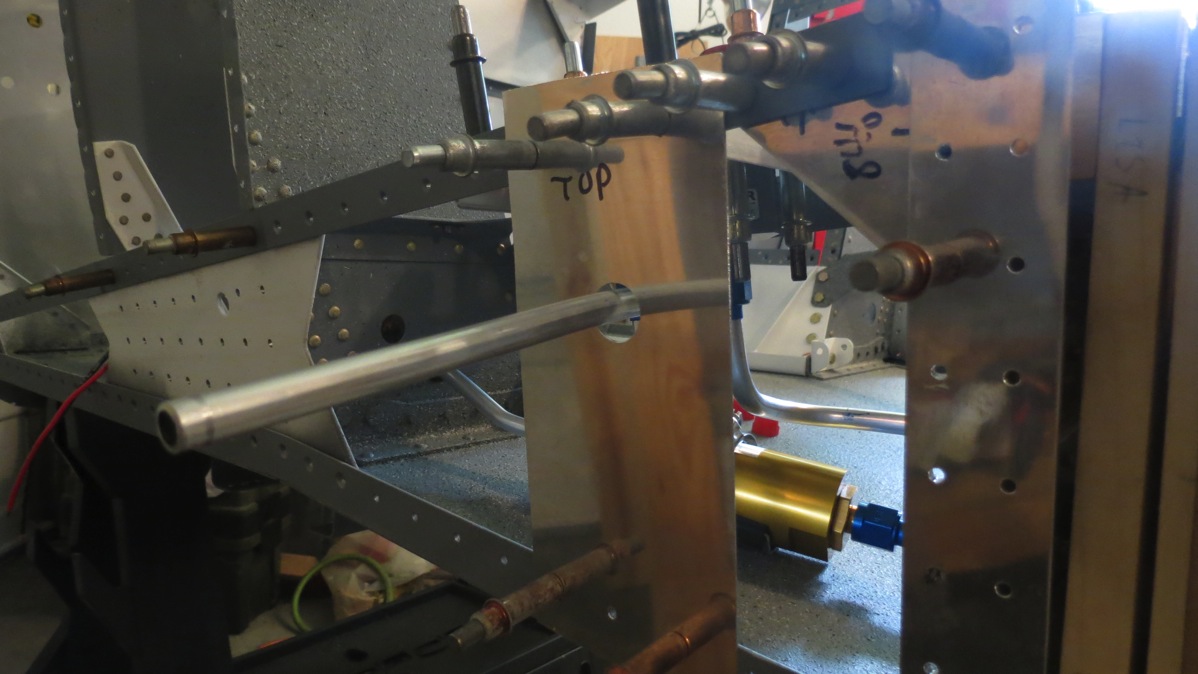
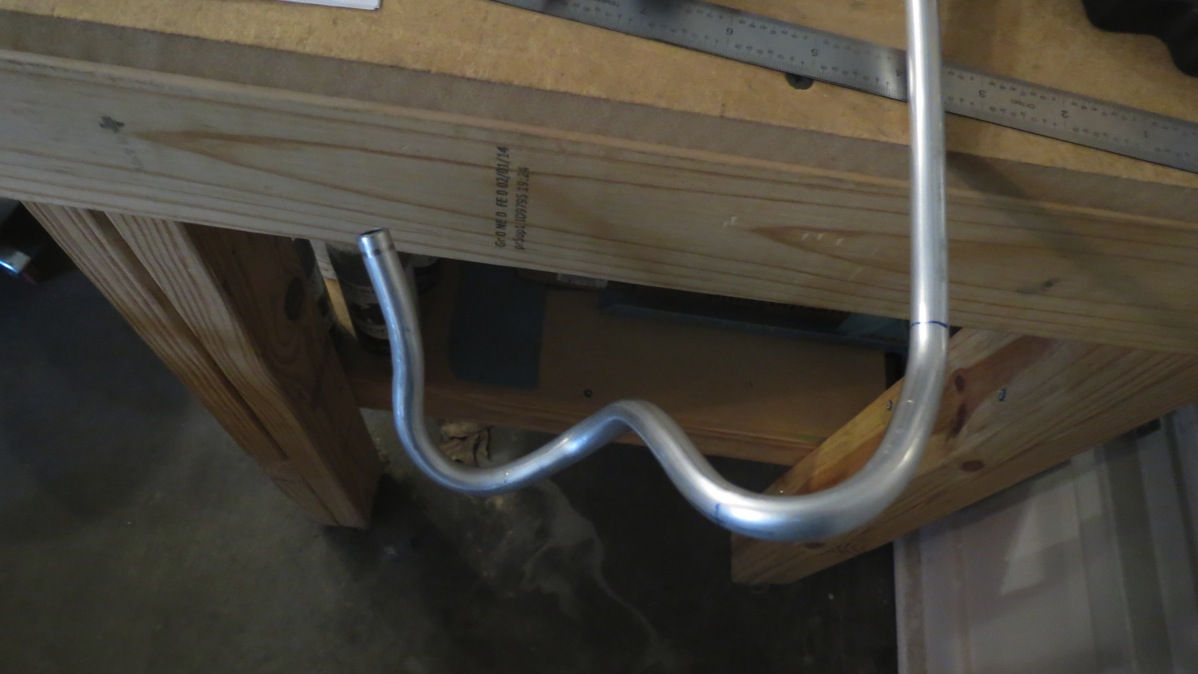
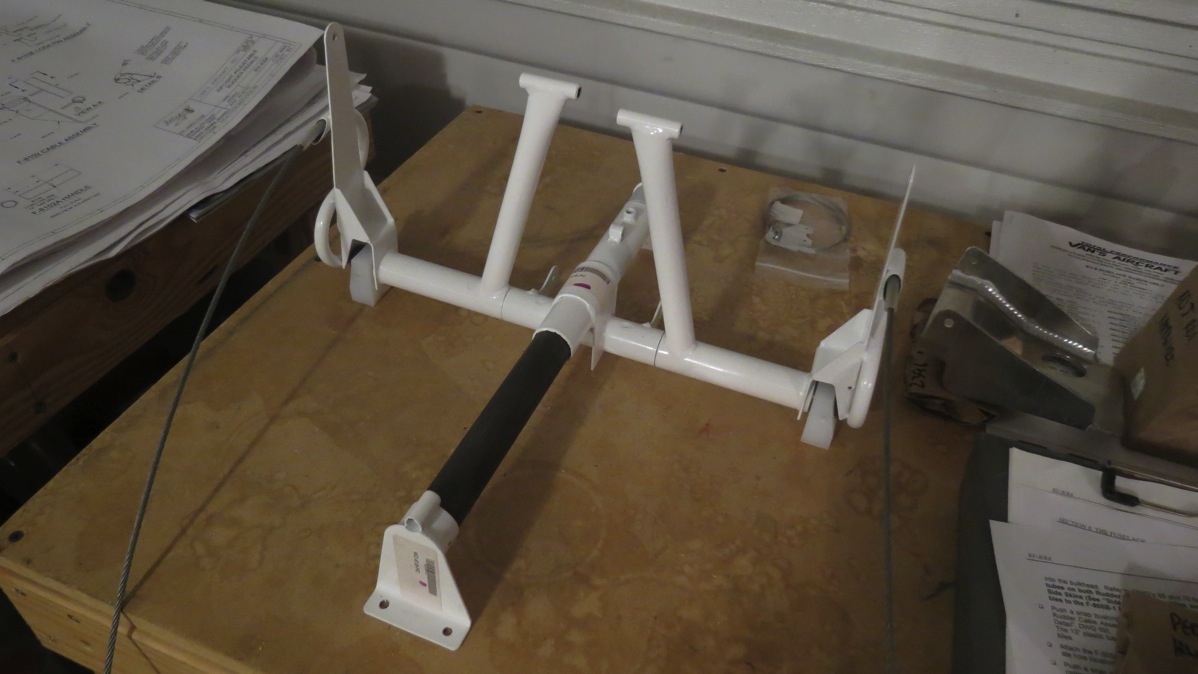
I started out with another bit of cleanup – there were still tools and other junk lying around from the car work weekends. Then I got to work deburring. The only large pieces remaining were the forward and aft side skins, the latter of which are rather large and cumbersome. I also had the two aft most bulkheads and the heavy skin that attaches to them, and the tail spring weldment. I also enlarged a hole in the bottom of the aft bottom skin; this will provide access to the tail spring attach bolt once the plane is together:

IMG 6648

On each forward side skin, there were two tabs that needed to be removed. This is another one of those procedures that seems random to me – the instructions refer to these as “indexing tabs,” but I don’t recall using them index anything. I presume this is a leftover bit from the early RV-8 kits that weren’t prepunched or something like that. Anyway, I used a straight edge to lay out cut lines parallel to the lower edge of the skin:

IMG 6651

Then I made rough cuts with a cutoff wheel, and finished with a series of files:

IMG 6652

And I’m pretty sure that I now have everything deburred, a task I can jokingly say took me three months to do. Next up, I have lots of dimpling to do, as well as priming certain parts. I’m going to try and paint all the interior parts before final assembly, to avoid the obnoxiousness of trying to spray paint inside the confined space of the fuselage. We’ll see how that works, I guess…

Posted in Fuselage | Hours Logged: 3

Mas Deburring

Got back to work deburring tonight. I took care of the last of the parts from the seat pan, then moved on to working on the forward cabin assembly. It took quite  a while to finish that, since not only are there lots of holes, many of them are located in tight spots and require some creativity to get to. It should be lots of fun to rivet in some of these areas.

I need to check all the loose parts, but I think all I have left to deburr are the aft side skins and a couple of bulkhead assemblies from the tail. Then I get to do a bunch of dimpling, followed by a bunch of priming and pairing, but then I can start assembling stuff…I think…

Posted in Fuselage | Hours Logged: 1.5

Cleanup

It’s funny how procrastination works; watching tons of flimsy excuses stack up, along with the perennial “just one more day” type of stuff. The dates here in my editor tell the story – it’s been just shy of two solid months since I worked on this project. A break while I was out of town for Christmas was unavoidable, but then after that…heh. “I should get back to work…tomorrow.” “It’s cold tonight and I don’t have a heater, I’ll wait until tomorrow.” “Blah blah blah.” Doing my first track day was another delay, since it was preceded by me doing some work on the car to get it up to snuff. Still, it was mostly excuses.

And yes, this entry doesn’t represent real work, but it’s a step in the right direction. This weekend brought some more car work, along with other commitments. I could have squeezed in garage time, but…well, excuses. I did decide, however, that one of the things helping me generate excuses was the messy state of the garage. There were tools and old car parts sitting all around, and it was easy on any day to get bummed about the need for cleanup. So tonight, I attacked the cleanup, in the hopes that this will make me more likely to do actual work tomorrow.

I could have done some actual work afterwards, but instead I came in to work on another project – studying for my instrument rating. I’ve decided that getting that rating is a goal for me this year. I’ve been talking about it for ages, and since I want to make the RV IFR-capable, having the rating should allow me to make far more informed decisions as to avionics.

So that’s it for now – I’m still alive, and the project (kind of) is as well.

Posted in Workspace

Deburring

Tonight I pulled apart the mid side skin assemblies and deburred the skins and the bulkhead/armrest parts. That’s it. Exciting, eh?

Posted in Fuselage | Hours Logged: 1.5

Bulkhead repair

Tonight I set out to repair the bulkhead flange where I found elongated holes the other night. I decided to simply fabricate a new flange unit and rivet it to the bulkhead web. Not excessively complicated, but a little tedious making sure everything fit properly.

Here’s the splice piece after bending and trimming it to fit:

IMG 6636

Then it was time to take a really deep breath and cut off the damaged flange. OK, not that deep of a breath, since this portion was ruined anyway, but still…

IMG 6638

To fit the repair piece, I clecoed the bulkhead to the aft bottom skin, clamped the splice into place, and drilled it to the bulkhead flange. After deburring all the holes, I riveted it to the bulkhead:

IMG 6639

Then it was just a matter of clecoing the bulkhead in place again and drilling the two #40 holes in the flange, using the skin as a guide.

I also went ahead and deburred the aft bottom skin while I had it down from its storage spot. Next up is – I think – more deburring. Quite a bit of it as a mater of fact. I’ve been trying to knock out the deburring a little at a time with other work sessions, but now I think I’ll just have to buckle down and spend a day doing it. We shall see.

Posted in Fuselage | Hours Logged: 2.5

More countersinking

Actually, countersinking is done for the time being. Tonight I took care of all the rivet holes in the side webs of both upper longerons. Not especially challenging, just tedious. After that was done, I decided to do some more hole deburring before calling it a night. Among the parts I deburred were the tailcone bulkheads. I was a little disappointed to find a few spots with elongated rivet holes. The first one I found wasn’t really bad, and can probably just be fixed with a NAS 1097 oversize rivet, but the second spot is much worse:

IMG 6634

That’s at one of the rounded bottom corners of the forward most bulkhead. I assume that all the difficulty I had getting everything lined up properly here contributed to this issue. I can’t remember for sure, but I may have been more conservative with clecos than I should have been. Fortunately, fixing this spot should be easy – I momentarily considered replacing the entire bulkhead, but that’s overkill. Instead, I should be able to just cut off this flange and rivet a replacement to the bulkhead web. It’ll be under the fuselage floor anyway, out of sight. Still kind of disappointing, though.

Posted in Fuselage | Hours Logged: 2

Countersinking

There sure are a lot of holes on this airplane. I got started in mid afternoon, after did a bit of kayaking in the morning. Pretty much went straight to work on the countersinking, since I’d marked up everything already. First I worked on all the #30 holes, which took an hour or so, followed by the handful of #19 screw holes (mostly in the gear tower cover plates). Then it was on to the bulk of the work, the bazillion #40 holes in all the longerons. I got through everything except for perhaps the most extensive job – all the #40 holes on the side webs of the main longerons. I should be able to knock all those out in a long work session one evening this week. Then it’ll be on to a lot of deburring and dimpling. I don’t think I really have any extensive fab work to worry about before the fuselage starts going back together…

Here are some fairly boring photos. The first is a blurry pile of metal shavings. The second is, you guessed it, countersunk holes. Exciting, eh?

IMG 6628

IMG 6631

Posted in Fuselage | Hours Logged: 5

Garage reorg, more parts prep

So my rearrangement idea from the other night appears to have worked out well. The crux of the idea was something I’d rejected before: putting the wings on the same wall where the horizontal stab is hanging. I didn’t think it would work before because the upright wings are higher than the bottom of the stab as it hangs. But in reality, the wing wouldn’t be sitting flush against the wall anyway. The real obstacle would probably be the elevator control horns, since they stick out a few inches, but they just so happen to be at the same spot where the ailerons are on the wings, and the ailerons naturally hang towards the inside of the wing cart, thus providing clearance with the elevator horns. It seemed workable just from poking around with a tape measure.

So today I rolled everything that wasn’t nailed down out into the driveway. That gave me the chance to sweep up a ton of congealed spiderwebs, sawdust, and aluminum chips – the cleanup was sorely needed. The wings ended up fitting very nicely. The actual main potential issue wasn’t the control horn, but the clecos holding the bottom wing skins in place, which threatened to make contact with the elevators. So I added some little standoff pieces of the wing cart, which prevents the wings from getting too close to the elevators:

IMG 6619

IMG 6620

IMG 6623

This new arrangement basically put all the bulky stuff in two corners of the garage, leaving the other two corners open for the length of the fuselage. Here’s a photo with the longerons on the floor to roughly mock how the fuse will sit:

IMG 6626

It’s better than before, but still not as roomy as I’d like it to be. Getting rid of the workbench on the right side of the photo would help, but then I’d only have one workbench. Not sure if that’s workable or not; if nothing else, I’d have to find storage for all the stuff I have on the shelf under the bench!

I intend to put the fuselage in a rotisserie setup once it’s together to make it easier to work on the interior. Most people do this by adapting an engine stand to attach to the engine mount points on the firewall, and just resting the tailwheel spring in a notched saw horse or something. I’m thinking I may opt to tie the engine stand to a tail stand that’s on caster, so the whole rotisserie is a unit. Then I could move the fuse around a bit if needed to get extra space in a particular area. I haven’t completely thought this through, so it may not be workable, we’ll see…

Once I got the garage back together, I went back to prepping for countersinking. I’d originally intended to take the parts I marked earlier in the week and countersink them one evening, but that didn’t happen. So now I’m going to combine work even more than before; instead of countersinking, I ask marked the main lingering and aft mid and bottom longerons for countersinking. This way, I’ll be able to basically do all the fuselage countersinking in one work session. Along the way, I deburred all those parts (the 16’ long main longerons were especially fun here) along with a few other random things lying around. Tomorrow will be Countersinking Day. After that, there’s lots more deburring and dimpling, and then it’ll be time to start riveting some of this stuff together!

Posted in Fuselage, Workspace | Hours Logged: 2

Parts prep

Man, there’s a whole lot of prep work to be done. The first half-page or so of the instructions here specify a bunch of places that need to be countersunk to accept dimpled skin parts. When I looked at this over the weekend, I started marking the first item on the list, the lower longerons, with the intent of doing the actual countersinking in my next work session. Thing is, since I’m a little OCD (and cautious) about countersink depth, every time I use he cage, I feel compelled to readjust it. So every work day that includes countersinking has some built-in setup time. With that in mind, I decided to do all this countersinking in two passes; first, I’d set aside all the parts that needed to be countersunk, marking the locations as I went, and then I could go back and do all the actual countersinking in one batch instead of a bunch of little work sessions.

So tonight was just getting through that first step; finding the parts, deburring them as needed, then marking. Among other things, I marked the lower and auxiliary longerons, the gear tower and center section reinforcement plates, and the seat back support plates and spacers. That’s actually not all the things that need to be countersunk, but the other items are all large and unwieldy – the 16’ long upper longerons and the not-quite-as-long-but-still-cumbersome mid and lower aft longerons. Those, I think, merit their own work session. Plus the lower/mid aft longerons are still attached to the aft side skins, which are in turn sort of serving as a table for other parts.

In other news, I keep thinking about rearranging the garage, but I’m just not sure how to go about doing it. Space was pretty tight when I had the fuselage temporarily assembled, and once I get things back together and somewhat structurally sound, I’m going to want to put the fuselage in a rotisserie setup to make it easier to work on. That’ll mean even more length to the fuselage assembly, and thus an even tighter garage. Problem is, I’m just not sure how to go about making this extra room. If I could get the wings out of the garage, that would help, but I don’t have anywhere else to put them.

So I dunno. I’ll have to solve this problem at some point, I’m just not sure how yet. One solution might be to rent a self-storage unit for the wings, but that’s money out the door that’s not going to actual building – plus moving the wings to/from storage would be obnoxious since I don’t have a pickup truck or trailer. Maybe I can figure out a better use of space in the garage…

UPDATE: So I went back out in the garage and did some thinking and a lot of measuring, and I think I have a workable solution for rearranging the garage. If the weather holds out, I think Saturday or Sunday might be a garage cleanup/reorg day.

Posted in Fuselage | Hours Logged: 1.5

Back to work

Well, not exactly a hugely productive day, but at least I did something…which is more than I can say for, oh, the past month. Funny how these little breaks happen…you decide to skip a day, then a couple more, and then you put some stuff in the garage temporarily and now you can’t work cause it’s in the way, so now you’re trying to make time to tidy up the garage before making time to work on the airplane…and so on.

Anyway, I finally got the garage tidied up, mostly. Today I finished up the cleanup and did some deburring on the forward longerons and some other small parts. There’s some countersinking to be done next, but I didn’t do that today. Next time…

Posted in Fuselage | Hours Logged: 1