OK yeah, it was a super short session tonight, but something is always better than nothing. Been on the go most of the day but figured I’d do battle with the mosquitos for a bit after dinner.
Basically tonight was about answering a simple question whose answer might have unpleasant consequences: did I leave enough length on these wire branches for the stuff back here? I found up front that while everything reached, the “extra” length I added actually made stuff reach kind of almost perfectly. And that made me wonder if it only reached because I pulled more slack on the main trunk itself.
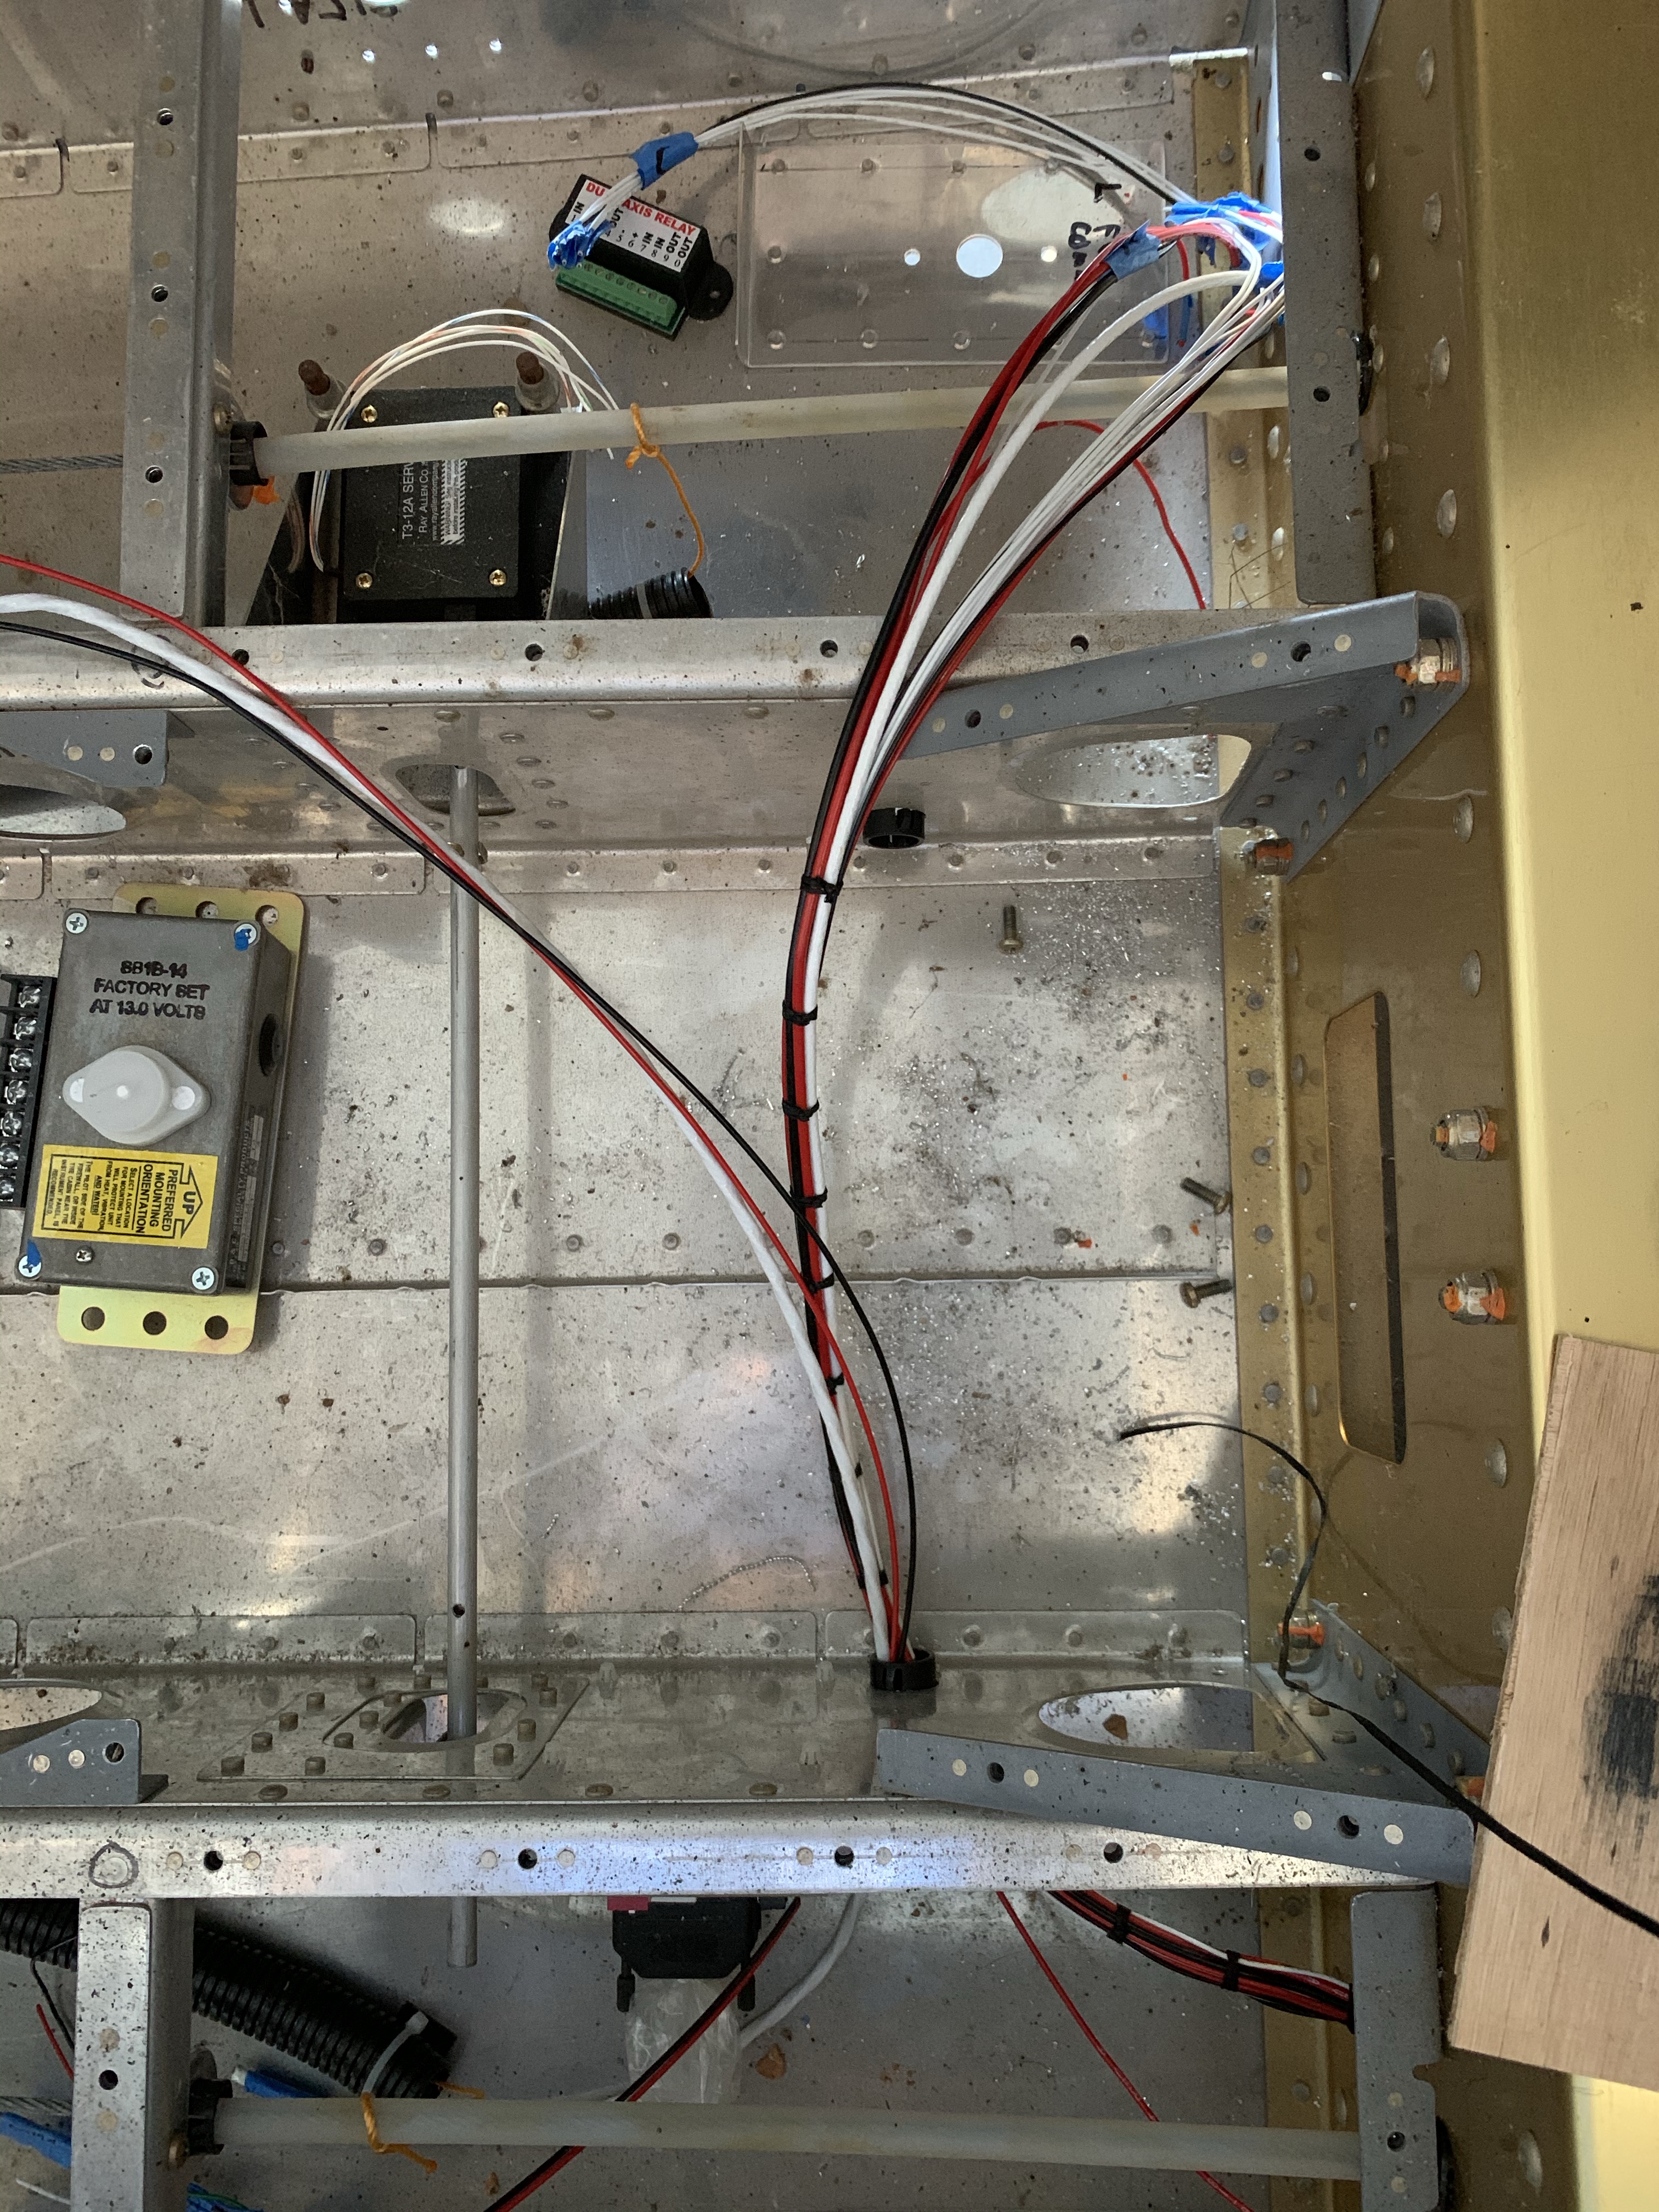
In short, I was more than a little nervous as I gradually peeled away all the masking tape that had been wrapping the assorted bundles together back here. The first good sign was when I pulled the pitch trim and tail light wires back through to the tail, and found I had several feet of slack. Then I split off the branches that go under each of the rear seat armrests – one for the headset jacks and power plug, another for the seat heat control and flaps. Plenty of slack there, too.
That left the real fun stuff on the avionics shelf, aaand…it all looks good. I wouldn’t have minded an extra inch or two on the ELT branch, but it’ll be fine. and the other branches for the other devices have plenty of length. In fact, the branch for the transponder will probably need a few inches trimmed off of it.
Here are all the branches sort of mocked up to their components. This photo doesn’t exactly look super organized, but I promise it shows good things:

The question now is what to do next. I really want to get in there and start doing some lacing to make this look nice and clean, but I think the smarter call is to final-trim and terminate these branches first. That won’t be a ton of fun working inside the fuselage, but such is life.
Another thing I want to get on sooner rather than later is installing the ADS-B and transponder antennas. The coax runs for those will need to coexist with the wiring both back here and under the seat floors, so I think I ought to go ahead and get hose done now as well. I’d kind of like to do the same for the comm antenna runs, but seeing as how those antennas are a lot larger, I don’t like the idea of installing those until the airplane is on the gear. Seems to me like they’d be a bit too prone to damage. Though now that I think about it, I could temporarily install them long enough to get the coax runs worked out, then remove them until it’s time for final installation.
Anyway, I guess I’ll pick up on this Monday. Tomorrow I’ll be helping with another project, in this case disassembling a plane so it can be shipped. Just part of the fun I get from working with the Waller County Aviation Museum. (SHAMELESS PLUG)