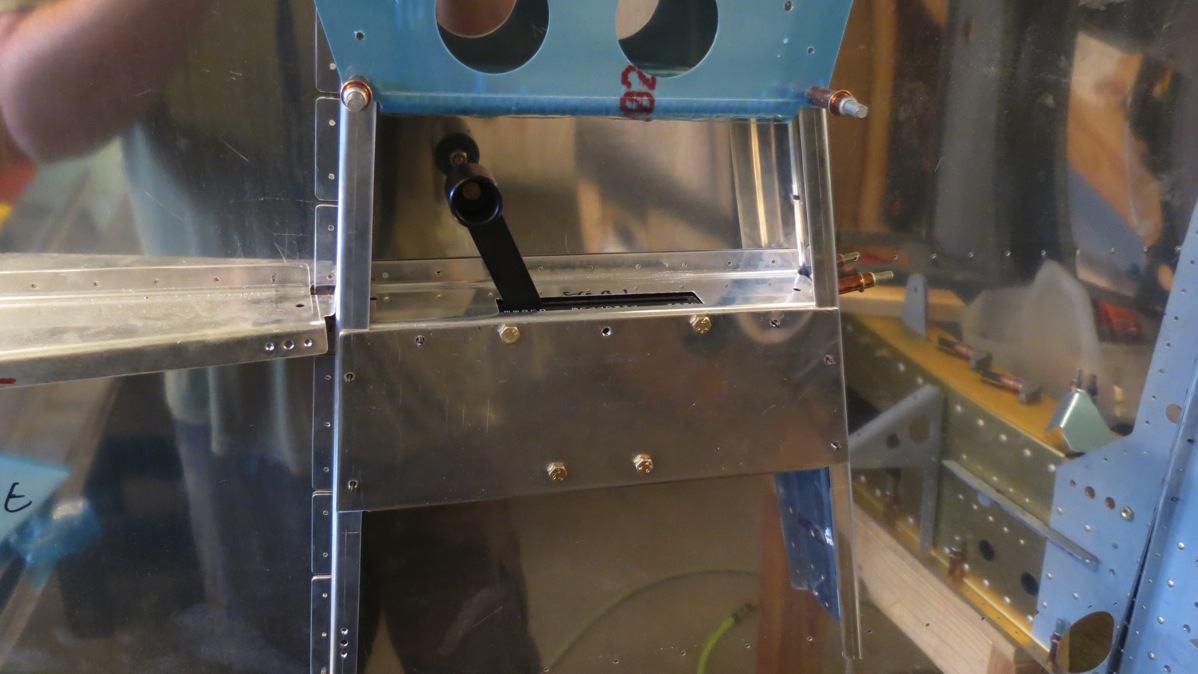
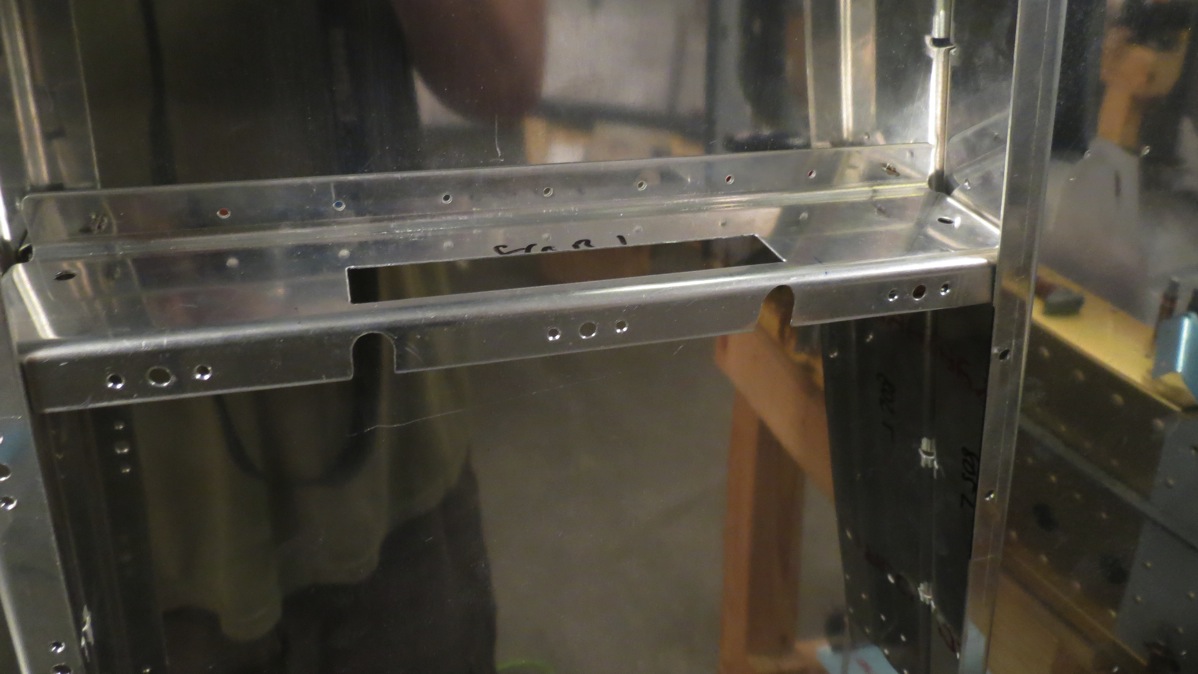
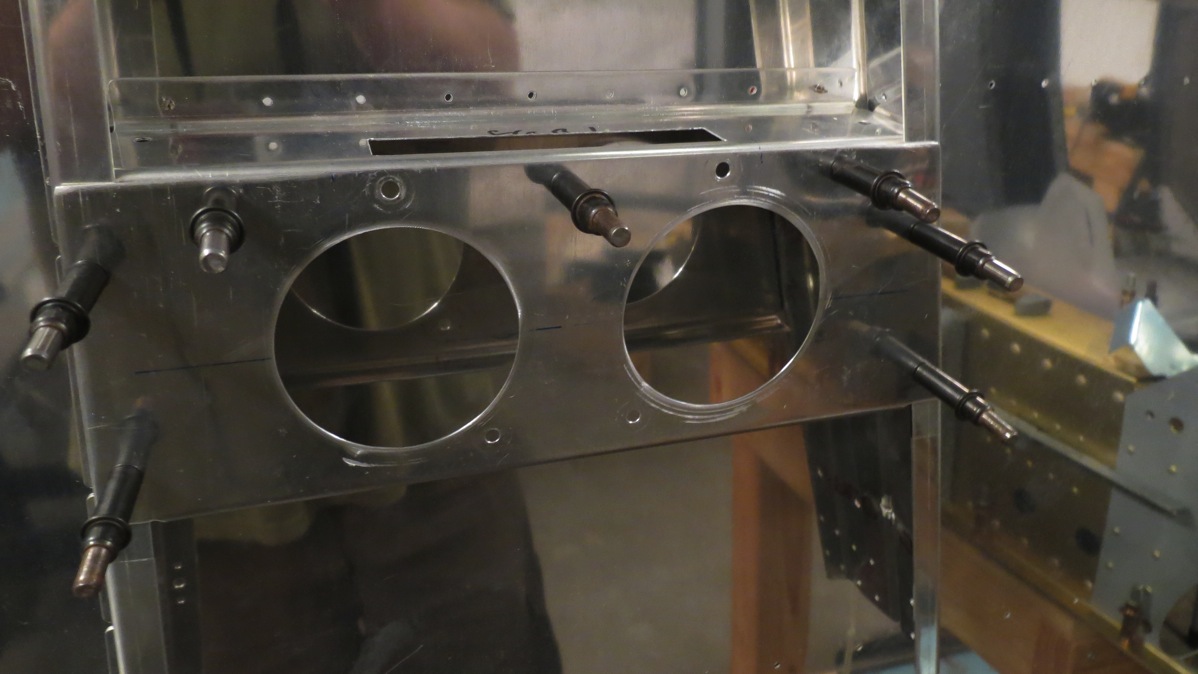
OK, we left off last time when I’d clecoed the seat back support into place. The support attaches to the side mount plates with AN4 bolts, and to the cockpit rails with a combination of -4 rivets and flush screws. The prepunch situation here is kind of odd; the cockpit rail holes that will hold rivets are prepunched in the rails and the spacer between the rails and the support. These holes are simply match-drilled through the support. But the holes that will hold screws are prepunched in the support, but not the rails or spacer, so they have to be match-drilled from below. (aka inside the cockpit)
The instructions say to drill the screw holes from below first, then the rest of the holes from above. But an issue here is that the 3/8” clecos I used to initially hold the support in place weren’t strong enough to pull the support fully into position. This is easily fixed with some clamps, but it makes drilling from below even more difficult. So I decided to drill the holes from above first, with the support clamped firmly in place. Then, with clecos in all those holes, the clamps could be removed and the support would stay in place.
That part was pretty easy, but next came drilling the support from below. I experimented a bit with trying to do this while leaning over from outside the cockpit, but I wasn’t at all confident in my ability to drill square to the surface, so I resigned myself to working inside. I prepared for this by tossing some scrap 2×6 pieces in the cabin. These are thick enough to at least make the rear seat crotch strap mount not jab into me while I work:

And of course, once I climbed in there and laid down, I immediately realized I needed something else. Fortunately, I was able to get Josie’s attention so I didn’t have to climb back out. And of course, she couldn’t resist getting some photos of me being uncomfortable:


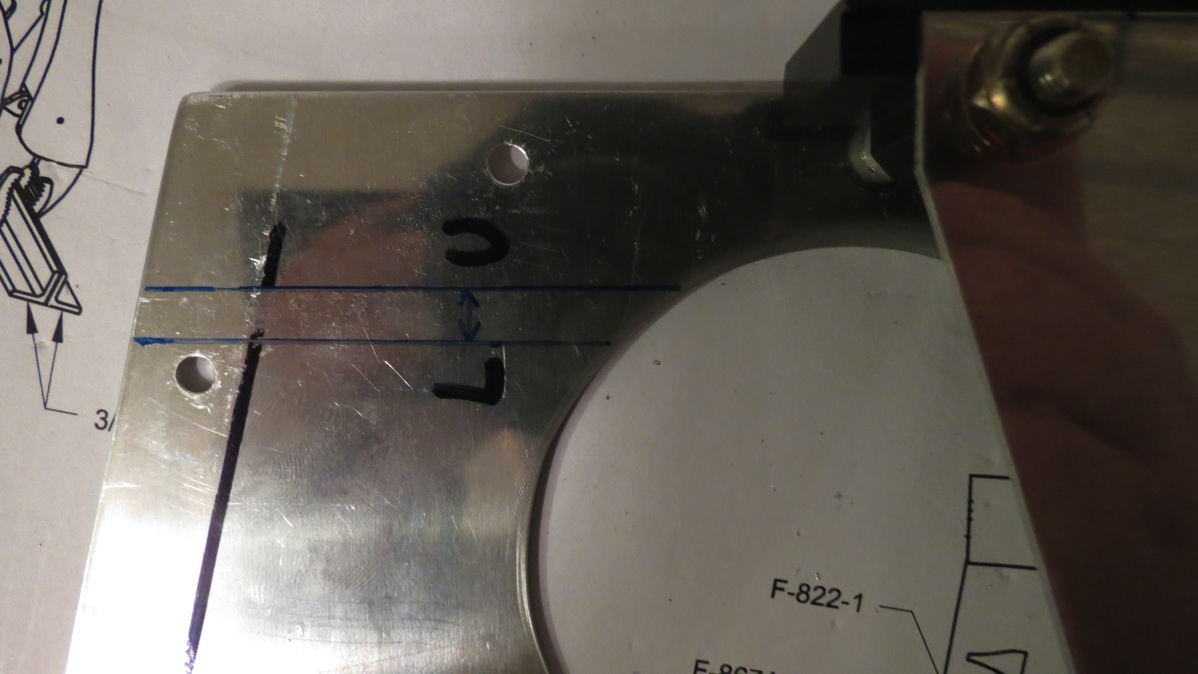
With that annoying task taken care of, I finished the support by drilling the screw holes out to #19, then match-drilling all the remaining holes. Next the center section bulkhead caps are match-drilled, then removed. I’m not sure why they were called out to be removed at this time, but I guess I’ll find out later…
Next up were the rudder stops. When I was cutting the piece of stock containing these pieces before, the blade on my bandsaw snapped and put a nice nick in one of these. At that time, I just decided on a whim to skip these external rudder stops in favor of an aftermarket solution that went inside the vertical stab spar. However, I did some more research on this topic today and it seems that there’s significant debate about those internal rudder stops. While there don’t seem to be any cases of damage or accidents resulting from the internal stops, a fair number of people (including one of the Van’s engineers) have expressed concerns with the internal stop causing increased stress on the vertical stab spar and the rudder hinge points.
After thinking it over, I’ve decided to use the factory external rudder stops instead of the internal ones. It turns out that the nick the saw blade put in the stop isn’t a problem anyway, as that part of the stop will be trimmed off later on. So I went ahead and clecoed and match-drilled the rudder stops in place:

Next up is fitting the tail spring mount. Previously I drilled the mount hoes in the aft most bulkhead, and now with the tailcone together, it’s time to fit the mount and drill the holes in the next most forward bulkhead. The first thing that has to happen is the removal of the aft bottom skin. Well, that’s kind of a problem, since that’s exactly what’s resting on the sawhorse holding the tail up! Hmm, what to do…I considered modifying the saw horse so I could support the tail under the longerons, but that would have left the saw horse in my way while I worked on the tail spring mount. Finally, I realized that the two interior garage door track mounts in the ceiling were almost directly overhead the fuselage, just aft of the cabin. I tried running a ratchet strap between those two mounts, slung under the fuselage, and found that it was in a good location – about 6” aft of the aft cockpit bulkhead, and under the area reinforced by the baggage ribs. I lifted the fuse gently at first, confirming there wasn’t any distortion or buckling happening underneath, and it worked out great. (except I forgot to take a photo and now I’m too lazy to go back out and take one, so you’ll have to use your imagination)
Next I marked the forward bulkhead with a reference line, which I’ll want to align the top of the forward end of the mount:

With the mount in place, there’s a bit of a gap between the forward end and the bulkhead. This is somewhat expected, as the instructions call for making shims as necessary to fill any gap:

Here I departed slightly; the instructions specify 3/4” square shims, one for each of the two bolt holes. I elected to make a single shim that stretched all the way across the top of the mount; for one thing, it seems this will prevent the annoyance of individual shims spinning in place, plus there’s a little more contact surface between the mount and the bulkhead. That may well not make any difference, but I like it anyway.
Now the forward portion of the mount gets moved carefully into position and clamped in place. In addition to using the reference line drawn previously, the instructions say to use the tooling hole in the forward bulkhead as a reference also, by sighting down the mount tube and centering it like so:

Finally, there’s nothing to do but check everything one last time and drill the holes. Here’ the mount in its final position, held in place only by clecos:

Now the aft bottom skin has to be trimmed to account for that mount passing through it. There’s a nice full-size template in the plans for this, which I traced onto a sheet of paper:

Then taped in place on the skin:

And then a cut line is traced onto the skin:

I’m not really 100% satisfied with how that traced cut line ended up though; it looks asymmetrical to me. I know it’ll end up being tweaked to fit the mount, but I want it to start off being straight. In any case, it was getting late by this time and I didn’t want to get into making the cut anyway, so I quit for the night. I’ll do some more research and see if I can get good ideas on marking and cutting here from other builders.


