I managed to get in a solid afternoon of work today, after meeting my brother and his wife for lunch as they were passing through town. As fun as it was to clamp the v-stab in place yesterday, the first order of business today was to take it right back off and move to the workbench, where I set about trimming the forward spar. It seems slightly odd to me that I have to do this – it’s not trimming to fit anything, it’s just a blanker “remove this much” directive. I guess maybe this part is shared with another model, and in that case the full length is needed? That’s all I can think of…
Anyway, with the spar trimmed, the stab got clamped in place yet again, this time in a more semi-permanent manner. The first major operation is to lay out and drill the bolt holes that attach the rear spar to the aft bulkhead. Initially, the rear spar is held on by a single cleco, on which it can pivot. This mean that before the bolt holes can be drilled, the stab has to be carefully positioned so it’s perfectly vertical. The method for checking this is pretty easy – just measure from the tip of the vertical to each tip of the horizontal, and tweak the positioning until the measurements are equal. And really, there’s not a lot of tweaking to be done – the lower portion of the rear spar just barely fits between the aft side skins, so there’s barely any room for movement. Once the positioning is set, then the rear spar is clamped tightly against the bulkhead to hold it in position. I, of course, rechecked the positioning after clamping, because I kind of expect everything to move when I’m not looking.
Now comes the really fun part – laying out the three lower bolt holes. I found the plans to be difficult to follow here, and even figuring out the easy part – the lower/center bolt hole – took some looking. Finally, I figured out that its vertical position was established by using a line drawn between two flush rivets on the bulkhead. The horizontal position was easy, it just went on centerline.
The top two were quite a bit more fun. In a similar situation to the h-stab, there are two critical pieces here that the bolts will go through. On the aft side, on the stab spar, there’s one half of a hinge bracket, whose edge faces downward. On the forward side, there’s the tailspring weldment, whose edge faces up. The bolts must pass through both pieces and maintain sufficient edge distance.
The plans give some measurements with which to lay these holes out, but they made no sense. In fact, they made little enough sense that I went inside to look at my electronic plans, suspecting that there might have been a revision – and I was right. The new planes were much clearer, though the overall guidance was “make sure to maintain edge distance on the bracket and weldment.” So I decided to dispense with the plans measuring meshing – which uses the low/center bolt hole as a reference, and gives a vertical offset – and instead plotted out the position of the tailspring weldment, drew it on the hinge bracket, and located the bolt holes midway between the two lines.
I did this by using a piece of aluminum angle, just long enough to sit on top of the auxiliary longerons in the tail, and I kept trimming a bit off one side of the angle until that side was flush with the top of the weldment. Then I was able to take that same piece, hold it against the hinge bracket, use the longerons as a visual reference, and draw a line. The rest was cake, just getting the midpoint lines and then a vertical line with the proper offset from center.
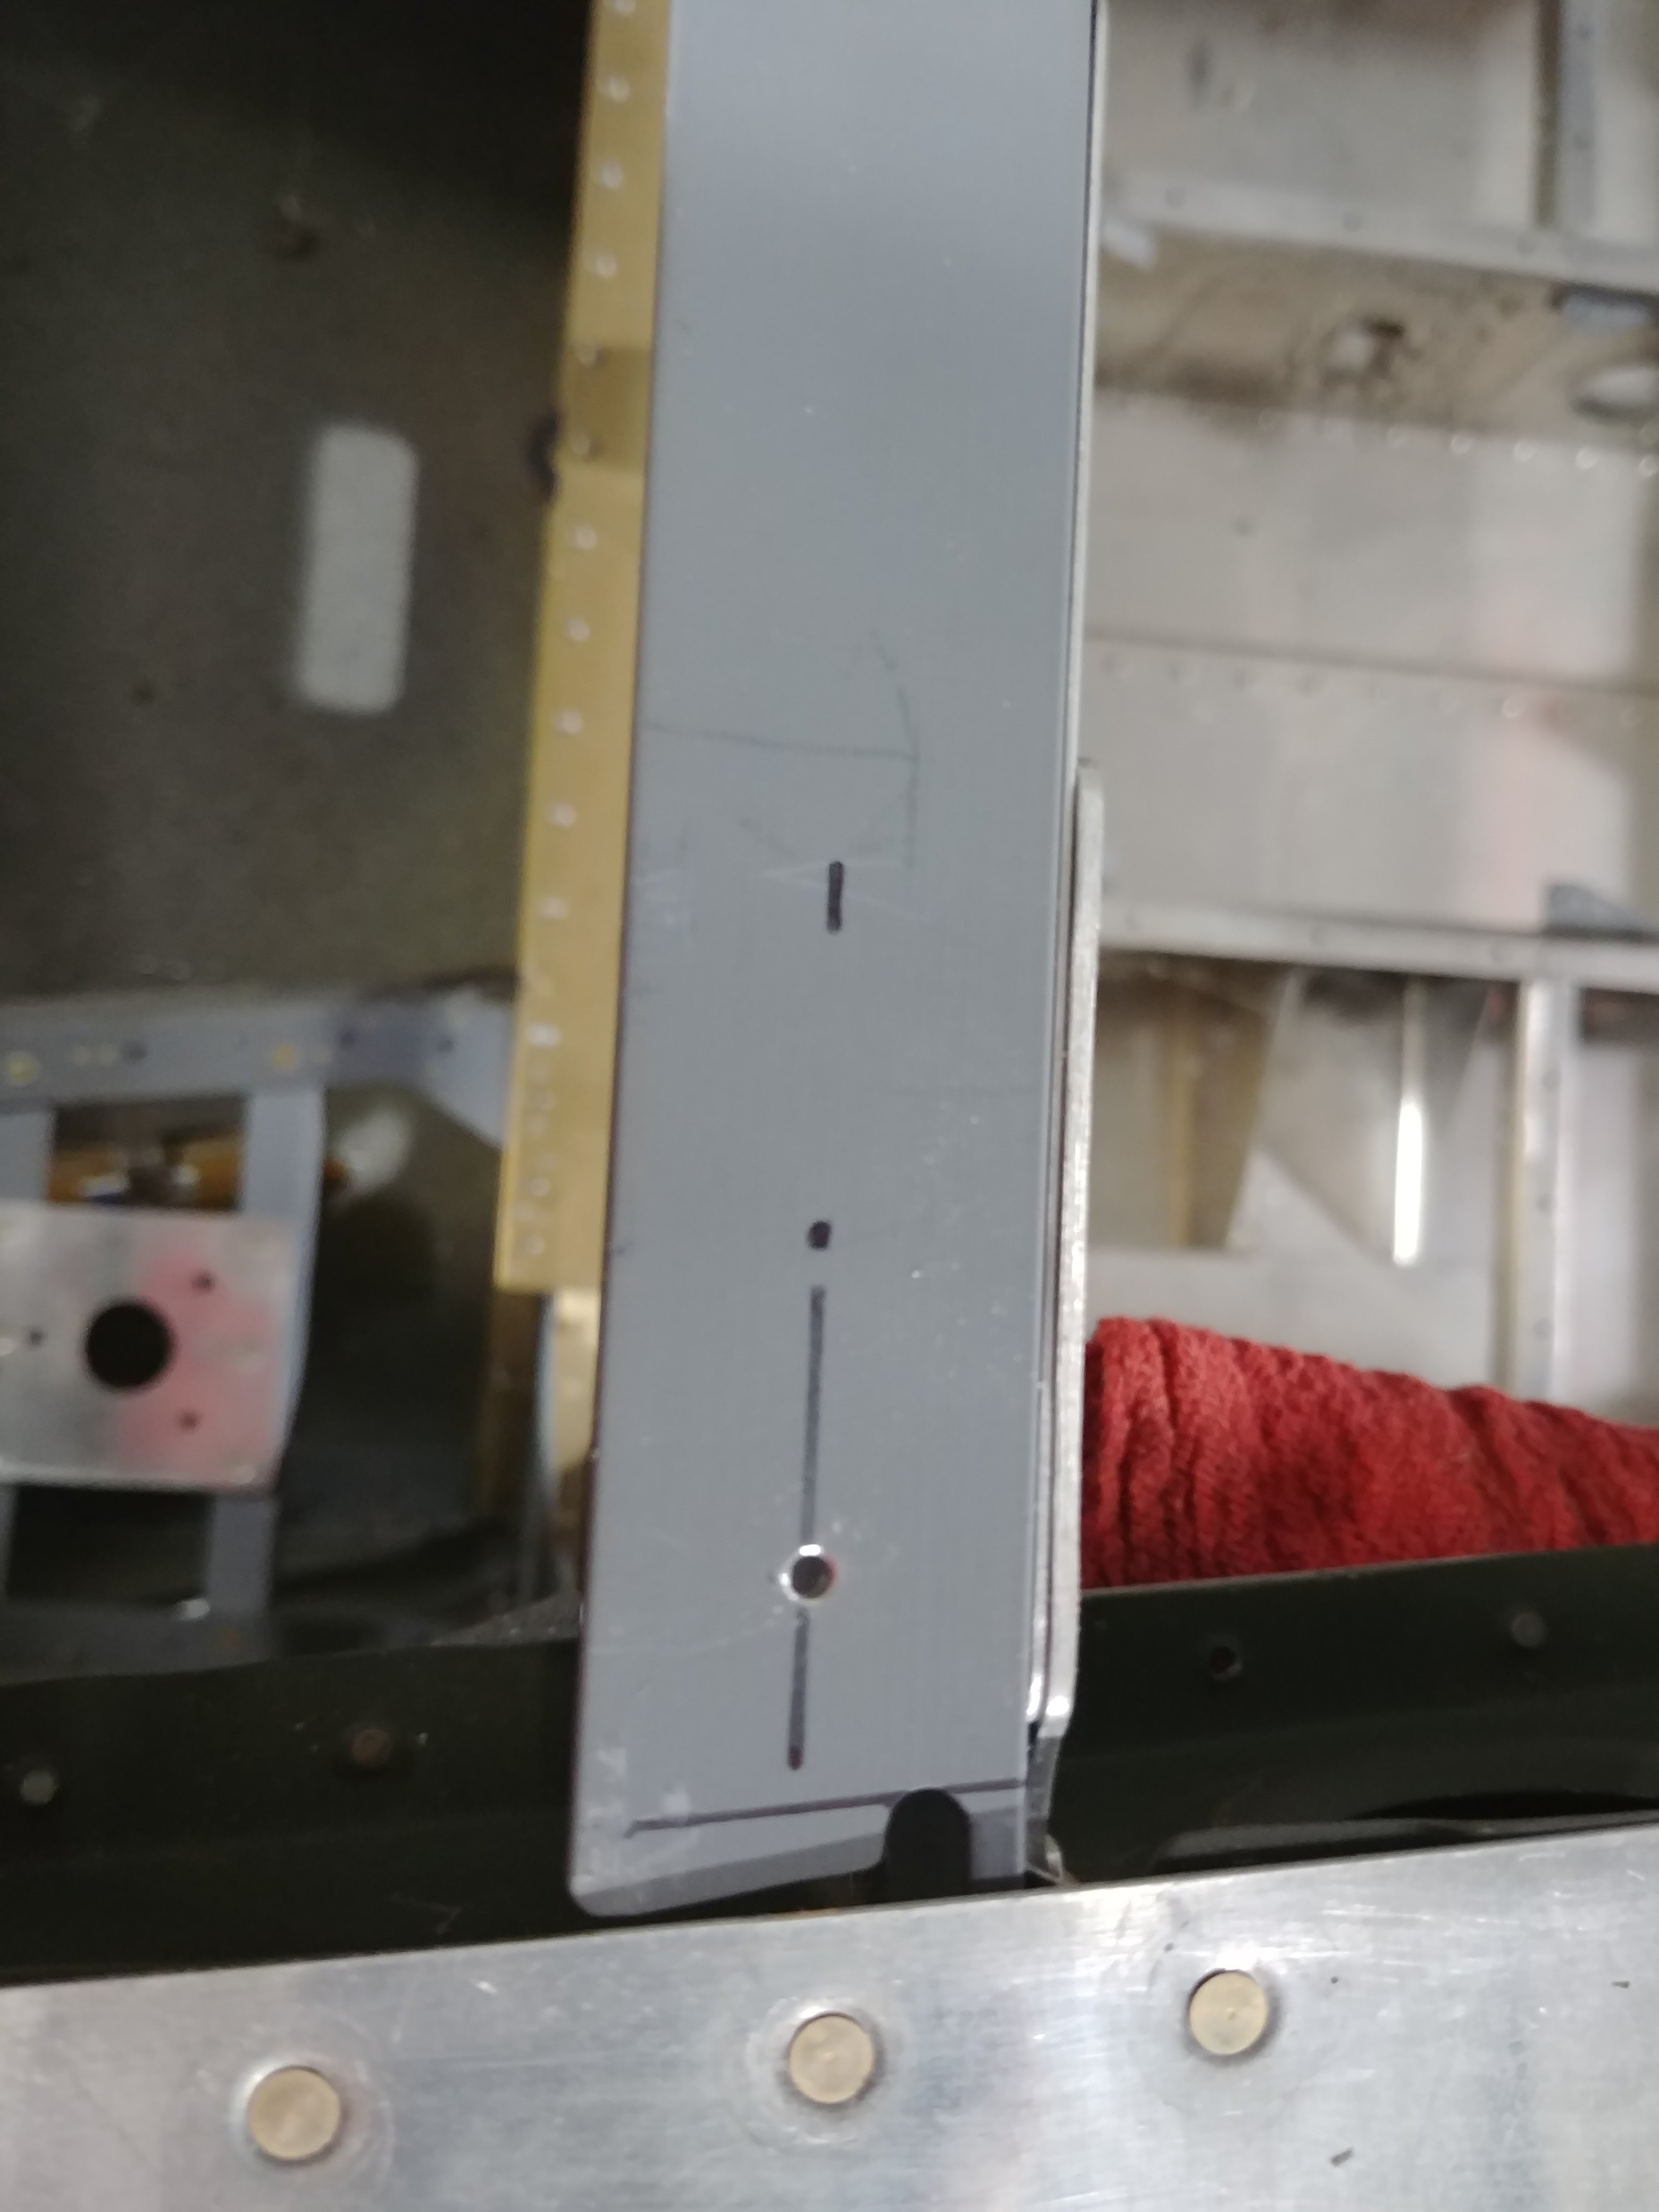
The resulting layout, center punched and ready for drilling:

These holes will be for AN4 bolts, so the holes eventually get to be 1/4”. I started with #30 pilot holes, again using my hardwood drill block to ensure square holes, then opened them successively to #12 and 1/4”. At that point, the stab came off again so I could deburr the holes and ensure nothing was getting trapped between the spar and the bulkhead, then it went back on and bolts went into the three new holes.
Next up was using the angle piece on top of the aft deck as a pattern and drilling two more bolt holes through the stab spar, this time for AN3 bolts. The bolts went into those as well.
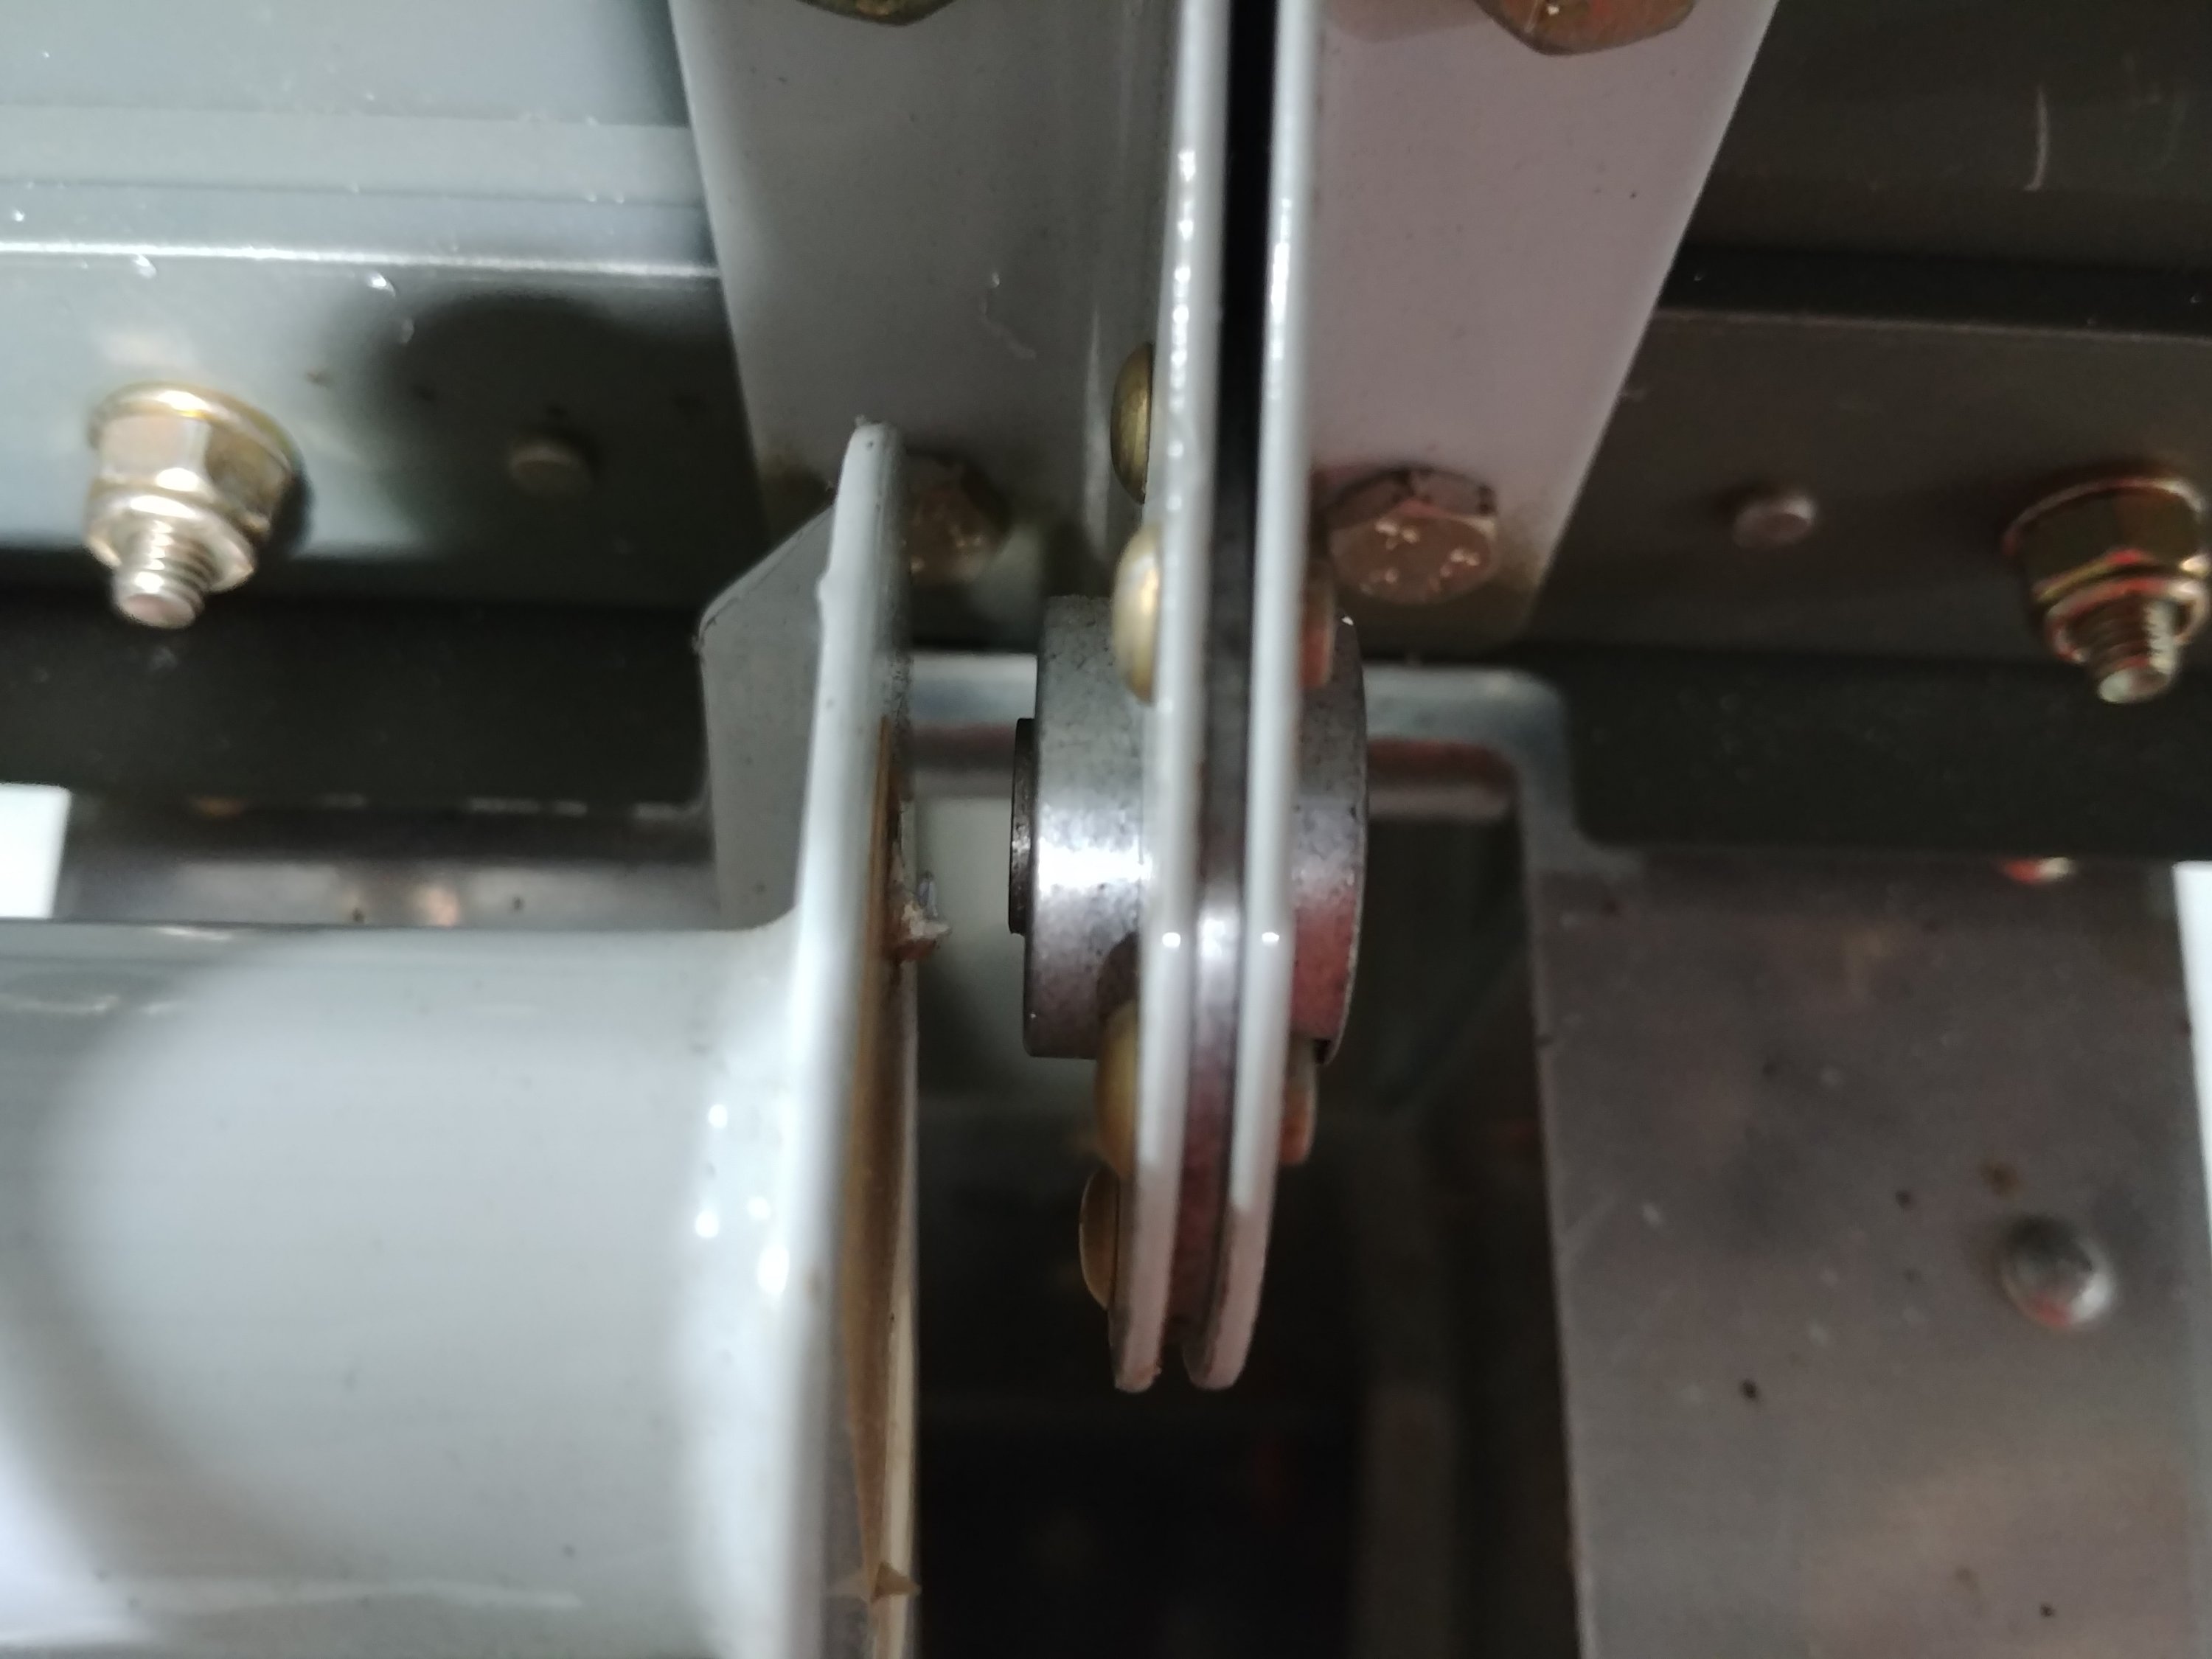
Close up of the three lower bolts:

Longer shot showing all five of the bolts I made holes for:

That settled all the attach work for the rear spar, the next part is the real fun. The forward attach point must be carefully positioned, to achieve two goals: 1) centering the stab on the fuselage centerline and 2) keeping the rear spar straight – the hinge points need to be in line for the rudder to move freely. Working out all this positioning requires some setup work.
First off, as a reference for centering the stab, a string system is set up along the longitudinal axis of the plane. The manual calls for using a piece of wood or striaightedge across the rear of the spar, and running strings from either end to a centerline reference towards the front of the plane. I chose to use an 18” piece of aluminum tubing instead of wood; instead of having to tie two pieces of string, and ensure they were both perfectly position, I just ran the string through the tube and, from each end, to the front of the plane. By ensuring the tubing was properly centered on the stab, the strings would in turn be positioned correctly and incapable of moving. Centering the stab then becomes a matter of measuring from each string to the side of the stab, and moving the forward end until the measurements match.
Getting the rear spar straight is simpler; the manual calls for using a straightedge, but this seemed like a perfect opportunity to use a plumb bob and string as well. Just run the string through the hinge bracket holes, secure it at the top, and then keeping the spar straight just means ensuring the string stays in the center of the holes.
A couple pictures of the resulting setup:


I didn’t actually do any positioning work yet. I think i want to refine the longitudinal strings a bit (mostly getting them nice and taut) before I go measuring, and by this time it was about time to call it a night. So I’ll maybe pick up tomorrow with the positioning, and see how that goes.
This thing is looking more airplane-y by the day…