With last weekend’s track event behind me, it’s time to get back to work on this thing. Tonight I decided that I really wanted to actually get some holes drilled (but not at the cost of doing them wrong). Last time I’d put a lot of musing into figuring out how to properly position the bolt holes for the forward spar of the horizontal stab. I asked around a bit and got confirmation that my approach was reasonable. That just left the fun of figuring out how to actually drill the holes.
Here’s the fun part: with all the sharpie work from last time, I feel pretty confident about positioning the holes on the aft deck. The problem is, the holes have to be drilled with everything in assembly, which covers up all the fancy marks I made on the deck. Which is to say that if I drill from the top, starting with the attach angle, then I have to figure out some way to transfer the hole position markings onto the angle. Trying to work out a way to do this precisely was a real brain teaser.
For a while, I thought I had a bright idea: instead of drilling everything at once, carefully mark and drill the holes through the aft deck (and other attached stuff), then put the stab in place and use those new holes as guides to drill upward through the spacers and the attach angle. The downside to this approach is that it would require me to drill those holes from an awkward position, and I’d probably want to use the angle drill, particularly on the outboard holes. But a little investigation quickly showed that even with the angle drill, I wouldn’t be able to make the hole close enough to the sides for proper positioning. So that whole approach was off the table.
Finally, though (and when I say “finally” I mean “after 45 minutes of pacing around”), I figured out a solution. Here’s the real rub of trying to locate the holes on the stab attach angle: the reference points for the hole locations are the longerons, which sit under that angle. Trying to transfer those lines to the top of the angle seemed like a great opportunity to introduce error.
But…what I could do is transfer the location of the skin (which sits against the longeron) to the bottom of the attach angle, simply by clamping it in place, laying a ruler against the skin, and tracing that line on the angle. From there, I could mark out the hole locations on the bottom of the angle, drill the pilot holes there, and then use those holes as a guide to drill down through everything else with the stab in place.
That was a good approach for the two outboard holes, but the inboard ones were a different matter. The upper reinforcement angle makes it impossible to get a straight shot at the inboard locations from above with even a long drill bit. So for those holes, I decided to go with my original plan – drilling the initial pilot holes in the aft deck and using those to drill upwards through the angle. Since these weren’t right against the skins, there were no clearance issues using the angle drill.
And so I marked, measured, double-checked, verified, second-guessed, thought it all over again, re-measured with a different tool (I’m not making that up, that’s how OCD I was about getting this right), and then finally marked my holes and got to drilling. To ensure nice square holes, I made a drill block out of a chunk of poplar I had lying around.
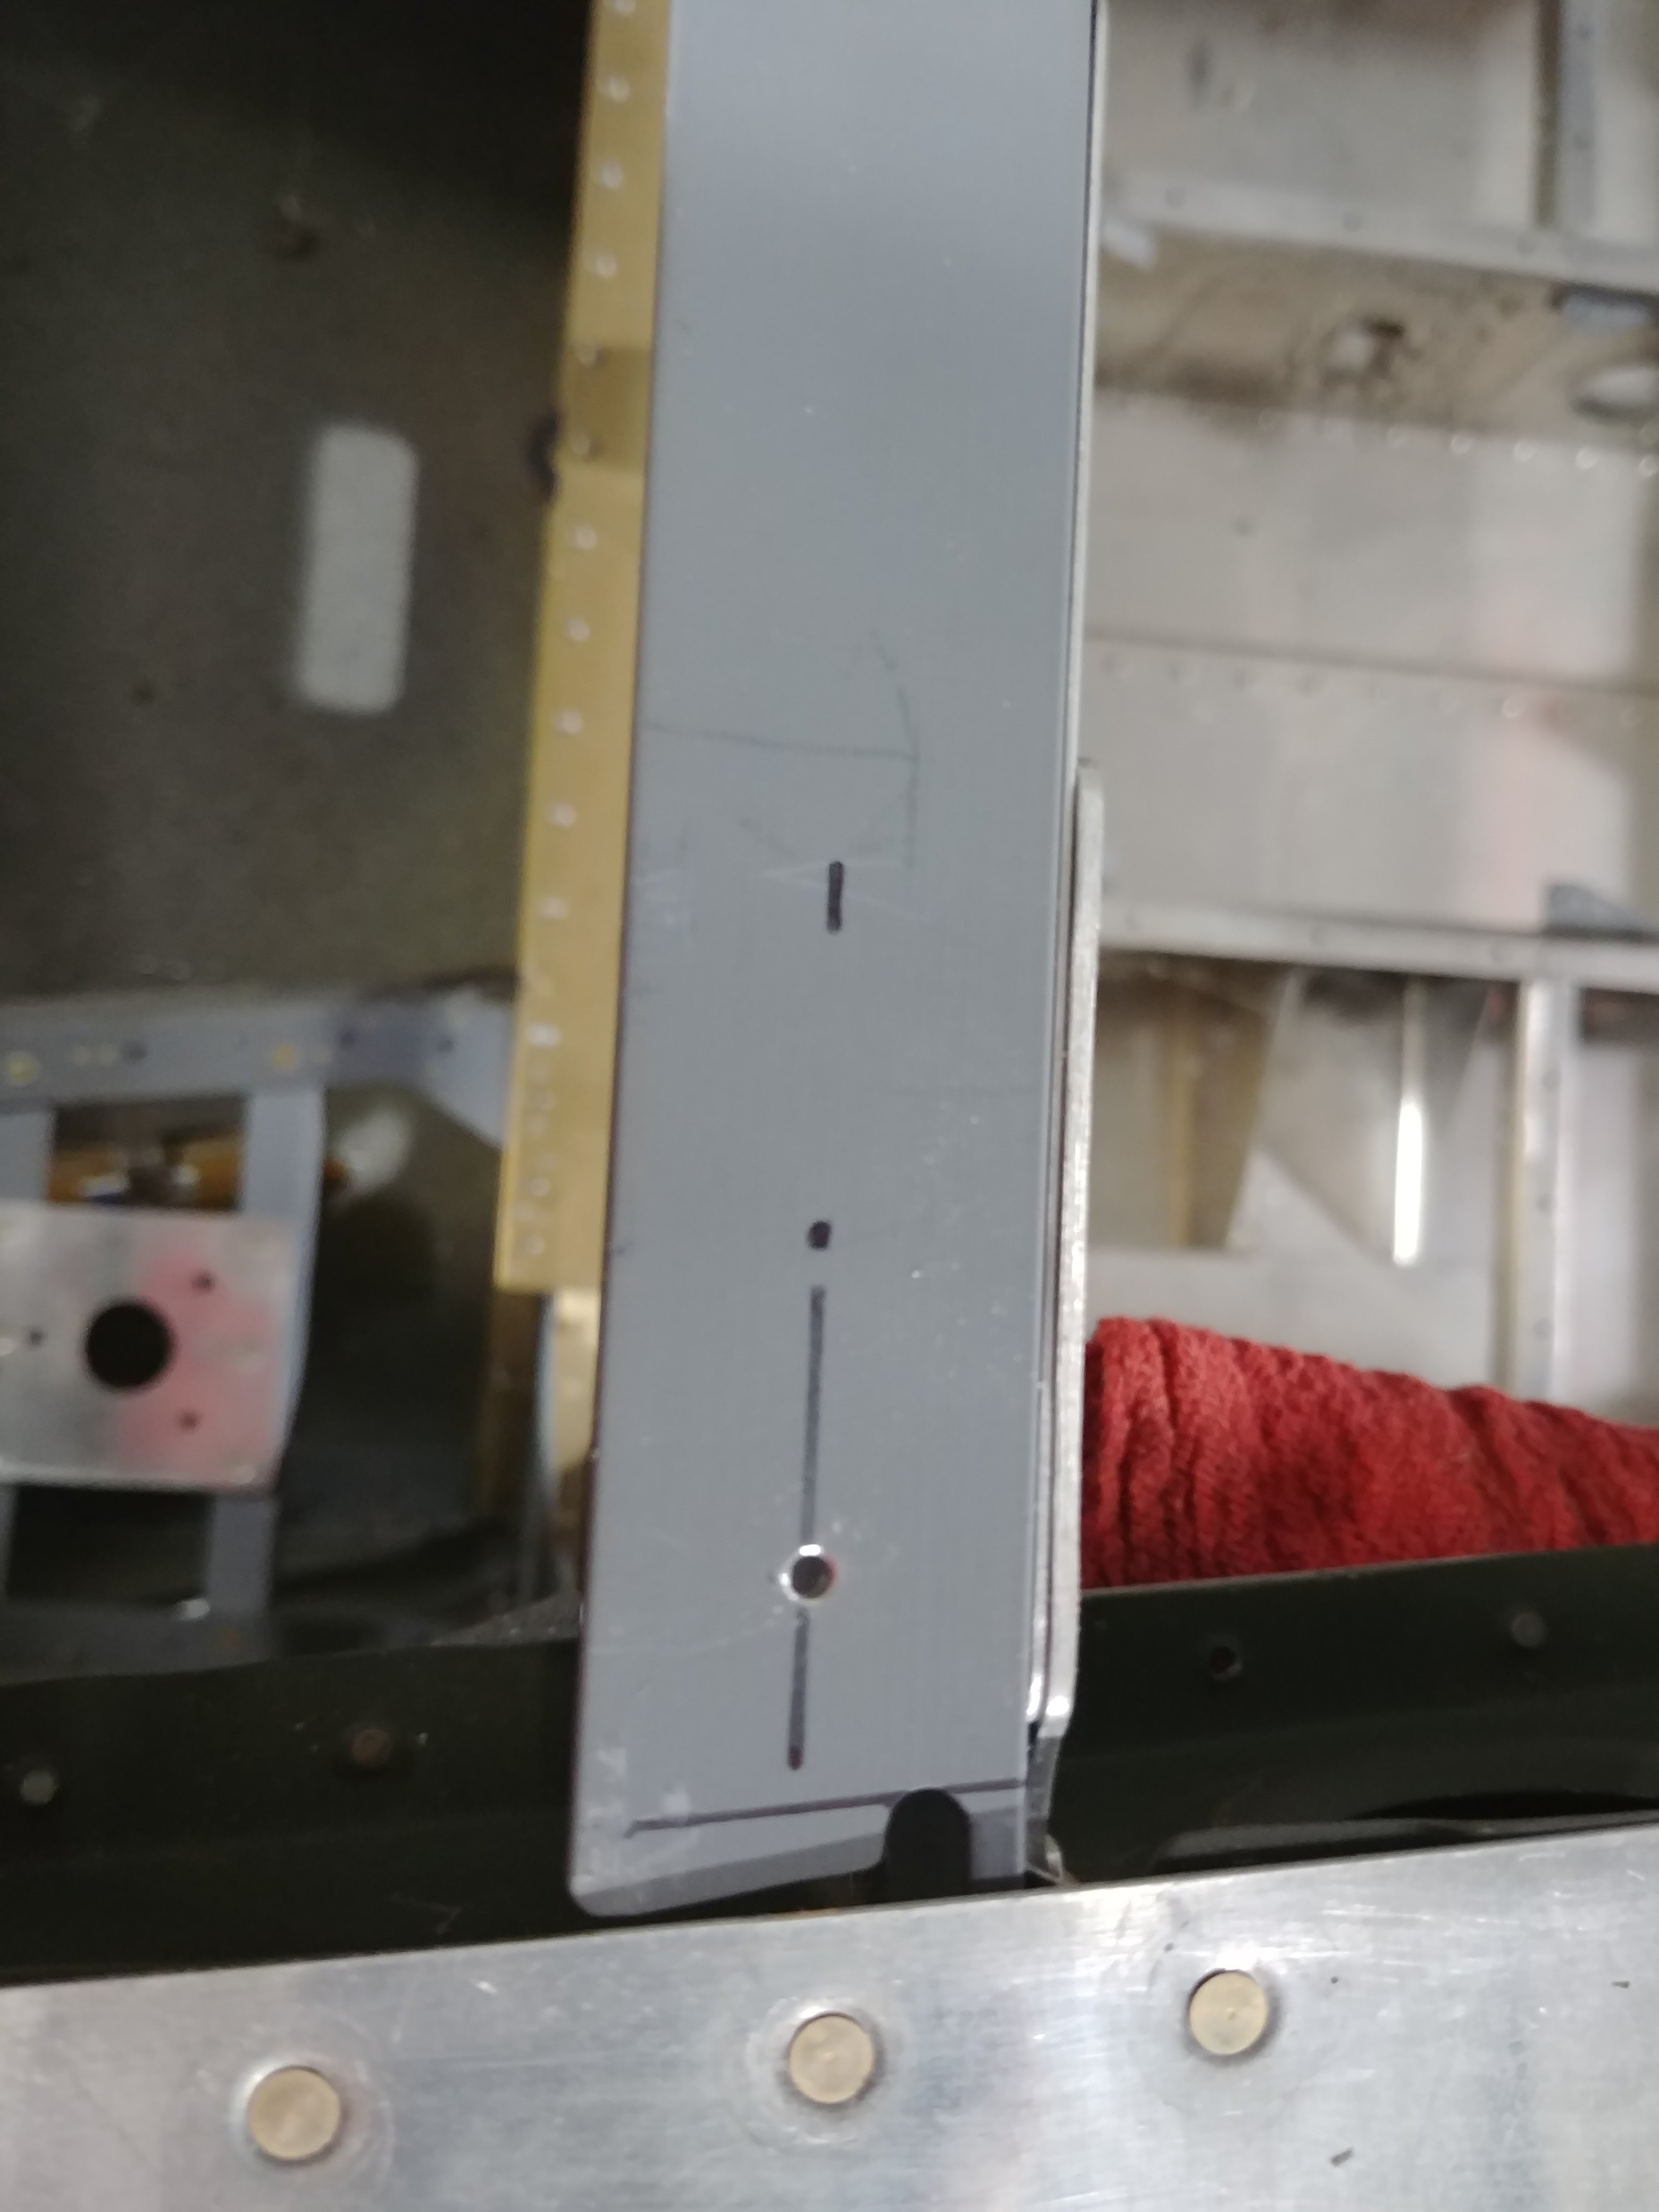
Here’s one of the outboard pilot holes in the attach angle:
And on a similar note, one of the inboard pilot holes in the aft deck:
Next, I put the stab back in place, clecoed it to the rear attach bars, squared it to the fuselage (again checking about 40 times), and clamped it tightly in place. The outboard pilot holes I drilled through using a 12” #40 bit and my drill block. The inboard holes I drill up from beneath using a #30 bit in the angle drill. Since these holes already went through about 1/4” of aluminum, I judged that the drill block wasn’t necessary. As I drilled each hole through, I dropped an old #40 drill bit in to ensure nothing wandered out of alignment while I was drilling other things.
Then I got out my inspection mirror and took a look at the hole locations beneath the aft deck, and they appeared to be properly located! That was a huge relief. I can’t even begin to communicate the amount of anxiety I felt before committing to actually making these holes.
But that’s not the end of this. The final holes need to be #12 for AN3 bolts, so there’s more drilling to be done. First, I wanted to drill them up to #30, at which point I could stop using old drill bits as alignment pins and use actual long-grip checks instead. The outboard holes were easy enough to drill up, just using a 12” #30 bit. The inboard ones were more interesting. I didn’t like the idea of drilling from underneath in this case (drilling to the next size up vs continuing a pilot hole), so I decided to drill from the top down. This required the angle drill due to tight clearance with the upper reinforcement angle.
And unfortunately, about halfway through the first hole, the gears in my angle drill adapter stripped out for some stupid reason. I’m a little grumpy about this, since this is the second adapter I’ve gone through on this build. Not sure what they make these gears out of, but I hope that same material isn’t in my airplane any more.
So that’s where the night ended – stalled pending the purchase of a replacement tool.
I’ll wrap up with photos from beneath of the holes. Here the outboard holes are drilled up to #30, but the inboards are still #40. Also, these photos aren’t great, but keep in mind I was using a cell phone to take a photo of an inspection mirror pointed at the holes. I think it’s about the best I could do short of actually getting in the fuselage.

