Fuselage riveting redux

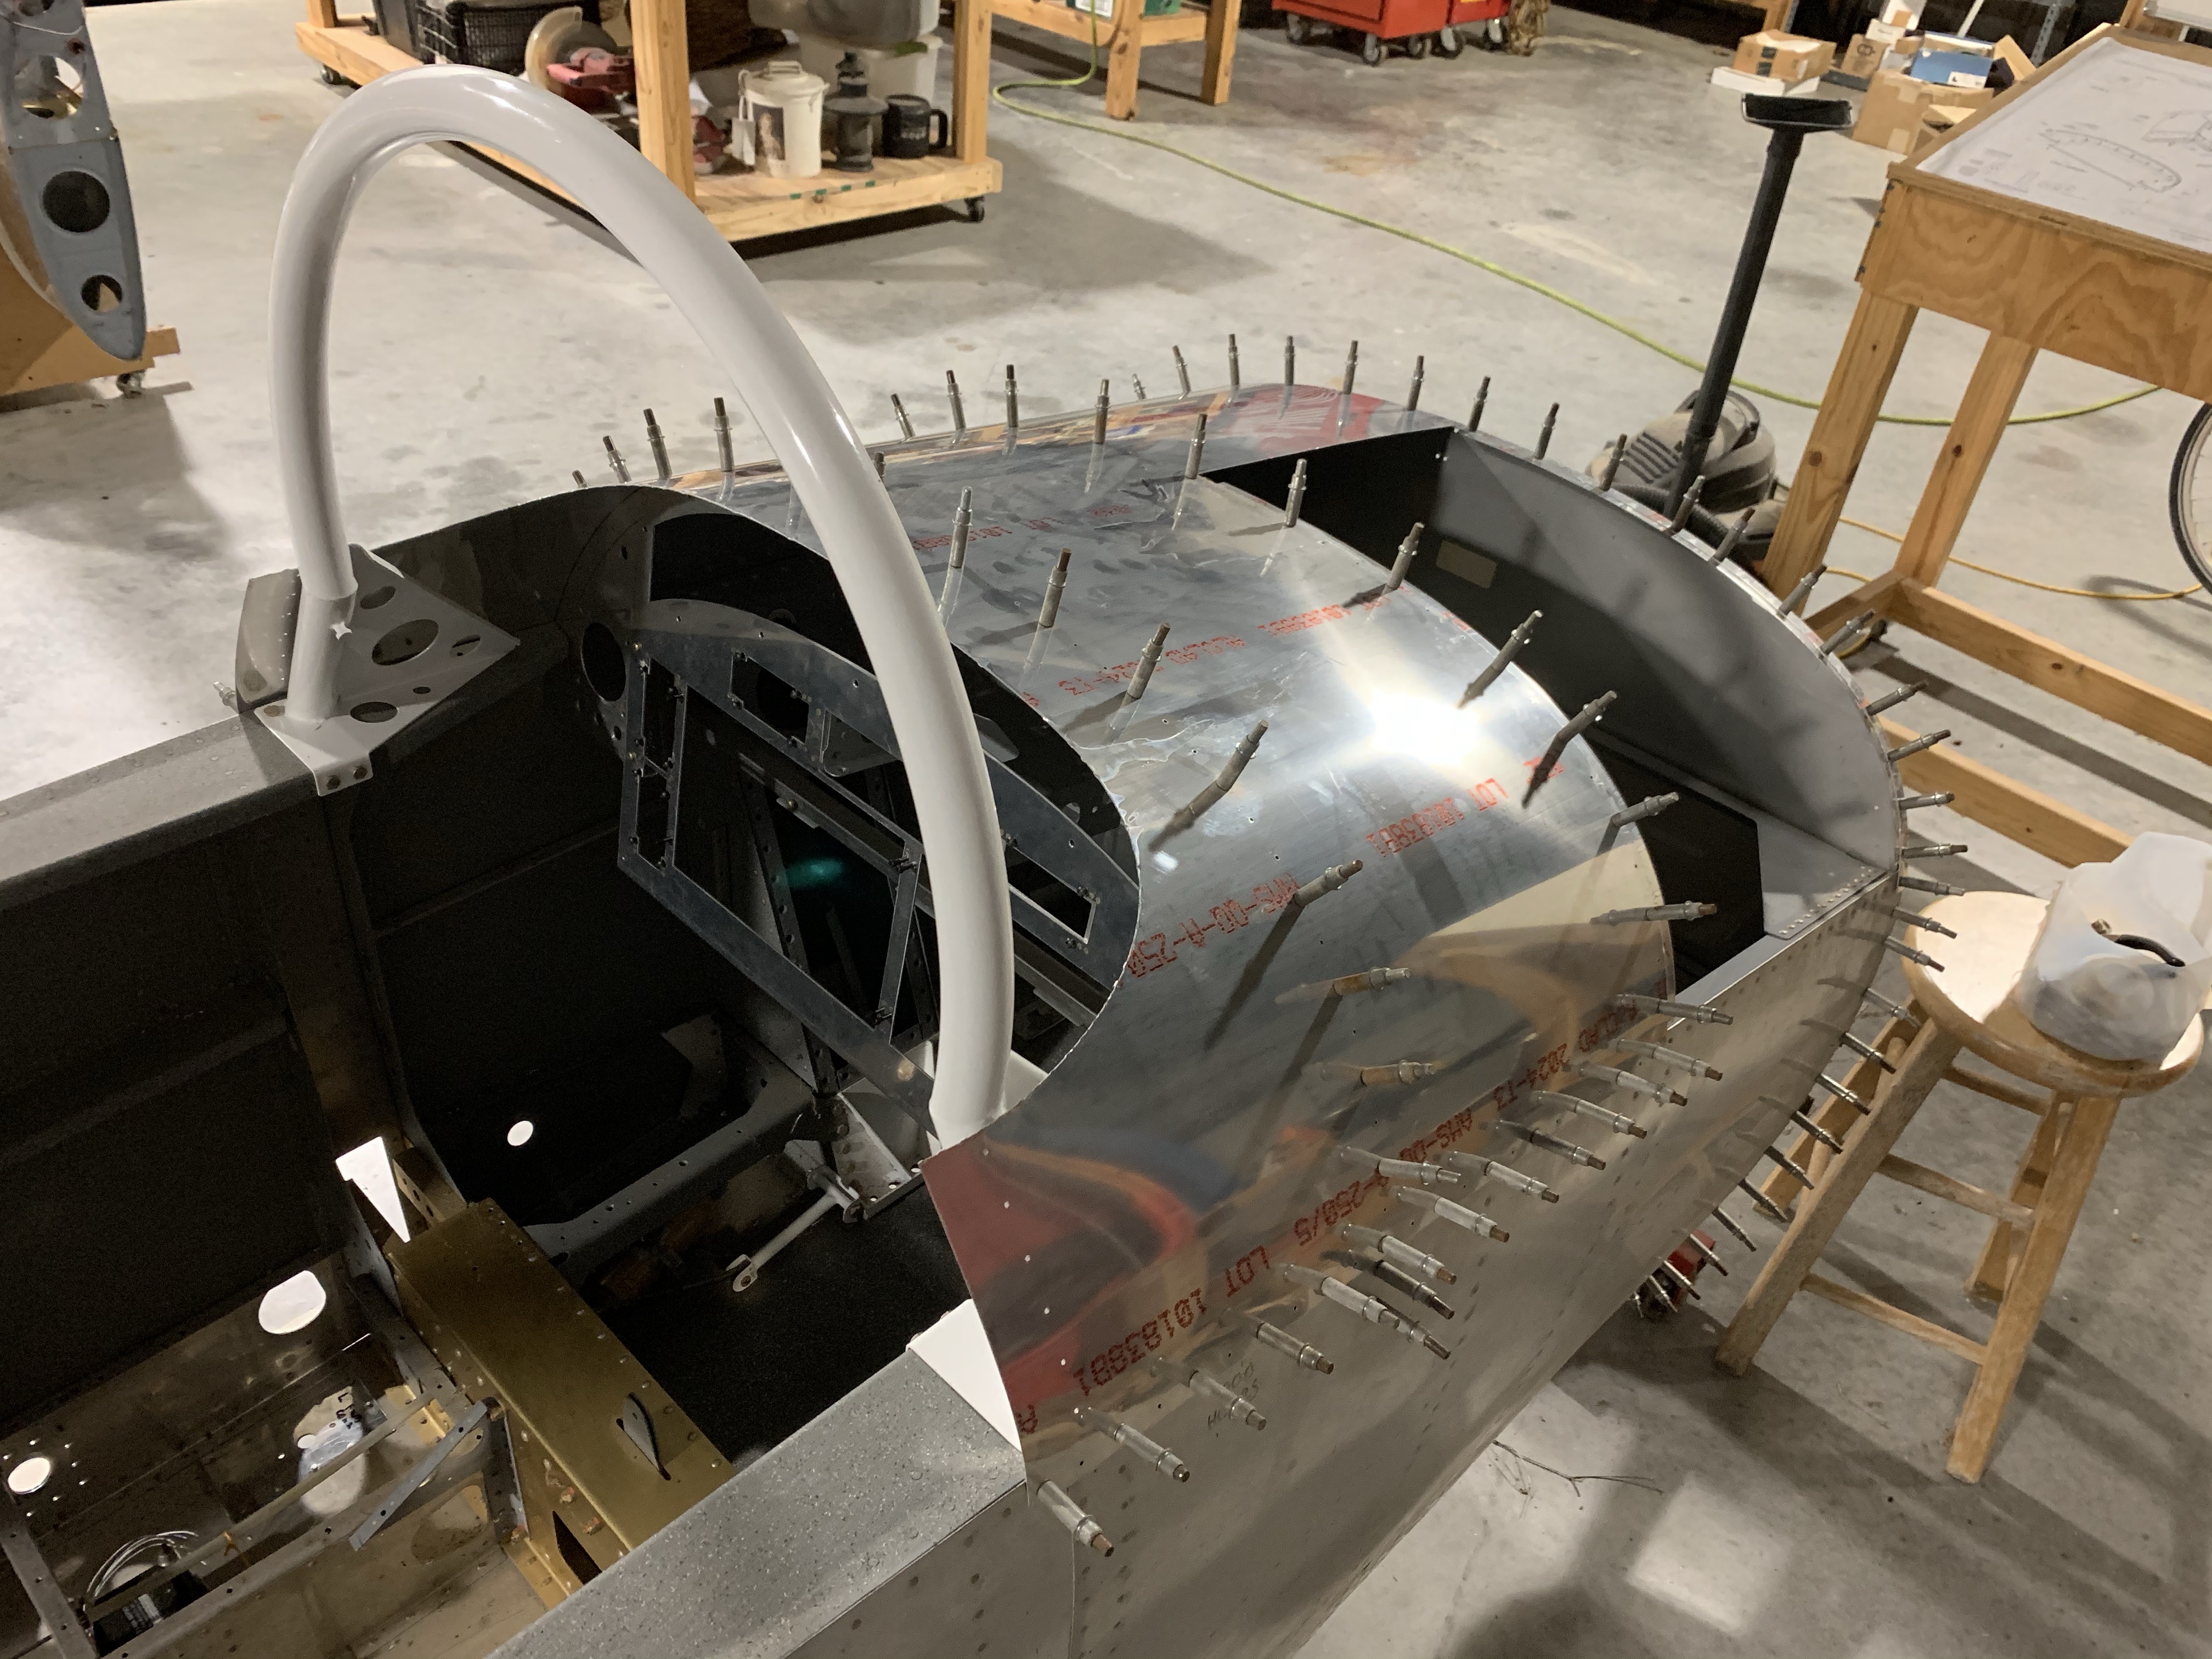
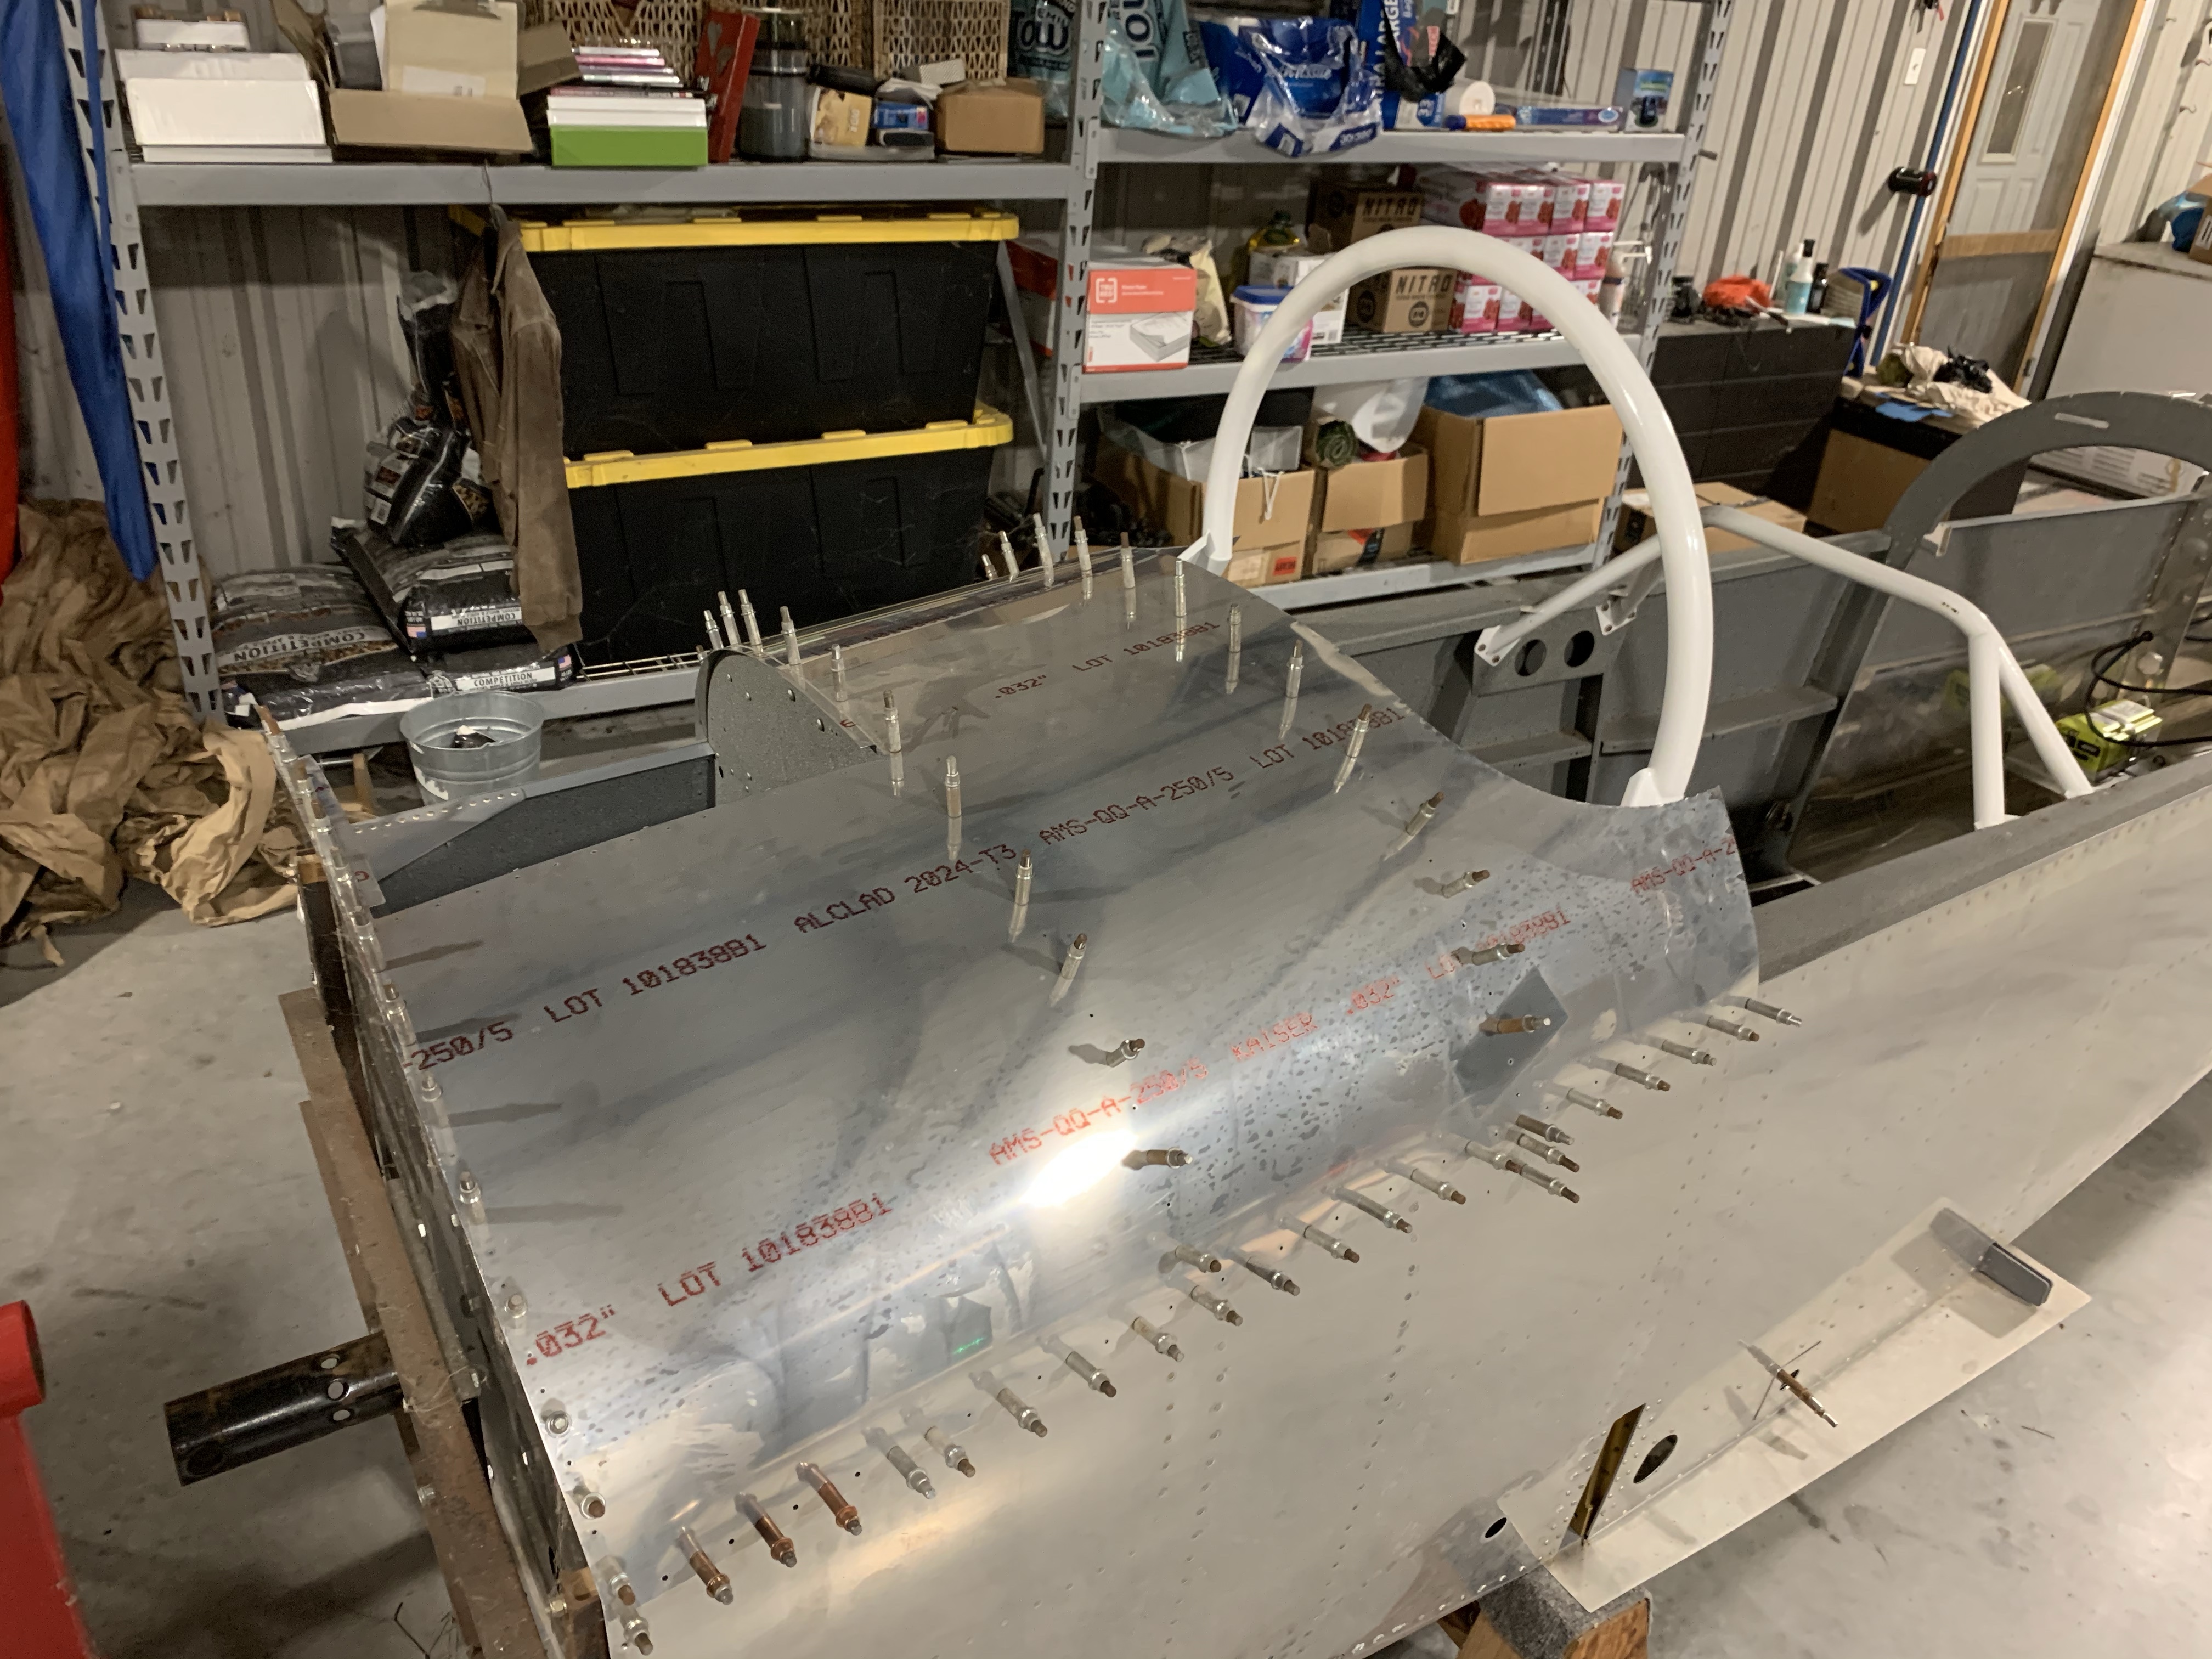
So yeah, I sorta goofed off most of yesterday, then most of today was assorted housework – it was a great day to work outside. But ever since I got the new gussets clecoed into place, I’d been eyeing the rivets and thinking that I ought to be able to at least do some of them myself. That was especially a good thing since Josie wasn’t feeling well this weekend.

As it turns out, I was able to do all the rivets in the side skins by myself – with the fuselage upright and sitting on the sawhorse, I could fairly easily get one arm on either side so I could both shoot and buck. The only real complication I ran into was when replacing the upper gussets – two holes on each one are in common with the auxiliary longeron, which also is a mount point for the mid cabin covers. That means there’s a nutplate on the end of each longeron, right on top of one of those rivets.

I presume those must have been installed after I shot the rivets the first time, because I didn’t see any good way to buck that one rivet with the nutplate in place. So I just removed both nutplates to get them out of the way. I haven’t examined them closely but I’m pretty sure I’ll need to replace both of them. Not sure if I have them on hand either, they’re the somewhat unusual nutplates with both rivet holes on the same side of the screw (what you use when you need it near the end of whatever it’s mounted to). But that’s OK, I can reinstall those pretty much any time.

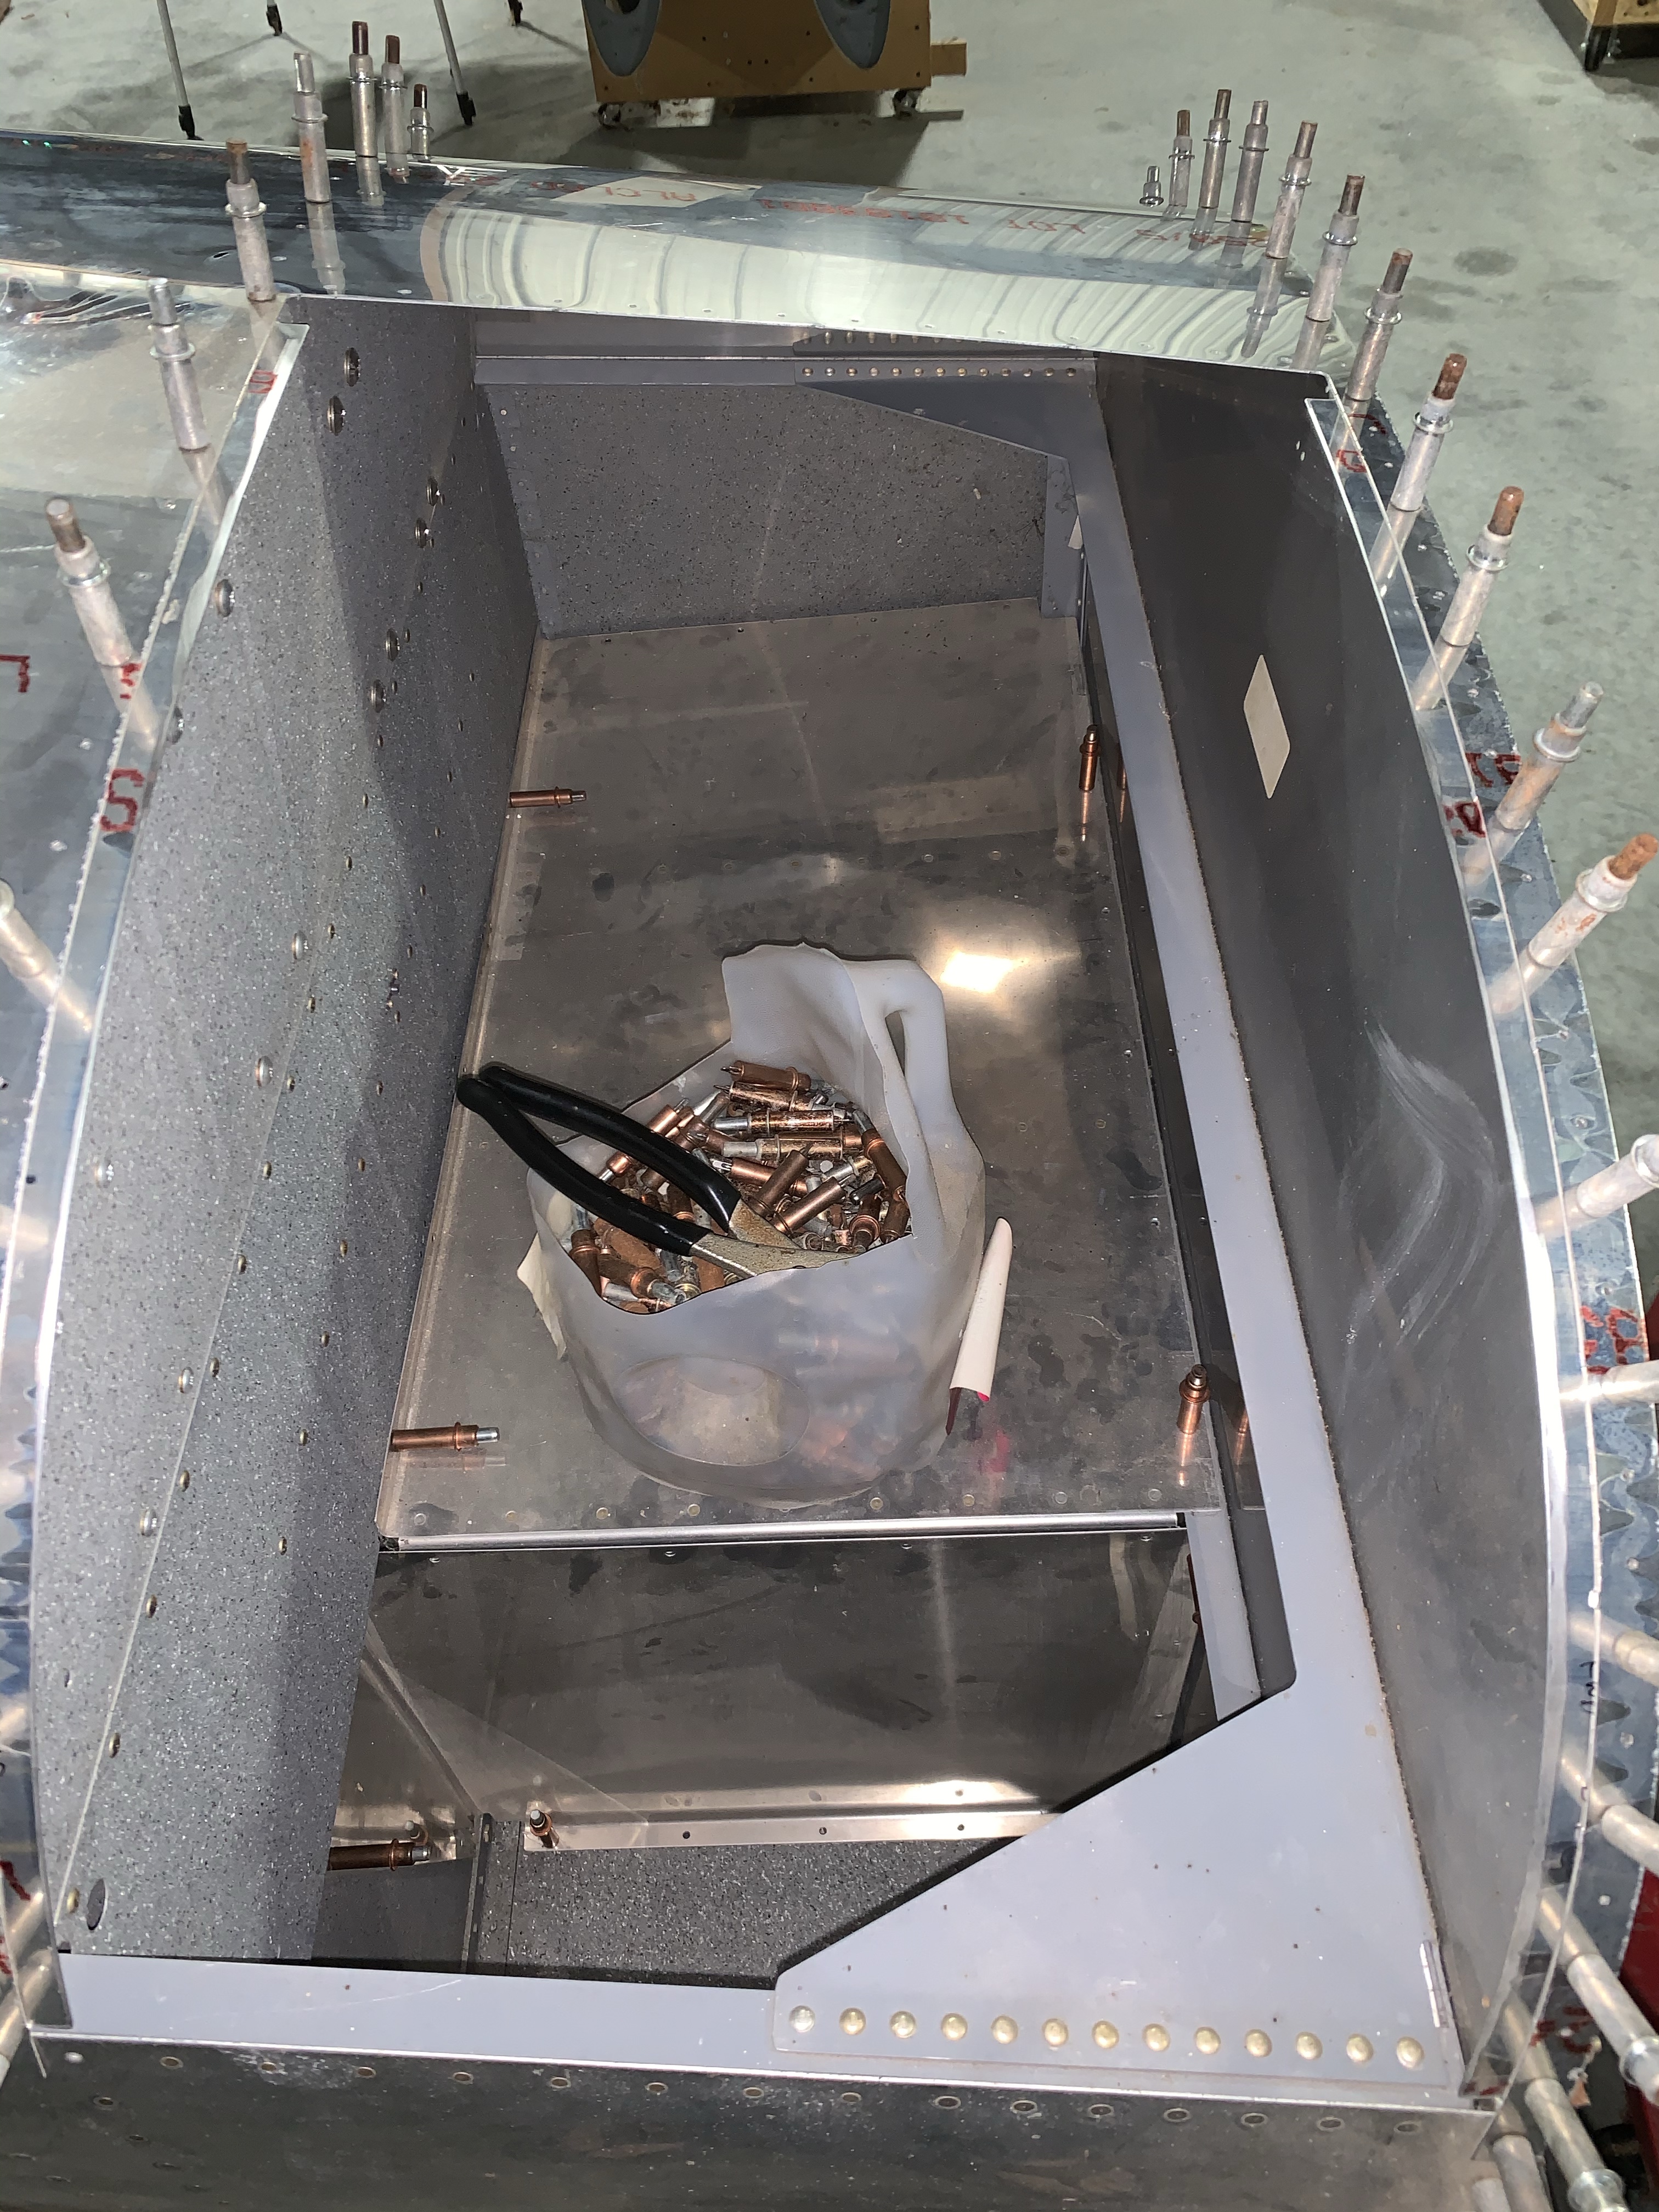
So now the only riveting we have left is about 18 or so flush rivets on the cooling ramp, most of which should go pretty quickly. The only ones I’m concerned about are two that are really close to the forward side skins – I’m not entirely sure how we’ll shoot them. When I looked at them a few weeks back, it didn’t seem there was any good way to get a flush rivet set on them. Might have to ask around on VAF about those. I guess back riveting could be an option but that seems tough since I’d have the firewall in the way inside the fuselage.

The other two-person job on the docket is replacing the screws we installed last month. When we did that work the first time around, I didn’t use a torque wrench at all – for most of the nuts it would have been impossible anyway, so I was doing the old “that’s about right” method. Well, along the way I broke one screw after over tightening the nut. That got me thinking after the fact, and I strongly suspect that I over-torqued a lot of those nuts. Given the significant stress this area will be under, I decided to remove and replace all of this hardware.

I’ve already got the new stuff, which I tacked onto my gusset order from Van’s. This time around, I’ll use a torque wrench on the nuts I can get to, and that’ll give me a good feel for how I should be torquing the ones where I can’t use the torque wrench. It’ll be sort of a pain doing this, but the peace of mind will be worth it.

Posted in Fuselage | Hours Logged: 1.5

Replacement gusset prep

Well, here we are after another break. Waiting on parts from Van’s blended into the lovely Texas Icepocalypse, which left us without power for three days and with some plumbing repairs afterwards. So it’s been an interesting few weeks there.

However, I did get the new gussets from Van’s, and decided to get cracking on those after work today. Just had to separate the parts (the four gusset pieces come as one piece), do the edge cleanup, runs one edge to nest properly, and drill to final size. The replacement gussets are now clecoed in place and ready for some more riveting. Before we do that, though, I think we’ll do a bit of practice work with the universal head rivets to prevent a recurrence of the previous issues.

Posted in Fuselage | Hours Logged: 1

More riveting, but with setbacks

I came into this evening’s work thinking we were on the home stretch. Maybe 40 or 50 rivets left to go, possibly doable in one session, or worst case surely doable over the course of this weekend, even allowing for short sessions. Most of the day was busy but we had some time after work to go out and get to it.

Things seemed to be going well – we had a good rhythm going, and took care of almost all the universal-head rivets along the lower longeron and center section in maybe 45 minutes. Unfortunately, when I came out from under the fuselage for a breather, I found that a lot of the rivets Josie had shot had their heads smeared to the side. This is easy to do when using the cupped set, a fact I can attest to because I’ve done plenty of these on my own. She just didn’t have the awareness to pick up in the issue early on, because I didn’t take the time to talk through what to look for.

So at that point the evening switched to me drilling out about half of the rivets we’d just shot. And this situation is about the worst for drilling the things out – carefully drilling off the rivet heads depends on using the rivet head ad a guide to drill on center, but if the head has been smeared sideways, then all bets are off. It takes some careful work to get the rivets out without causing damage to the holes.

I managed to get all the bad ones out on one side of the aircraft, but in the process I bent up both of the corner gussets that we’d been working on, so I’m going to replace those. I started working on the rivets on the other side, and got the heads drilled off, but was having trouble getting the shanks out – this is a common issue with rivets in thick material (like the longerons here). At some point I realized that I was getting injudicious in my application of force trying to drive the rivet heads out, so I decided to call it a night. I’ll pick back up tomorrow and hopefully be a little more circumspect.

Unfortunately this stuff happens with building – it’s the way things go sometimes – but it sure is a bummer to go from “on the home stretch” to “time to replace some parts.”

Posted in Fuselage | Hours Logged: 1.5

Even more fuselage riveting

Short session after dinner tonight; we re-shot a few rivets on the forward spar carrythrough flange that had to be drilled out last time, then shot more flush rivets along the bottom of the forward side skins.

That just leaves two more rows of non-flush rivets further back on the side skins, and few more flush ones on the cooling ramp. We’re almost there…

Posted in Fuselage | Hours Logged: 1

Screwin around

Apologies for the title, I couldn’t help myself… Originally we’d planned to do another riveting session tonight, but Josie ended up working late, and we didn’t want to be making lots of loud noises at 10 PM. So instead I proposed that we work on installing the structural screws at the base of each gear tower.

But first there was a bit of a hang-up. All told, there are 17 screw holes per side; 15 of these call for AN515-8R10 screws, while the other two call for shorter -8R8 screws – the reasoning for the short ones seems to be that there are some other nuts inside the tower limiting the space for a protruding screw. Now, all this time I’ve been eyeballing a nice bin of flush screws that I presumed were the -8R10 screws, and figured those four short screws were in another bag that I know contains some assorted flush screws.

Noope – that bin full of screws was actually a pile of -8R8. Um, so where are the longer ones? I thought we’d broken out all the significantly-sized bags of hardware while inventorying, but apparently not in this case. Eventually, after digging through the fuselage inventory sheet, I found the bag they came in…still full of screws, along with the 8-32 lock nuts. The discovery of the nuts is a bit amusing too – I took a look a few days ago at my bin of these guys and realized I didn’t have enough for all these spots, so I ordered some more from Spruce along with some other stuff earlier this week. So yeah, now I’ve got enough 8-32 lock nuts to last a loooong time.

Anyway, we finally got to work. Getting these done was a bit tedious – only a few screws on each side are outside the gear towers where the nuts can be tightened pretty easily. Several required me to just hold the nut while Josie snugged the screw in place, with me just torquing from inside. The rest were inside the gear tower, and even with my nice access-panel modification, they were tough to get to.

So we got all the longer screws installed, and made a passing attempt at the short ones, but after a couple failed attempts to even get the nut started from inside the fuselage, I called for a recess for the evening. I think it might actually work better for these screws if the fuselage is sideways on the rotisserie – at least then gravity can help holds the nuts in place. Or maybe we’ll give it another try tomorrow, we’ll see how it goes.

Still, most of them are done…now to get back to riveting, maybe tomorrow night.

Posted in Fuselage | Hours Logged: 1.5

More fuselage riveting

Oh boy, what fun. Today has been super slow going – we started out trying to finish up the forward gear crossmember. Yesterday we did all the rivets in that except for four in the center that attach two nutplates, which in turn are part of the rudder pedal mount system. Those went pretty easy, so we then went to work on the inboard edges of the lower forward skins. Like with the nutplates, these were flush rivets with the flush side inside the cabin, which meant I was sitting inside shooting while Josie was bucking.

Now, the thing people will tell you about shooting solid rivets is that handling the gun is the easy part – mostly all you have to do is hold the thing straight and have the right sense and trigger control to hit rivets for the proper length of time. Bucking, on the other hand, is a bit more of an art. You’ve got to hold the bar so the face on the rivet tail is parallel to the surface, and you’ve got to keep it in that orientation while a high-speed air hammer is beating the crap out of the other side. Getting this right means finding a middle ground between holding the thing with a death grip and letting it use bounce everywhere. Sort of a .38 Special “Hold On Loosely” thing.

Anyway, that’s a long intro for this tedious bit of work. These were only maybe 18 or 20 rivets, but there was a lot of me shooting, then climbing out to examine a shop head, then coaching Josie a bit more on the bucking, and so on. The end results were not the best set of shop heads ever, but none of them were horrible enough to drill out. This is especially true because where these were located, drilling any out without damaging the holes would have been a whole new challenge. Sometimes there’s a real judgment call to be made between a subpar rivet shop head and the potential for damage if you drill it out to replace it.

Side note: lest anyone thing I’m making excuses for poor workmanship, this exact dilemma is called out in the shop manual. In particular, re-shooting after drilling out can often lead to a worse rivet than the first – the hole has likely been enlarged a bit, there’s a bit more slop, and thus more opportunity to cause trouble.

Anyway, after getting through that slog, Josie went for a rest while I got the cooling ramp clecoed in place for later riveting. Some of the attach rivets for this are blind rivets, so I went ahead and got those set. Then I spent some time cleaning the shop before we took the dogs for a pre-sunset walk. We decided to do another riveting session before dinner, and this time we went for the row of rivets on the forward side of the spar carry through. These went mostly well, though I folded over a couple rivets bucking from inside – there are a couple spots with bolt heads on the bulkhead here, and working around those to get the bucking bar in place was really tough, especially considering I had very little freedom of movement.

The real fun came with the outboardmost rivets on this row – the aft end of the lower longeron is in the way, so there’s no way to use a full-size bucking bar. Instead I had to use the small edge of one of my thin tungsten bars. Doing this requires very precise control of the bar, and is pretty error-prone. Even better, I had to get into a different position for this, squeezing my upper body in between the saw horse and the aft upper brace (at the top of the gear towers). This led to yet another “action” shot, this time with Josie just sticking her phone under the cockpit and trying to capture my contortionist adventures:

What’s not so obvious from that picture is that my legs are sort of sticking off to the left side. I felt quite a bit like a pretzel. But hey, i got both of the tough rivets bucked with no issues, which let me breath a sigh of relief.

That was where we called it a night. I took a few minutes to drill out the four bad rivets out of that row – we’ll pick back up with those another night. We’re talking about trying to do consistent short evening session this week to finish this stuff up. At first I was a bit frustrated at the rate of progress, but I have to remember that Josie’s not nearly as experienced at this as I am – she’s going to go slower and get a good bit more mentally taxed than I do. As with everything homebuilt, slow and steady wins the race.

Posted in Fuselage | Hours Logged: 3

Some fuselage riveting

So riveting last weekend didn’t happen – Josie wasn’t feeling well on Sunday. And while that kept me from really working during the week, as the riveting is kind of my blocking thing right now, it wasn’t a total loss. You see, Friday I got a nice big box from Cleaveland Tool that contained my seats. I ordered these late last year, and after a fair amount of thought, went with leather seats, but kept the look fairly simple – just plain gray with some orange topstitching. This will match up with my expected exterior paint design, but without being too garish (or requiring that I match, say, orange leather with an exterior color I’m not yet sure about).

Of course, I had to temporarily put the floors in and cram in the seats for some photos. And yes, I climbed in and did a test sit, both in front and back.


Anyway, that takes us forward to today. Well, I guess sorta last night, because I spent some time just really getting things organized for the riveting work. Flipped the fuselage, got it on the sawhorse, pulled over a table, put the rivets/gun/bucking bars/etc on it…I mean really getting those ducks in a row. And so this afternoon we went to work.

First up were the antenna doublers that I fabbed up a while back. I figured these would be a good easy intro since Josie hasn’t done any riveting in some time. These were going fairly well until we got to the com antenna doublers, which are located right behind the spar carry-through. We’d just shot the first rivet when I really looked at what we were doing, and realized I made a dumb choice when I made these.

Notice those four holes in the pic below? Those are for the wing attach bolts. And the forward flange on that doubler is right in the way of them. Not necessarily a problem if I insert the bolts from forward, but even then they might be annoying for getting the nuts in place. I’m glad I noticed this now, that would have been a really unpleasant surprise when it came time to hang the wings.

Easy fix though – there’s no real need for that forward flange, seeing as how it’s right beside probably one of the sturdiest areas of the aircraft. So we just paused riveting for a bit, and I removed the doublers and just removed those forward flanges. Easy peasy:

Sometime around when we were finishing up those doublers, Josie decided to get a rare action shot of me doing my thing. Well, maybe not an action shot, just me demonstrating the glamor involved in homebuilding…by which I mean slithering out from under the inverted fuselage:

After that, we had time to get the forward landing gear crossmember riveted to the forward floor before it was time to duck inside for some dinner. That was the end of the the day’s riveting, but it allowed me to go ahead and get the bottom forward skins installed, which I did after dinner. Just got to put a sealant bead on the firewall flanges and then get these guys clecoed in place. I also went ahead and installed all the rivets that didn’t require two people. So now I’ve got most of the components at least in place:

Only thing still missing here is the cooling ramp, which will have to wait until we do a lot more riveting. From here, we’ve got a bunch of rivets along the bottom edge of the side skin (in assembly with the lower longeron and the bottom skins), another line along the forward side of the carry-through, and then the remaining ones on the forward bottom skins. Oh, and there are also a bunch of flush screws to install at the base of the gear towers, which we might as well do as a team.

The only real hangup here is a couple of rivet holes along the lower longeron – there were two spots here where the parts didn’t quite line up properly, and I ended up drilling the holes out for 5/32” rivets. Only problem is, while I have an assortment of those on hand, I don’t have the length needed for this stackup of materials. I thought about doing #8 structural screws instead – because they’re the same size and I have them – but once again, the ones I have aren’t the right length. I figure if I’m going to order fasteners I’m just going to get the rivets I need to go here.

Posted in Fuselage | Hours Logged: 5

Prepping for fuse riveting

Well folks, it’s almost time to go back and do this fuselage riveting that I’ve been putting off for so long. Today I wanted to go review the construction manual and get familiar with what needs to be done, with the idea being that when Josie is able to help me tomorrow, we can focus on shooting rivets instead of me having to spend a bunch of time staring at plans and stuff while scratching my chin.

This actually took a decent bit of time, just by virtue of me triple-checking everything. In particular, I couldn’t figure out for the life of me why we hadn’t already riveted the row along the forward side of the center section. I even went back and read through all my old build log posts about the fuselage riveting, and that led me to the amusingly obvious answer – whereas the rivets on the aft side of the center section only go through the belly skins, the forward row also rivets in assembly with the forward bottom skin – which is exactly one of the components we’ll be riveting tomorrow.

Anyway, basically what we’ve got for tomorrow is to shoot a few rivets on the side skins, that row along the center section, and then the forward landing gear crossmember. Then we get to install the forward left and right side skins, shoot a few rivets in each one of those, and add the cooling ramp. There are also a bunch of fish screws at the base of the gear towers that I’ll probably recruit her help with.

The other thing I’d like to get done tomorrow will be riveting all the antenna doublers. I still needed to get the rivet holes in the lower skin dimples for this, and doing this meant getting out the old pop rivet dimpler. It’s not my favorite tool at all, but it gets the job done when nothing else will. I ended up recruiting Josie to help with this too, since it’s a lot easier with someone on both sides of the skin.

So I think we should be set for an afternoon of riveting tomorrow. Hopefully we can get it all done tomorrow, but if not I think we can maybe bleed into some weekday evening sessions as well. And then I guess I won’t have any excuses left for not getting busy on the main wiring harnesses…

Posted in Fuselage | Hours Logged: 3.5

More fuse shelf stuff

Yep, more work on the fuse shelf. Today I drilled the mount holes and installed the nutplates for the e-bus diode. I considered also going ahead with the holes and nutplates for the assorted adel clamps that will secure the wires here, but I think I want to wait until I have the wire bundles mostly in place before I do that, just to be sure I’m locating everything well. No real reason to commit just now other than the general desire to make holes in things.

Instead I decided to go ahead and make the short jumper wires to connect the diode to the two fuse blocks. Hey look, things are, like, connected!

After that, I set about working on the quarter-turn fasteners used to secure this shelf. As originally installed, these are just a bit too long for the application – they’ll grab the receptacles OK, but I didn’t like how easy they were to disengage – seemed like they might be prone to coming loose with vibration. My original fix for this was to just slip some small o-rings onto the fasteners, and that did indeed snug them up nicely – but the o-rings also got squished out and fell off the fasteners in short order. Obviously not a satisfactory solution.

So when I placed my last order with McMaster, I got some new retaining rings for the fasteners (these are one-time use items, no good way to remove them without ruining them). For spacers, I just used some thin AN4 washers. Actually, I originally tried regular AN4 washers but they were too thick. Fortunately I was smart enough to only do this to one fastener before testing. This still took a few iterations of test-fitting the shelf in the fuselage, though.

Then I decided it was high time to get the fuselage prepped for finishing the bottom skin riveting that’s been put off forever. So I set about removing all the stuff I’ve been working on these past weeks – the upper shelf with its stuff, the panel and supporting structure, and all the baggage bulkheads/floors/panels and attached components. Oh, and the control column came back out too. Don’t want that flopping around when I roll the fuselage upside down again, after all.

Finally, I revisited the aft mount points for my two under-floor conduit runs. Some time ago, I secured these runs using zip-tie mounts attached to the lower skin with 3M VHB tape. Most of these stayed put, but I guess I had a little too much tension on the aft mounts – probably I was trying to stretch the conduit a bit to try to straighten it and make running stuff easier. In any case, both the zip-tie mounts unstuck from the tape squares. So I removed the old tape (which definitely had plenty of adhesion to the aluminum), cleaned the area, and re-stuck two mounts. This time, though, I didn’t immediately secure the conduit to the mounts – I’ll let those set up for a day or two first, and this time I don’t think I’ll try so hard to pull the conduit tight.

And that was a good half-day’s work. I need to go dig out the manual pages for the riveting so I can refamiliarize myself with what needs to be done. I also need to get some dimpling done on the antenna mount locations, where the doublers will attach. That’s going to be a fun job – I think the only real way I can do those is with the little pop-rivet dimple dies, and those aren’t the most fun thing in the world to use. Got to be done, though…

Posted in Electrical, Fuselage | Hours Logged: 3.5

Fuse block mounting

Quick little jaunt in the shop this evening – it cools off pretty quick after dark, and I guess after seven years Houston has fully transformed me into a warm-blooded creature. Anyway, I just finalized the fuse block locations, drilled the mount holes, and got the nutplates installed. Probably could have gotten the e-bus diode done too, but the soup I chucked in the Instant Pot for dinner was done at that point, so I retreated into the heat.

Posted in Electrical, Fuselage | Hours Logged: 1