Tonight I got straight to work with the riveting on the panel parts. First up were the nutplates, by which the center panel section will attach to the subpanel “wings.” Then I got to rivet the attach strip onto the subpanels; in this case, only some of the rivets are set, specifically omitting some near where the subpanels connect on the aircraft centerline. If all of these rivets were set, the entire assembly would be made rigid, and it’d be impossible to get it in and out of the aircraft…and I’m not ready for permanent mounting yet. If nothing else, these things need to be painted…
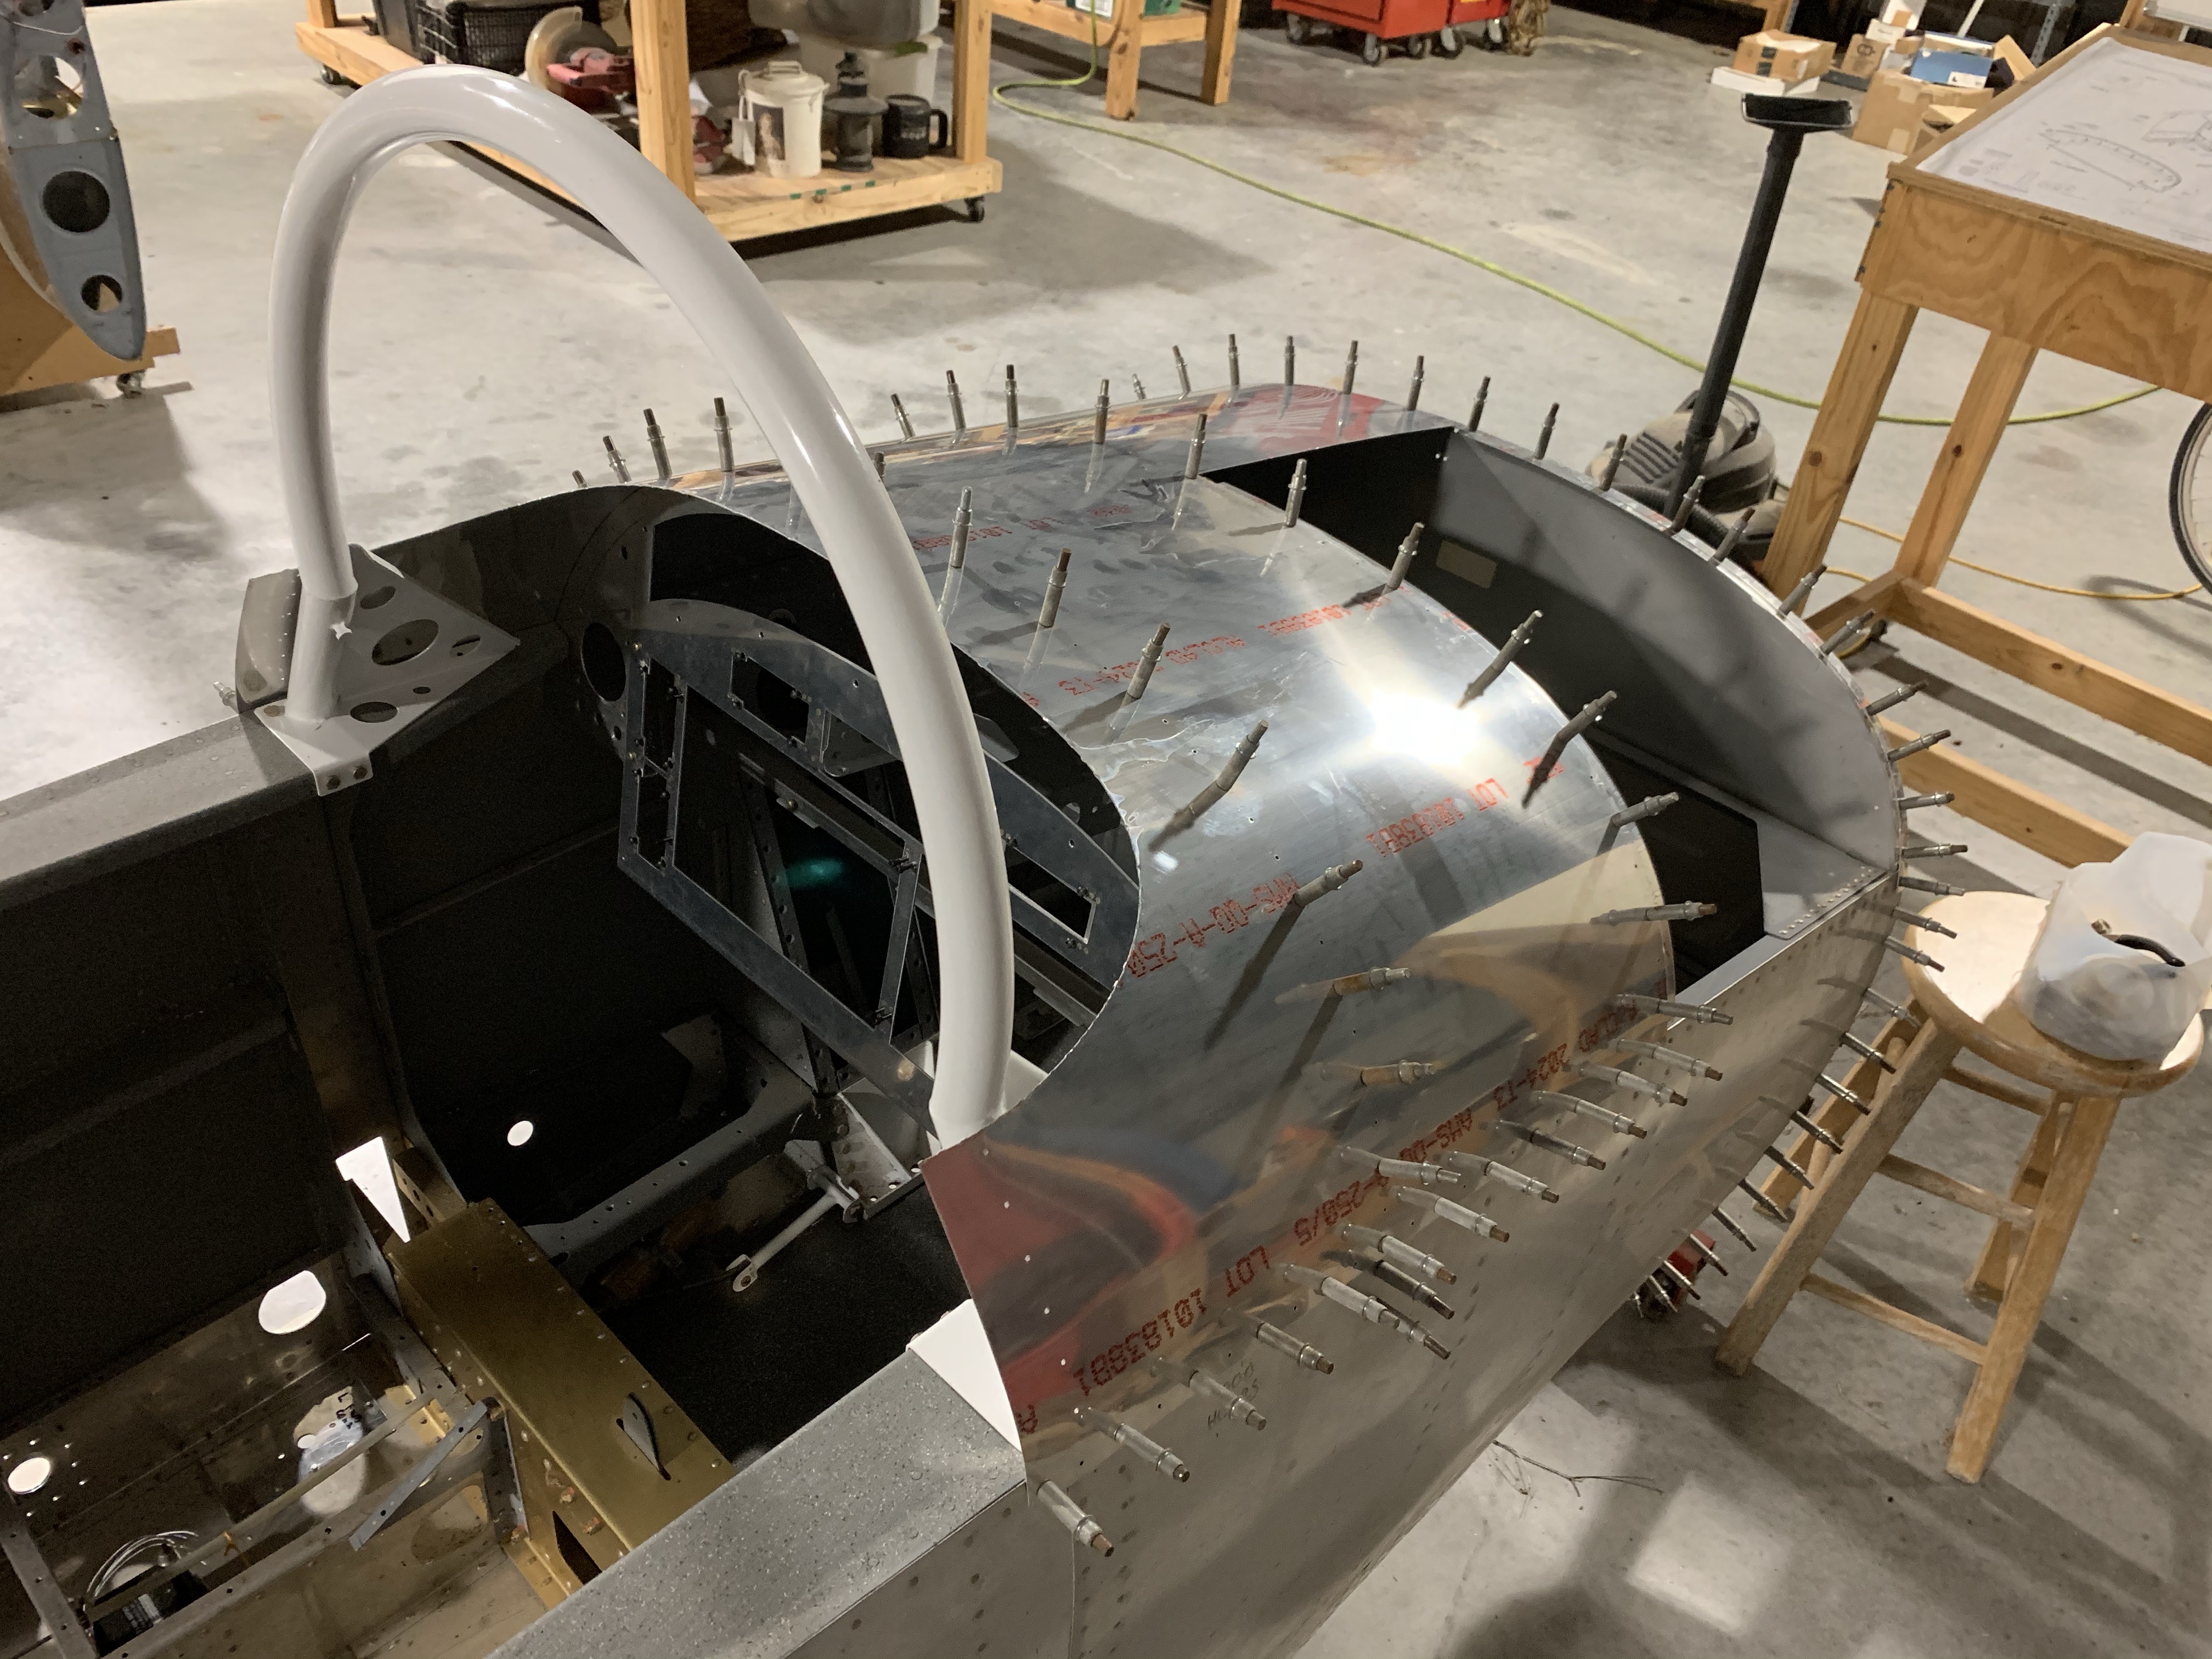
Next up was installing some stuff preparatory to fitting the forward upper skin. In addition to mounting the panel assembly in the aircraft, I also brought the roll bar back over and temporarily bolted it into place.
With all that in place, it was time to break out the skin itself for fitting. The manual specifically calls for removing the vinyl covering on the inside, presumably because this is a tight fit and that extra material wouldn’t be very helpful. I just want ahead and removed all the vinyl, in keeping with my general practice of just ripping the stuff of and not keeping it on like some people do. Then this skin needed some trimming – I’d removed one of the portions a while back, for reasons I don’t even recall – this was the cutout section where the skin wraps around the roll bar. Tonight I also needed to remove the section where the baggage area door will be.
With that done, and with the baggage door support strips prepped and clecoed onto the skin, it was time to attach the thing to the structure. This was a bit tedious due to the thickness of the skin and the curvature involved, but nothing too awful. Just got to be liberal with the clecos to make sure everything sits good and flush.
That got me to a good stopping point for the night, so it was just time to take some photos. It’s kind of impressive to see in person just how sizable the forward baggage compartment opening is:
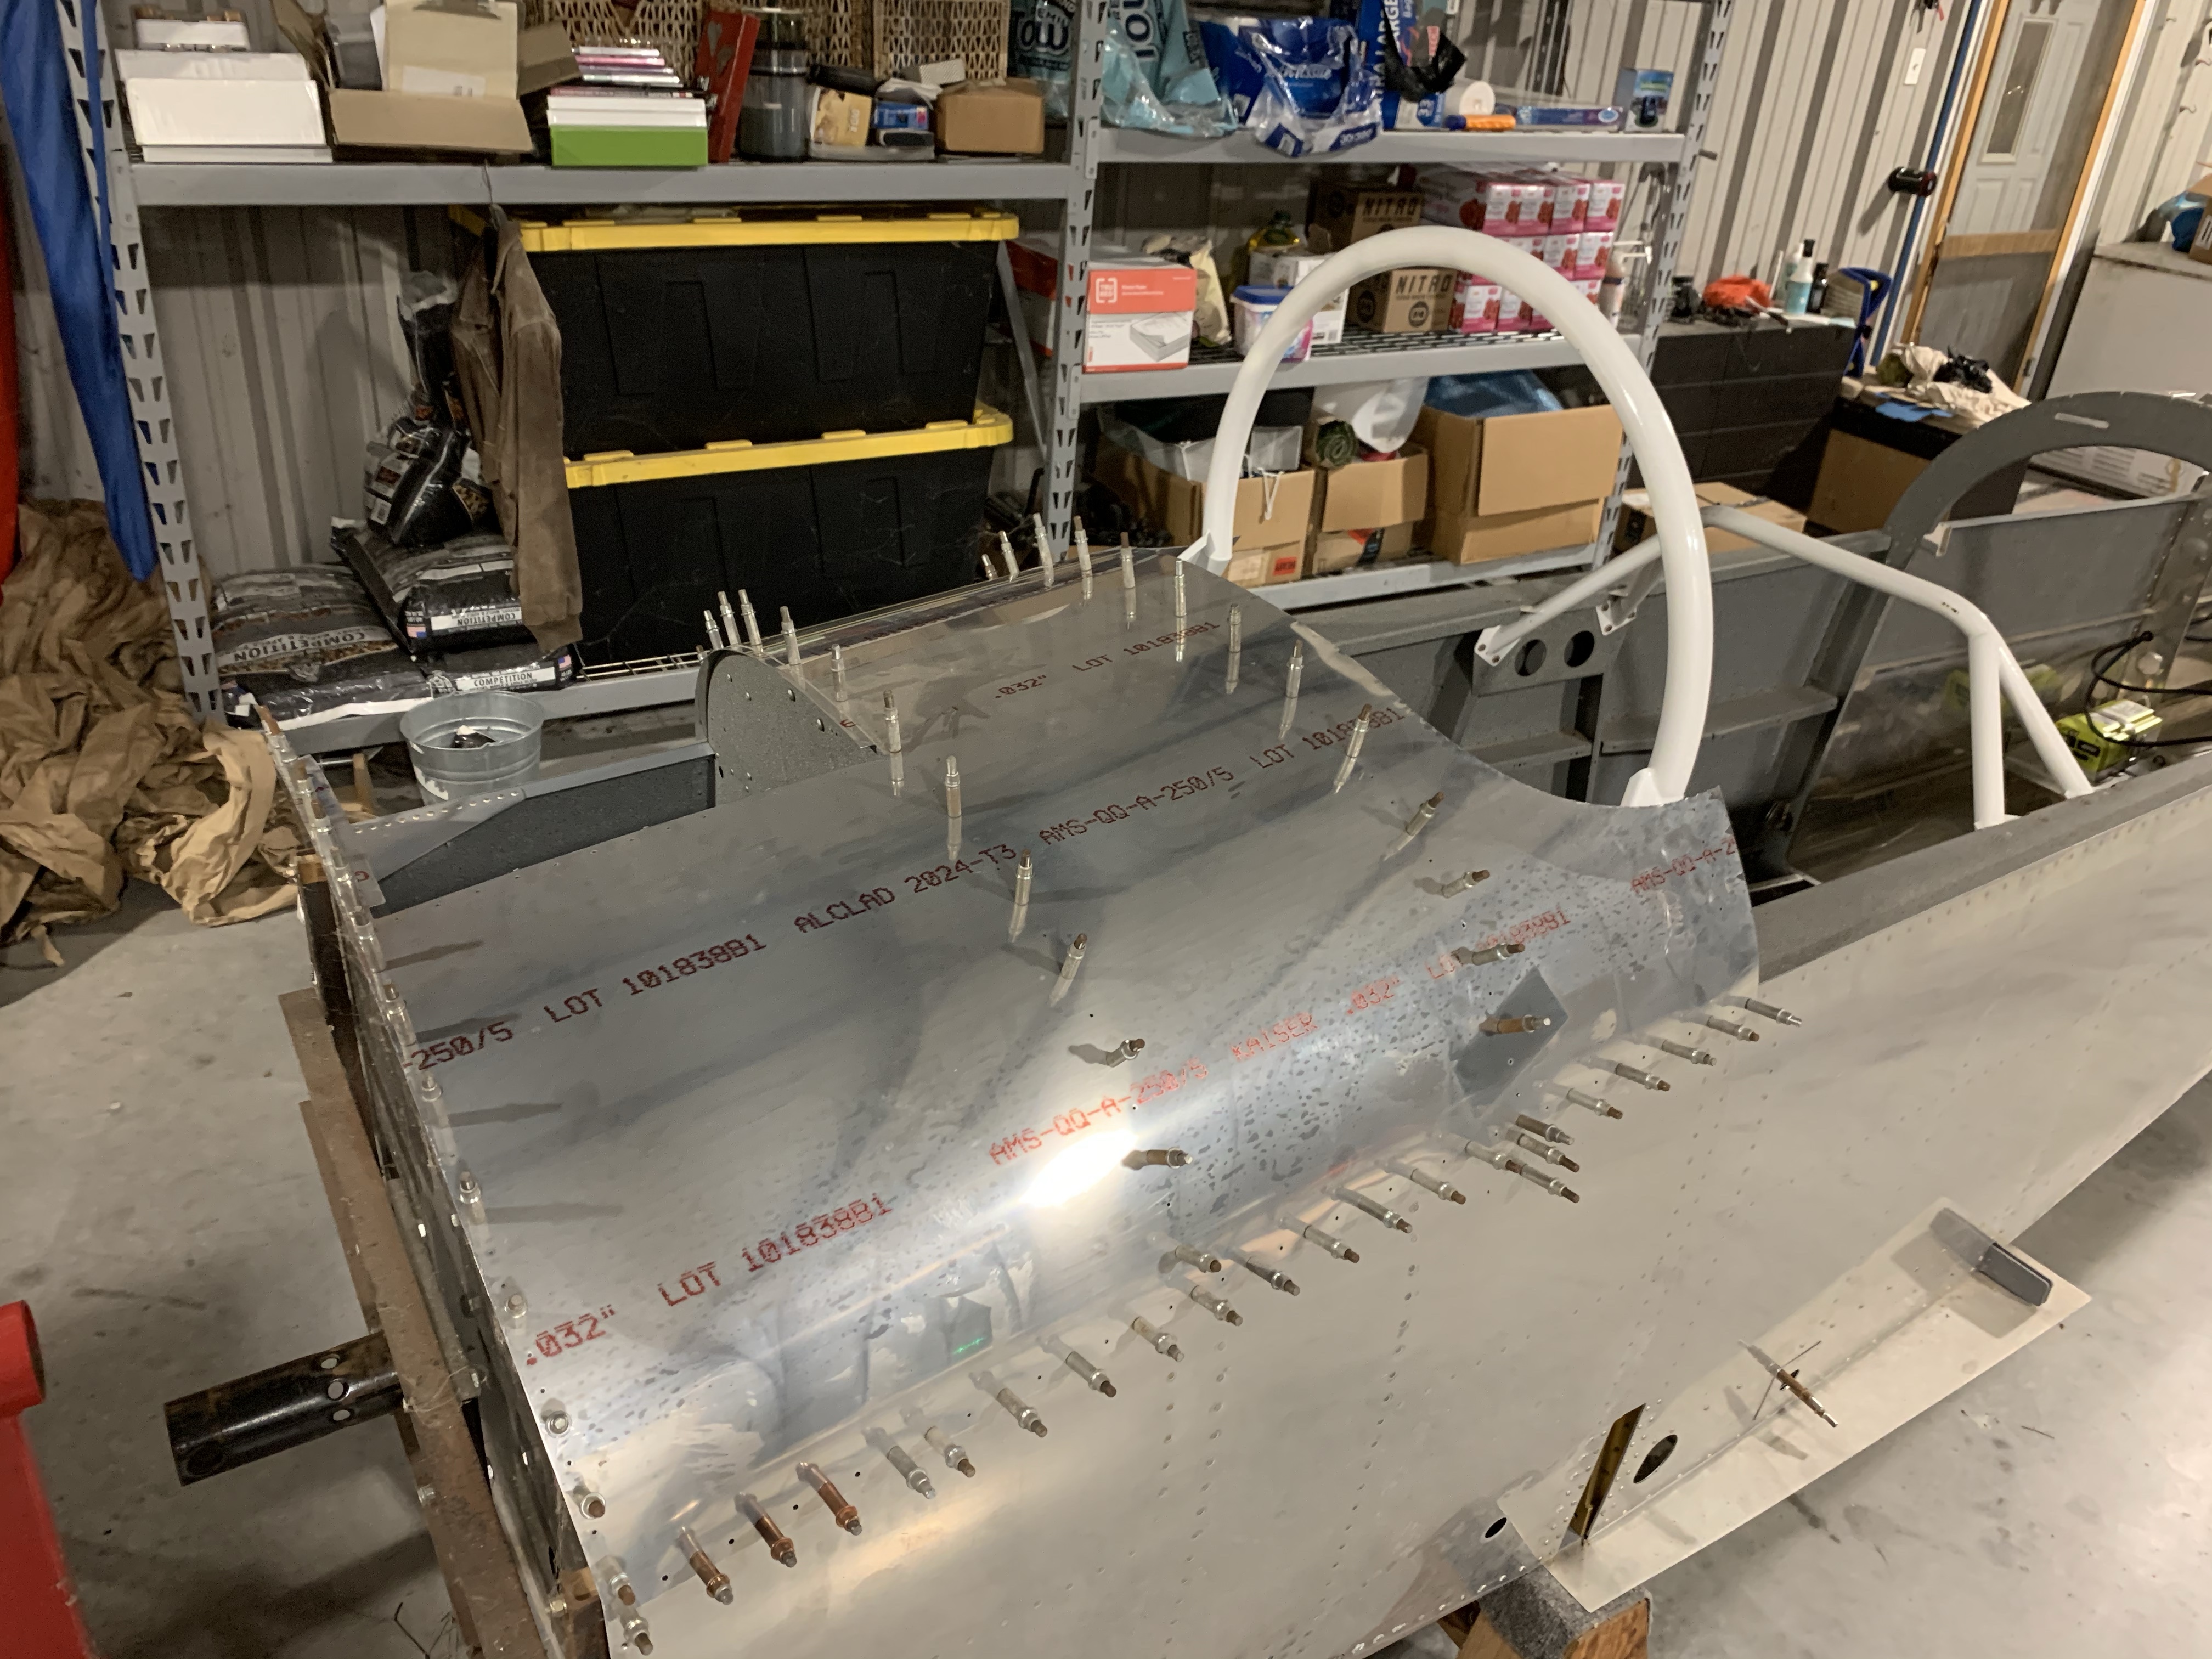
It actually extends beyond the aircraft centerline:
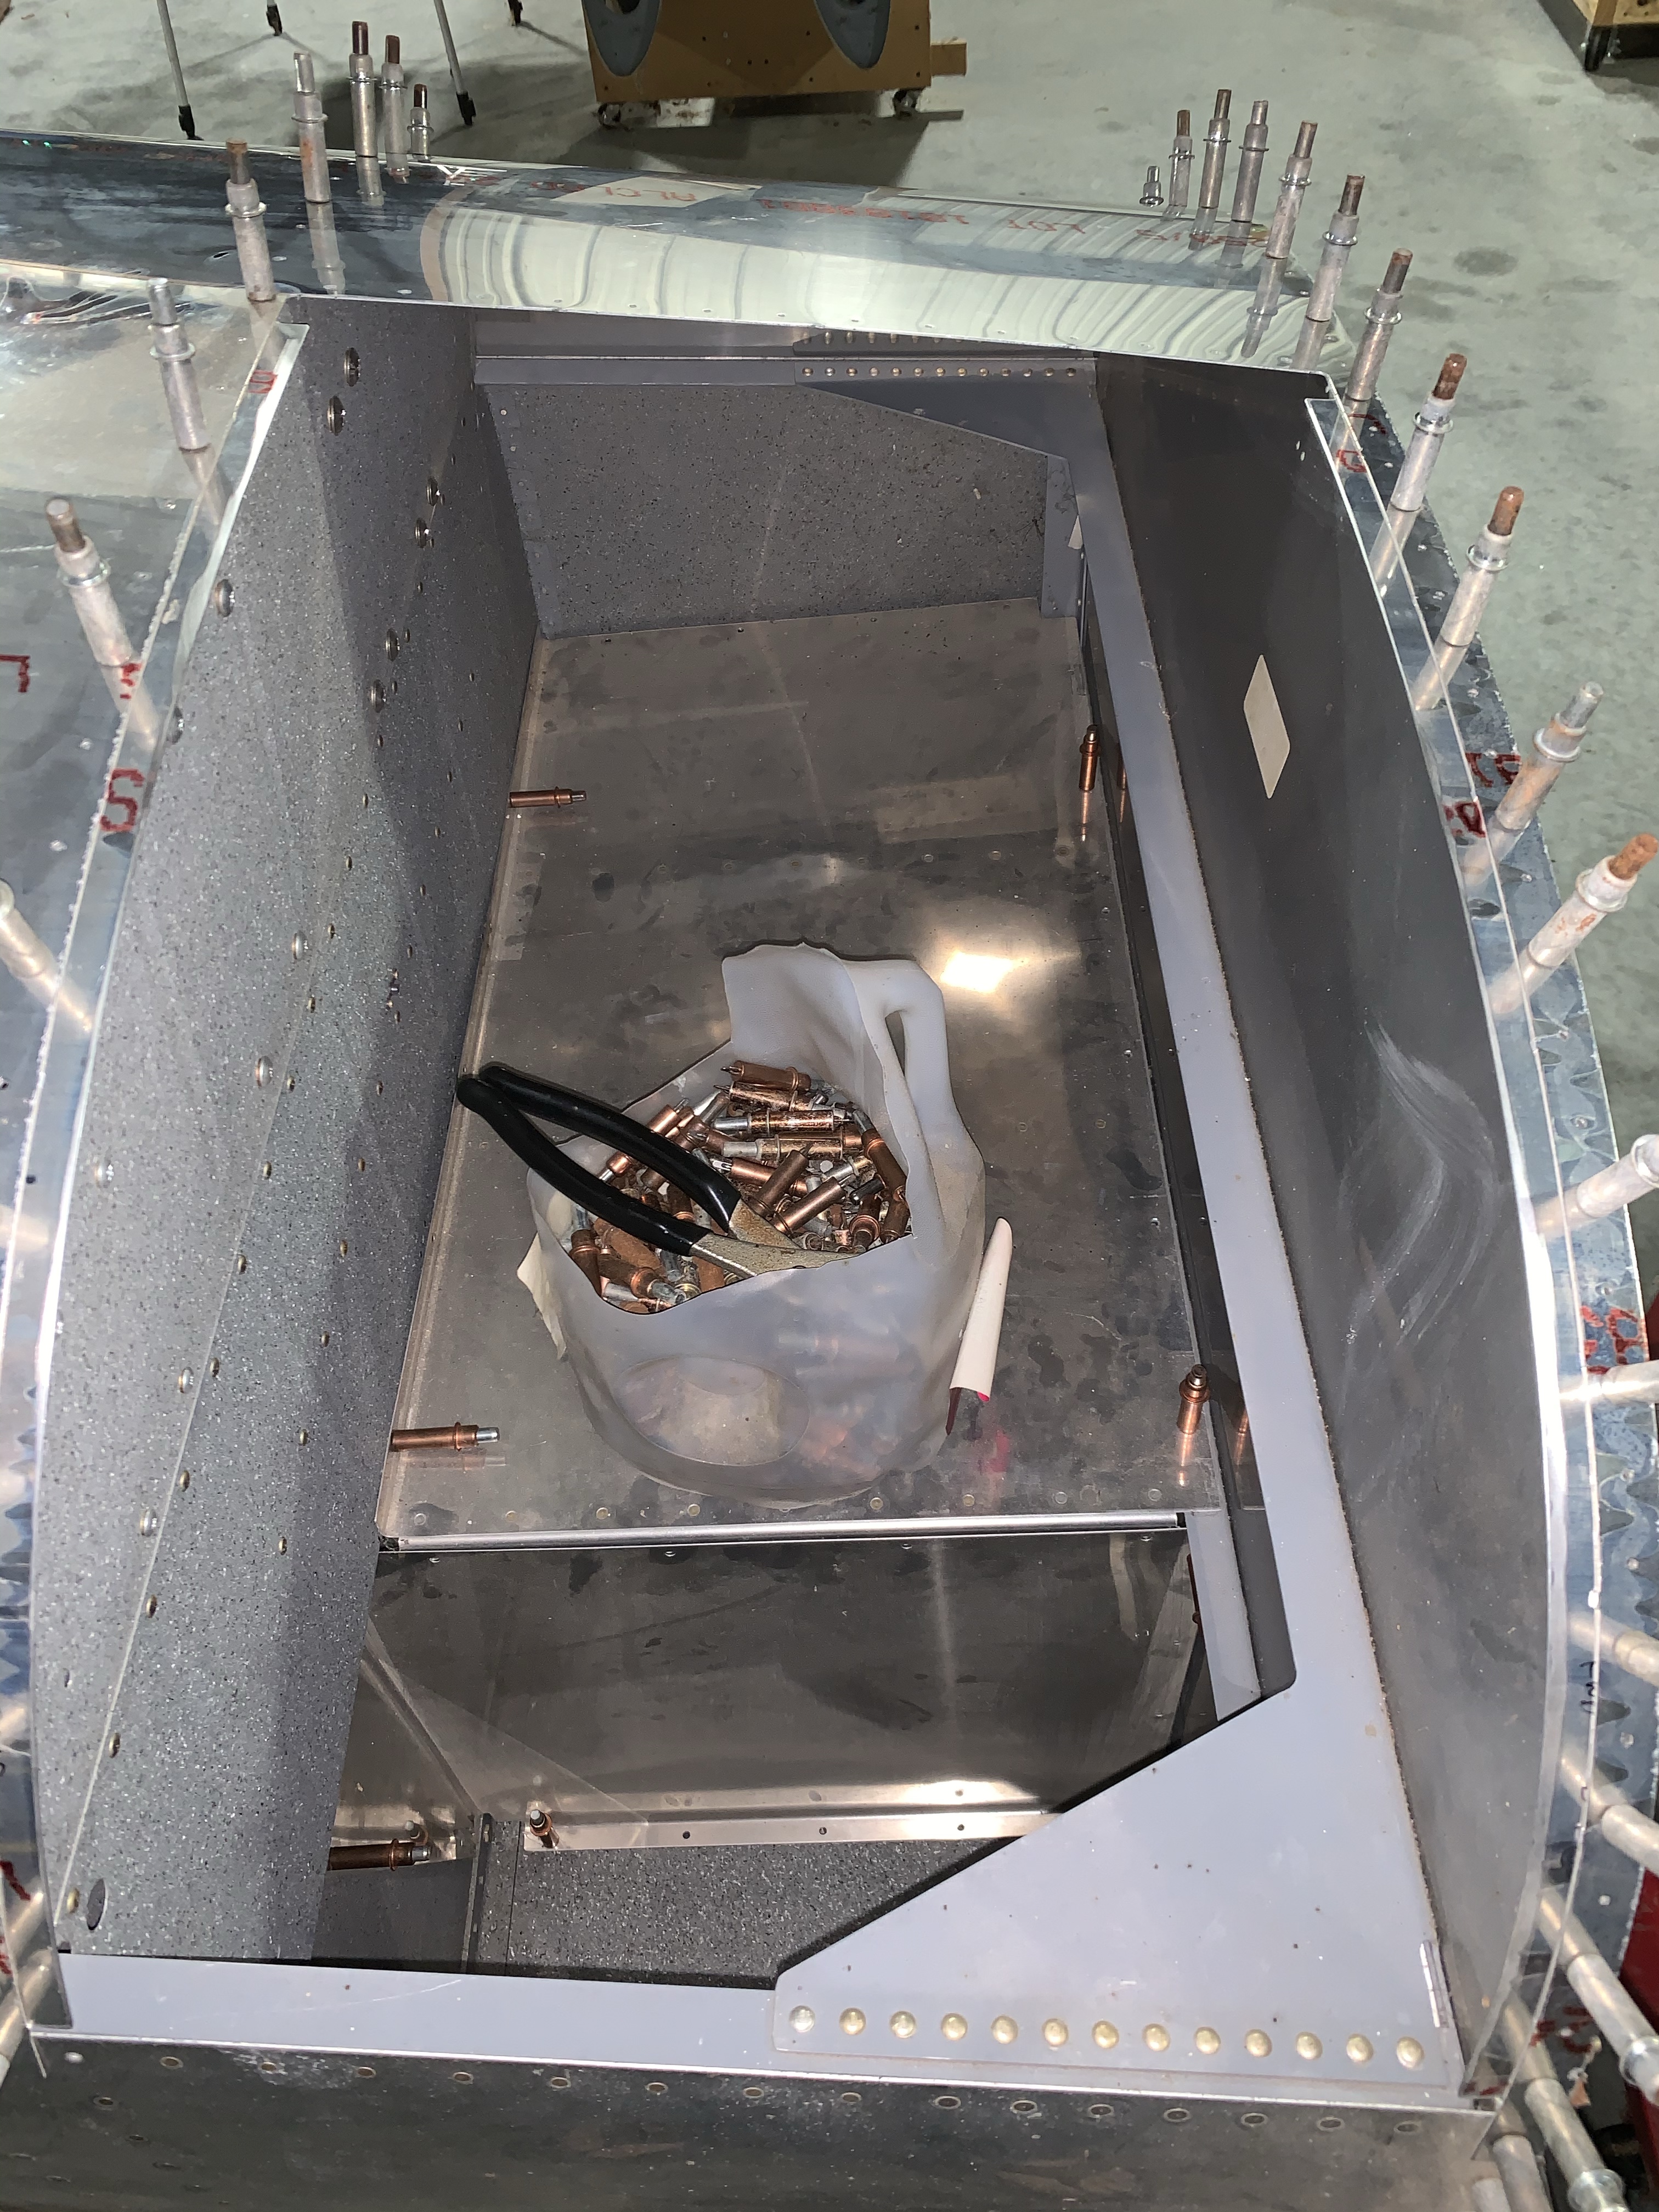
And just for more illustrative purposes, I temporarily installed the baggage compartment floors and such to show the space available up here, with one of my milk jug cleco holders for scale. Not bad at all:
I guess next up I get to do a bunch of match drilling, though there are also a few more small parts to be installed first.. Reading ahead in the manual, I’d be removing this skin not too long after doing that work, but in this case I think I’m going to leave it a bit longer. The reason for this is that my finish kit will be here in a few days, and I’d like to at least briefly lay the canopy on top of the fuselage so I can get an idea of what area of this skin will be inside the canopy. That’s of interest to me since I intend to install both a GPS antenna and a couple of cooling/defrost fans on the glareshield, and I want to make sure I have a good idea of the space available.
Besides, it’ll just look cool, and that’s important too.