So, today’s main focus was on preparing for putting this thing into the airplane. That’s not necessarily to imply that I’m really close to that point, but more that I wanted to try and identify any potential issues. First and foremost was the question of whether I could feed this thing through the spar center section, and that was what most of the early-day stuff revolved around.
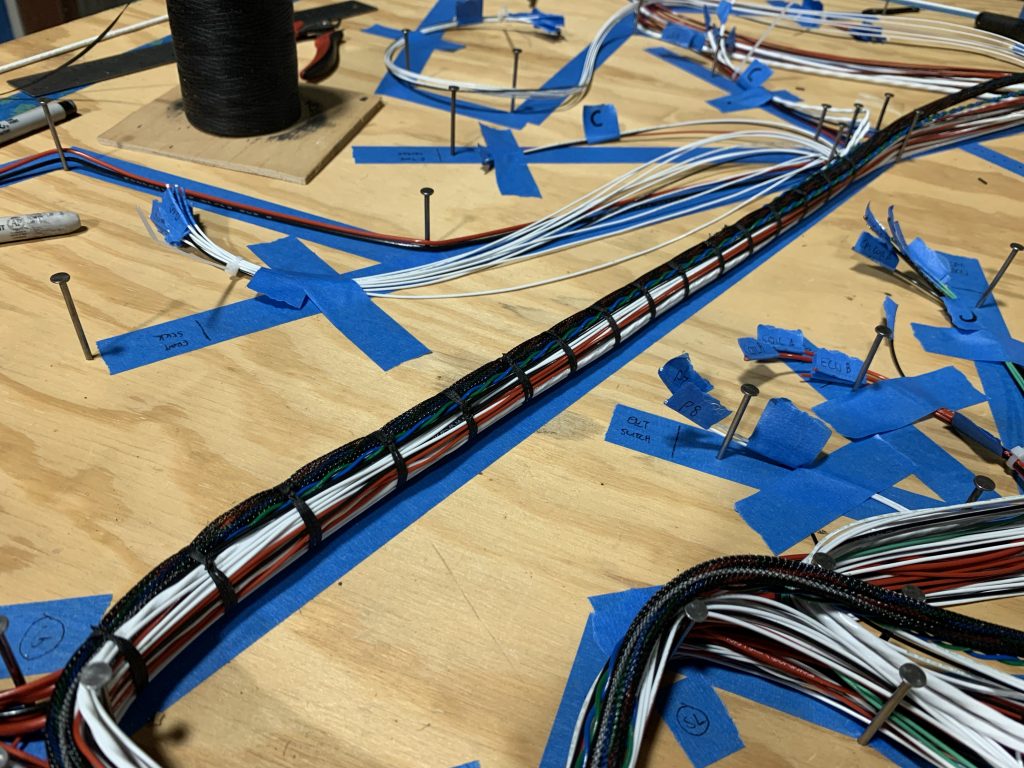
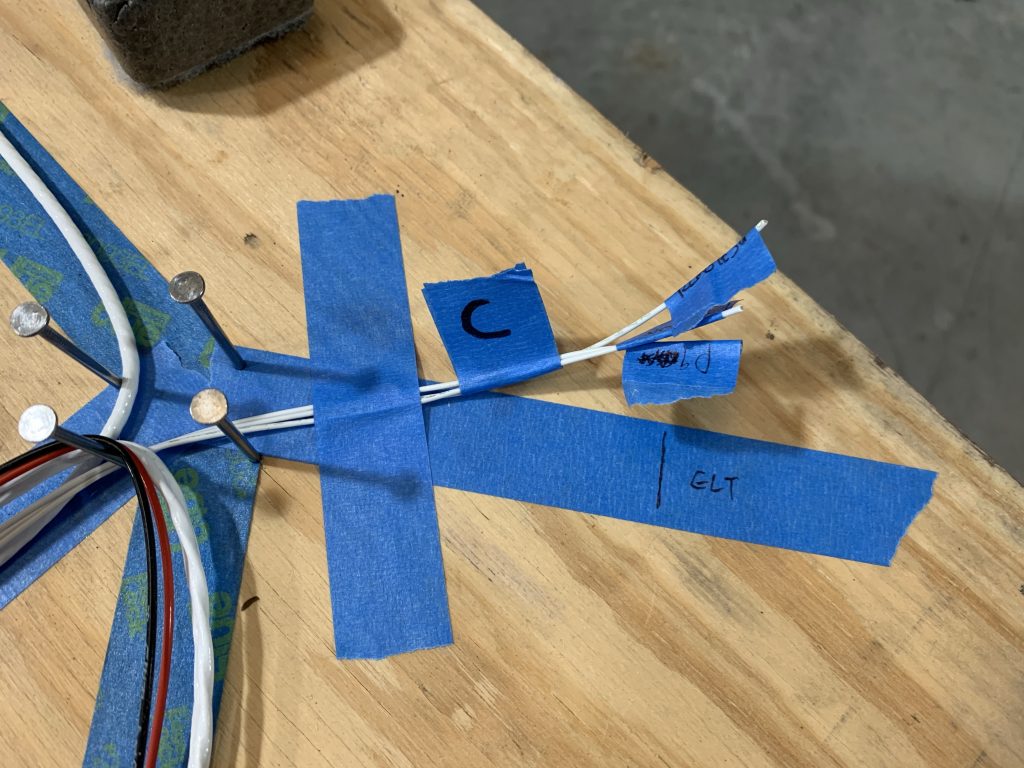
To start with, I just began pulling the harness up from the table. This entailed temporarily bundling up some of the branches, more than I had before; I used a bunch of small zip ties for this. I also made sure that each branch was labeled so I’d know what it was. In some cases I put this info on individual wire labels, but I wasn’t consistent about it.
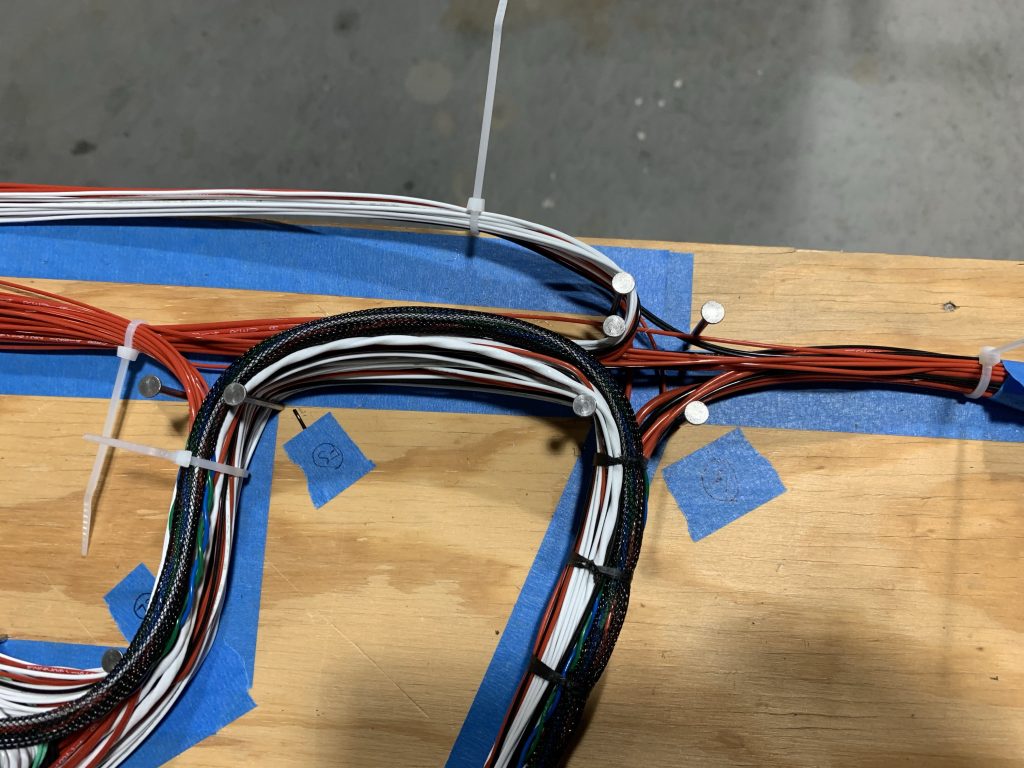
The real fun came with the harness portion behind the spar. My general plan of action was to remove from the harness anything that was behind that pass-through, and didn’t go through did pass-through. Basically I wanted to slim down that section as much as possible. Next, I took the branches from behind the spar, and worked them in alongside the main trunk. I used masking tape to wrap each junction so I could restore this stuff down the line, and also extensively wrapped where these wires laid alongside the trunk – especially where the ends of the wires pointed aft. I wanted to provide as smooth of a profile as possible.
Once that was done, I grabbed a snap bushing of the same size used in the spar passthroughs, and started trying to slide it along the bundle, working from the tail forward – basically simulating feeding this thing through the fuselage. Unfortunately, it didn’t go too well – once I hit the ends of some of those runs under the seats, the bushing just wouldn’t move any more. I actually had to cut it off the bundle to get it off.
So, what to do from here? I considered emailing Van’s to see if it was permissible to enlarge the passthrough hole a bit. I figured going up from 3/4” to 7/8” would give me plenty of room. But when I checked Spruce to see if they had the larger snap bushings…nope, the biggest they have are what I already have.
Fortunately I’d already been considering a plan B. There are actually two passthrough holes in close proximity here; my plan had been to use one for the wiring bundle and the other for one of the com antenna coax cables. What I’m going to do instead is split the harness just forward of the spar. There’s a convenient branch for this; all the stuff that goes across the fuselage to the right wing root should work well, since 1) it already has the length to reach over there and 2) all of this stuff has slack built in, and the connecting harnesses can be lengthened if needed to fit (when I make them).
So after redoing my wrapping for this idea, I decided it was time to try putting the harness into the airplane. I decided not to deal with maneuvering it through the spar for this temporary installation; the main thing I wanted to do was verify that the runs behind the panel were long enough. With that confirmed, the plan would be to go ahead and terminate all these on the table.
And so, after a whole lot of wrangling, muttering, and other questionable activities, I had the thing in place:

The harness doesn’t look too great here since it’s not laced up at all, and in general it’s kinda messy. But the branches reach their devices without issue, so this should be good to go. So…I pulled the thing right back out.
One thing I learned while doing this is that my idea if the upper shelf bolts also holding adel clamps to secure the bundle is…not a lot of fun. For one thing, I don’t have adel clamps big enough to wrap the root of this harness. Second, it’s a huge pain trying to start those bolts through a clamp that’s wrapped around a wire (I did this for the center bolt). Pretty sure if I stick with this, I’ll have massive regret the first time I have to pull the shelf. So I think I’m going replace the adel clamps with simple plastic wire guides; since these aren’t intended to hold the wire tight, they should be easier to work with.
Anyway, with the harness back on the bench, it was time to get back to lacing. This is a little bit fun; I really shouldn’t lace some of these junctions, since some runs from the engine compartment won’t exist until much later (like the CPI harnesses or the thermocouples for the EMS). But the lacing needs to proceeds in an orderly fashion to make the bundles nice and neat…so I’m lacing everything, even though I know I’ll have to cut some of these off down the road.
That’s where I finished the night, after lacing up the trunk across the upper shelf. Tomorrow I figure I’ll keep lacing, getting to the service loop and trunk to the panel, and then…I guess it’ll be time to start building up some connectors…