Fuselage

Seat floors ready to be riveted

I did it! Two days in a row of getting up and getting an early start out in the hangar. I started carrying my 6 AM weekday alarm into the weekends about a month ago, but until now I’ve just been turning it off and going back to sleep. I think getting going early in the morning is going to be important to maintaining momentum here.

I did still have a few hours distraction, between going to have coffee with neighbors and doing some other work around the house. It also doesn’t help that once midday rolls around, I can only handle about an hour or so in the hangar before I have to go inside, drink some water, and cool off. But at least I’m doing stuff and putting up with the heat and not just deciding it’s too hot to work.

Anyway, today I launched into prep work on the aft seat floors. There are ten stiffeners in total, and thanks to the taper in the fuselage, they come in five different sizes. I got all those separated and deburred, and clecoed the whole assembly together (both aft seat floors and all the stiffeners. Next was getting the bottom half of the hinge that will serve as the attach point for the base of the rear seat back. This only had a single #40 reference hole in it, so it had to be carefully aligned and drilled, using the prepunched holes in the floor as a guide.

Hey look, a photo of everything clecoed together!

Interestingly, the manual never actually says to final-drill the rivet holes between the floor and the stiffeners, but pretty quickly it jumps to deburring the dimpling them, and obviously final drilling is a prerequisite for that work. Then everything came apart and, yup, time for a bunch of deburring. This included not just the stiffeners’ rivet holes, but also all the #30 holes between the floors and the seat ribs in the fuselage, which were match-drilled a while back. And that meant deburring all those seat rib holes too…that was a bit tedious.

Finally, I broke out the squeezer and C-frame and got all those #40 holes dimpled. Next step: a bunch of back riveting!

This is actually where the manual gets a bit interesting. It says to rivet only some of the stiffeners, not all of them. I’m not really sure why some of them need to be delayed, I want to read ahead and see if I can figure it out. I’d prefer to get everything riveted in place and go ahead and prime and paint the floors, but I want to do that as late in assembly as possible, especially in this case since back riveting would probably mess up the paint and I’d have to touch it up.

At some point I need to go way back in the manual and finish riveting the forward bottom skins. Back when I was doing that, I got as much done as I could by myself, but decided to move on to other things and recruit Josie to help later on. Well, it’s really later on now…I did broach the subject, and she seemed up for it, Maybe we can get it done next weekend, or one night this week. If I recall correctly, it’s not really a ton of rivets, and could probably be done in one solid work session.

All this is just putting me ever closer to the really fun job of hanging the horizontal stab. Except I suppose I should tackle the service bulletin fix first; in case I ruin the thing, I’d rather not go through all the work of fitting it first…

Posted in Fuselage | Hours Logged: 3.5

Riveted seat floor stiffeners

Not much to report tonight. I gave the seat floors a good cleaning and back riveted all but one of the stiffeners in place. The one I left iff gets riveted in assembly with the rear setback hinge – that’ll be on the docket for the next work session.

An interesting tidbit here: the instructions specifically say not to back rivet six of the stiffeners here, which are at the forward part of the two floors. I could not for the life of me figure out why I was supposed to delay those, so I asked around on VAF after the last session. The consensus seems to be that it’s to make it easier to install the floors, which does make sense – it takes some maneuvering and bending to work them around the bulkheads and such. But it really seems like a pain to rivet these after the floors are in place.

One person reported that he riveted his ahead of time and was able to get them in. His reasoning was that if he ever has to pull the floors, he’ll have to get them out with the stiffeners in place, might as well figure it out now. I’m thinking more in terms of being able to get these pieces primed and painted before installation – I’m trying to avoid, as much as possible, doing any painting in place inside the cabin.

So anyway, sometime next year when it comes time to install these for good, we’ll see if I end up regretting this decision. In the meantime, here’s a photo of a floor with some stiffeners:

Posted in Fuselage | Hours Logged: 1

Seat floors done (structurally, at least)

No photos tonight, it was just sort of menial work. I riveted the rear seatback hinge half in place, in assembly with the appropriate stiffener. Then there were four nutplates on each seat floor that needed to be riveted – which required final-drilling, deburring, and countersinking. There were also eight nutplates that needed to be riveted to the forward baggage floor before I could call this section of the manual done. I did notice that apparently I never did any edge finishing on that baggage floor, but I ran out of time to do that tonight.

The only thing left to do on these pieces now is to prime and paint them. Looks like this weekend might be a paint weekend at this rate; I also have the throttle quadrant and right console that are ready for painting, which takes me back to the topic of picking a black paint I want to use for those pieces.

Beyond that, we still need to go back and finish the riveting on the forward bottom skins – I took some time tonight to review the manual and make sure I had an understanding of the things I’d skipped over previously.

Once that’s done…it’s on to the horizontal stab. This thing is about to start looking a whole lot more like an airplane…

Posted in Fuselage | Hours Logged: 1.5

Interior painting, plans stand thingy

So I’m only logging this as an hour and a half on the build, but there’s a fair bit more time covered here, over the course of the last thee days.

Most of this was addressing what’s been sort of a chronic problem for most of the build – what to do with plans pages I need to refer to while working. I’ve done various things with the sheets, most recently just laying them out on a workbench. This works, but it means one of my workbenches (half of my “inventory”) is kind of unusable. And I’m about to need my standalone workbench clear, because it’s about time to pull the horizontal stab off the wall and get working on the service bulletin fix.

In the miss of all this, I was watching a youtube video where Steve Thorne (FlightChops) was getting started on his RV-14 build. Somewhere along the way they were using this sort of large podium-type thing, and I thought it looked like a useful thing. I’d thought about getting a drafting table for the plans but those are expeeeensive. This, however, seemed to cover the general idea.

Basically, it’s a ~waist-height table, with a bit of a slope to it. I decided to make mine with a sort of cabinet on top, where the table top hinges up. This way, I could store all the plans sheets inside, and be able to easily pull out the one I need at any time. I also decided to build a high frame on the back, and attach a pair of dry-erase boards that’ve been sitting around the hangar. I’ve been wanting to get those hung somewhere so I can start tracking punch-list-type items and so forth, but I never was sure where to hang them.

So the result is that I have this sort of “admin station” or something like that. Framed out with 2x4s, set on locking casters, and with a plywood cabinet built on top. It’s not going to win any furniture-building beauty contests, but it’s functional.

About the only thing I still want to figure out is some way to clip the plans sheet on the top down…I don’t want it blowing in the wind, after all. Normally I put random heavy objects down when I set these on the workbench, but that doesn’t really work here thanks to the slop. I probably could have made that a bit more gentle.

Anyway, here’s this contraption after I finished it up this morning (note ancient-history markings no one white board…hope those aren’t too much trouble to clean off):


Interspersed with that work this morning, I got the seat floors and baggage pan painted up. Lots of waiting involved here, so it works well as a sort-of concurrent thing. Gotta clean and scuff the things, then let them dry thoroughly…shoot primer, let it dry for an hour or so…then add the stone-texture paint, which also takes an eternity to become dry enough to touch. But hey, painted stuff!

Tomorrow I want to finish getting that workbench cleaned off – there’s still some random stuff sitting on it, but more important, it has my vise mounted, and that’s not going to work. I’ve considered mounting the vise to a small piece of 3/4” MDF, which I can clamp to the workbench when I need it. But I kinda suspect that the vise might not hold as well as I’d like if I do that. So maybe I’ll just consider this a temporary removal, we’ll see.

Also, I still need to talk Josie into helping me finish riveting the forward bottom skins…

Edit: Oh…I almost forgot. While I was picking up the lumber at Home Depot, I also picked up a few different black spray paints to try out (flat/satin/semi-gloss). While I was doing painting stuff today, I cut there little test squares and shot each one with a different black. Tomorrow I’ll compare them to the anodized throttle quadrant and decide which one matches the best. So far, semi-gloss unsurprisingly looks way too shiny, so I figure it’ll be either flat or satin, Given a choice, I’d rather go with the flat if it works, since I’ll likely end up painting the instrument panel with the same paint. Don’t want any more reflection there than I have to have.

Posted in Fuselage, Workspace | Hours Logged: 1.5

More painting

Well, this wasn’t the productive day I’d hoped for after all. Not sure if I did too much yesterday or not (in fairness, I was going strong from about 7 AM to 10 PM), but today I was just super tired and ended up sleeping a lot. I did still prime all the throttle quadrant parts, and shoot flat black paint on the stuff that would be visible.

That’s really it, though. No workbench cleaning off, no getting the horizontal stab down. Oh well, tomorrow’s a new day…

Posted in Fuselage | Hours Logged: 1

H-stab fitting: the beginning

OK, so this is really a post for the entire weekend, sort of. I didn’t really have anything like a dedicated work session, but I did still get some stuff done.

In short, I moved on to the beginning of fitting the tail feathers, starting with the horizontal stab. The first step to doing this is to get the fuselage dead level, both front-to-back and side-to-side. This meant taking it down off the rotisserie setup and getting the forward portion sitting on the sawhorse I built for this eons ago. Then I ended up making stacks of shims out of thin plywood until I got everything nice and level.

With that done, it’s time to set the h-stab in place on the aft deck. But it doesn’t sit directly on the deck; under the forward spar splice angle there are a couple spacers (at this point, bolts will go through the bottom of the angle and through the deck). The aft spar, meanwhile, sits flush against the stab attach bars, which are in turn riveted to a bulkhead and project vertically through the aft deck. At this mount point, a 3/16” spacer is placed under the spar to properly position the stab.

To start with, the stab is centered on the fuselage, using the joint between the rear spar channels as a reference and centering that joint between the attach bars. Then the stab is loosely clamped into place at the rear spar. Next the stab needs to be leveled side-to-side. To do this, you make a couple of spacer blocks, which are placed approximately mid-span on the stab, and a long level laid across them. I used this level as a base for my small smart level, to get a more accurate reading. I ended up with the left side slightly low, so I made a thin shim from scrap stock to place on top of the left-hand spacer under the front spar, and that got my lateral level set.

At this point, the clamps on the rear spar are tightened to set that joint in place. Next, the stab needs to be squared to the fuselage centerline. This is done by measuring diagonal lines from each tip to a reference location on the fuselage side. The stab then gets tweaked until those measurements are equal (or, by the book, within 1/4”…I got closer than that). At this point, the front angle is clamped down tightly.

This ends up being the point at which I stopped work. The next step in the procedure is to use prepunched holes in the stab attach bars and drill through the rear spar, creating pilot holes for the attach bolts. I did not feel at all ready to commit to that without maybe doing some reading on the procedure. Somehow it all felt a little too easy to me. I suppose there is one more thing to be done before I commit to the holes, which is to check that the incidence is properly set. To do this, I’ll need to use a line between the tip rib tooling holes as a reference, and make sure that reference line is level just like the fuselage.

I also need to think about how I’m going to go about planning the attach holes a the forward spar. This is a spot that builders frequently mess up – getting proper edge distance on the bolt hole through all the various pieces can apparently be challenging, and it’s extremely important to get things right here. Overall, the entire empennage assembly is attached to the fuselage by just eight bolts. I definitely don’t want anything compromised back here.

So we’ll see about picking back up this week, and maybe I’ll work up the gumption to actually take a drill to this stuff.

Posted in Empennage, Fuselage | Hours Logged: 1.5

H-stab fitting: Deep Thought edition

Well look, here we are after another break in getting stuff done. My excuse this time revolves around the two weeks we were out of town in early October, which of course 100% explains the six weeks it’s been since I did anything. I suppose being a little hesitant to actually commit to drilling holes figured in, as well. But today was the day to get moving again.

First order of business was to reverify that the fuselage was level and that the stab was clamped on straight and true. After all, it’s been six weeks since I did all this work. I was pleased to see that everything was still 100% kosher. So after triple-checking everything, I brought over the drill and drilled the four attach pilot holes between the attach bars and the rear spar. Whew – they ended up centered nicely on the spar reinforcement bars!

That was the easy part, though. The forward spar attaches with four bolts, which go vertically through a bunch of pieces. From top to bottom:

  • The horizontal stab’s lower reinforcement/attach angle
  • A thick spacer between the stab and the aft deck
  • The aft deck itself
  • The upper longerons (for the outboard holes) or a piece of spacer material (for the inboard holes)
  • A reinforcement angle riveted to the bulkhead

The good news is that all this stuff is pretty well fixed in place. Everything below the aft deck is riveted together, and the position of the stab itself is dictated by aligning it properly and squaring it to the fuselage. The spacers I’m a little concerned about, even though they’ll be tightly clamped when I drill, I worry they might move around.

The bigger concern here, though, is positioning the bolt holes – especially the outboard ones – such that they don’t compromise edge distance and thus weaken the structure. The plans give you measurements for laying out the holes, but being concerned about positioning, I decided to take some time to wrap my head around the layout and reason things out a bit.

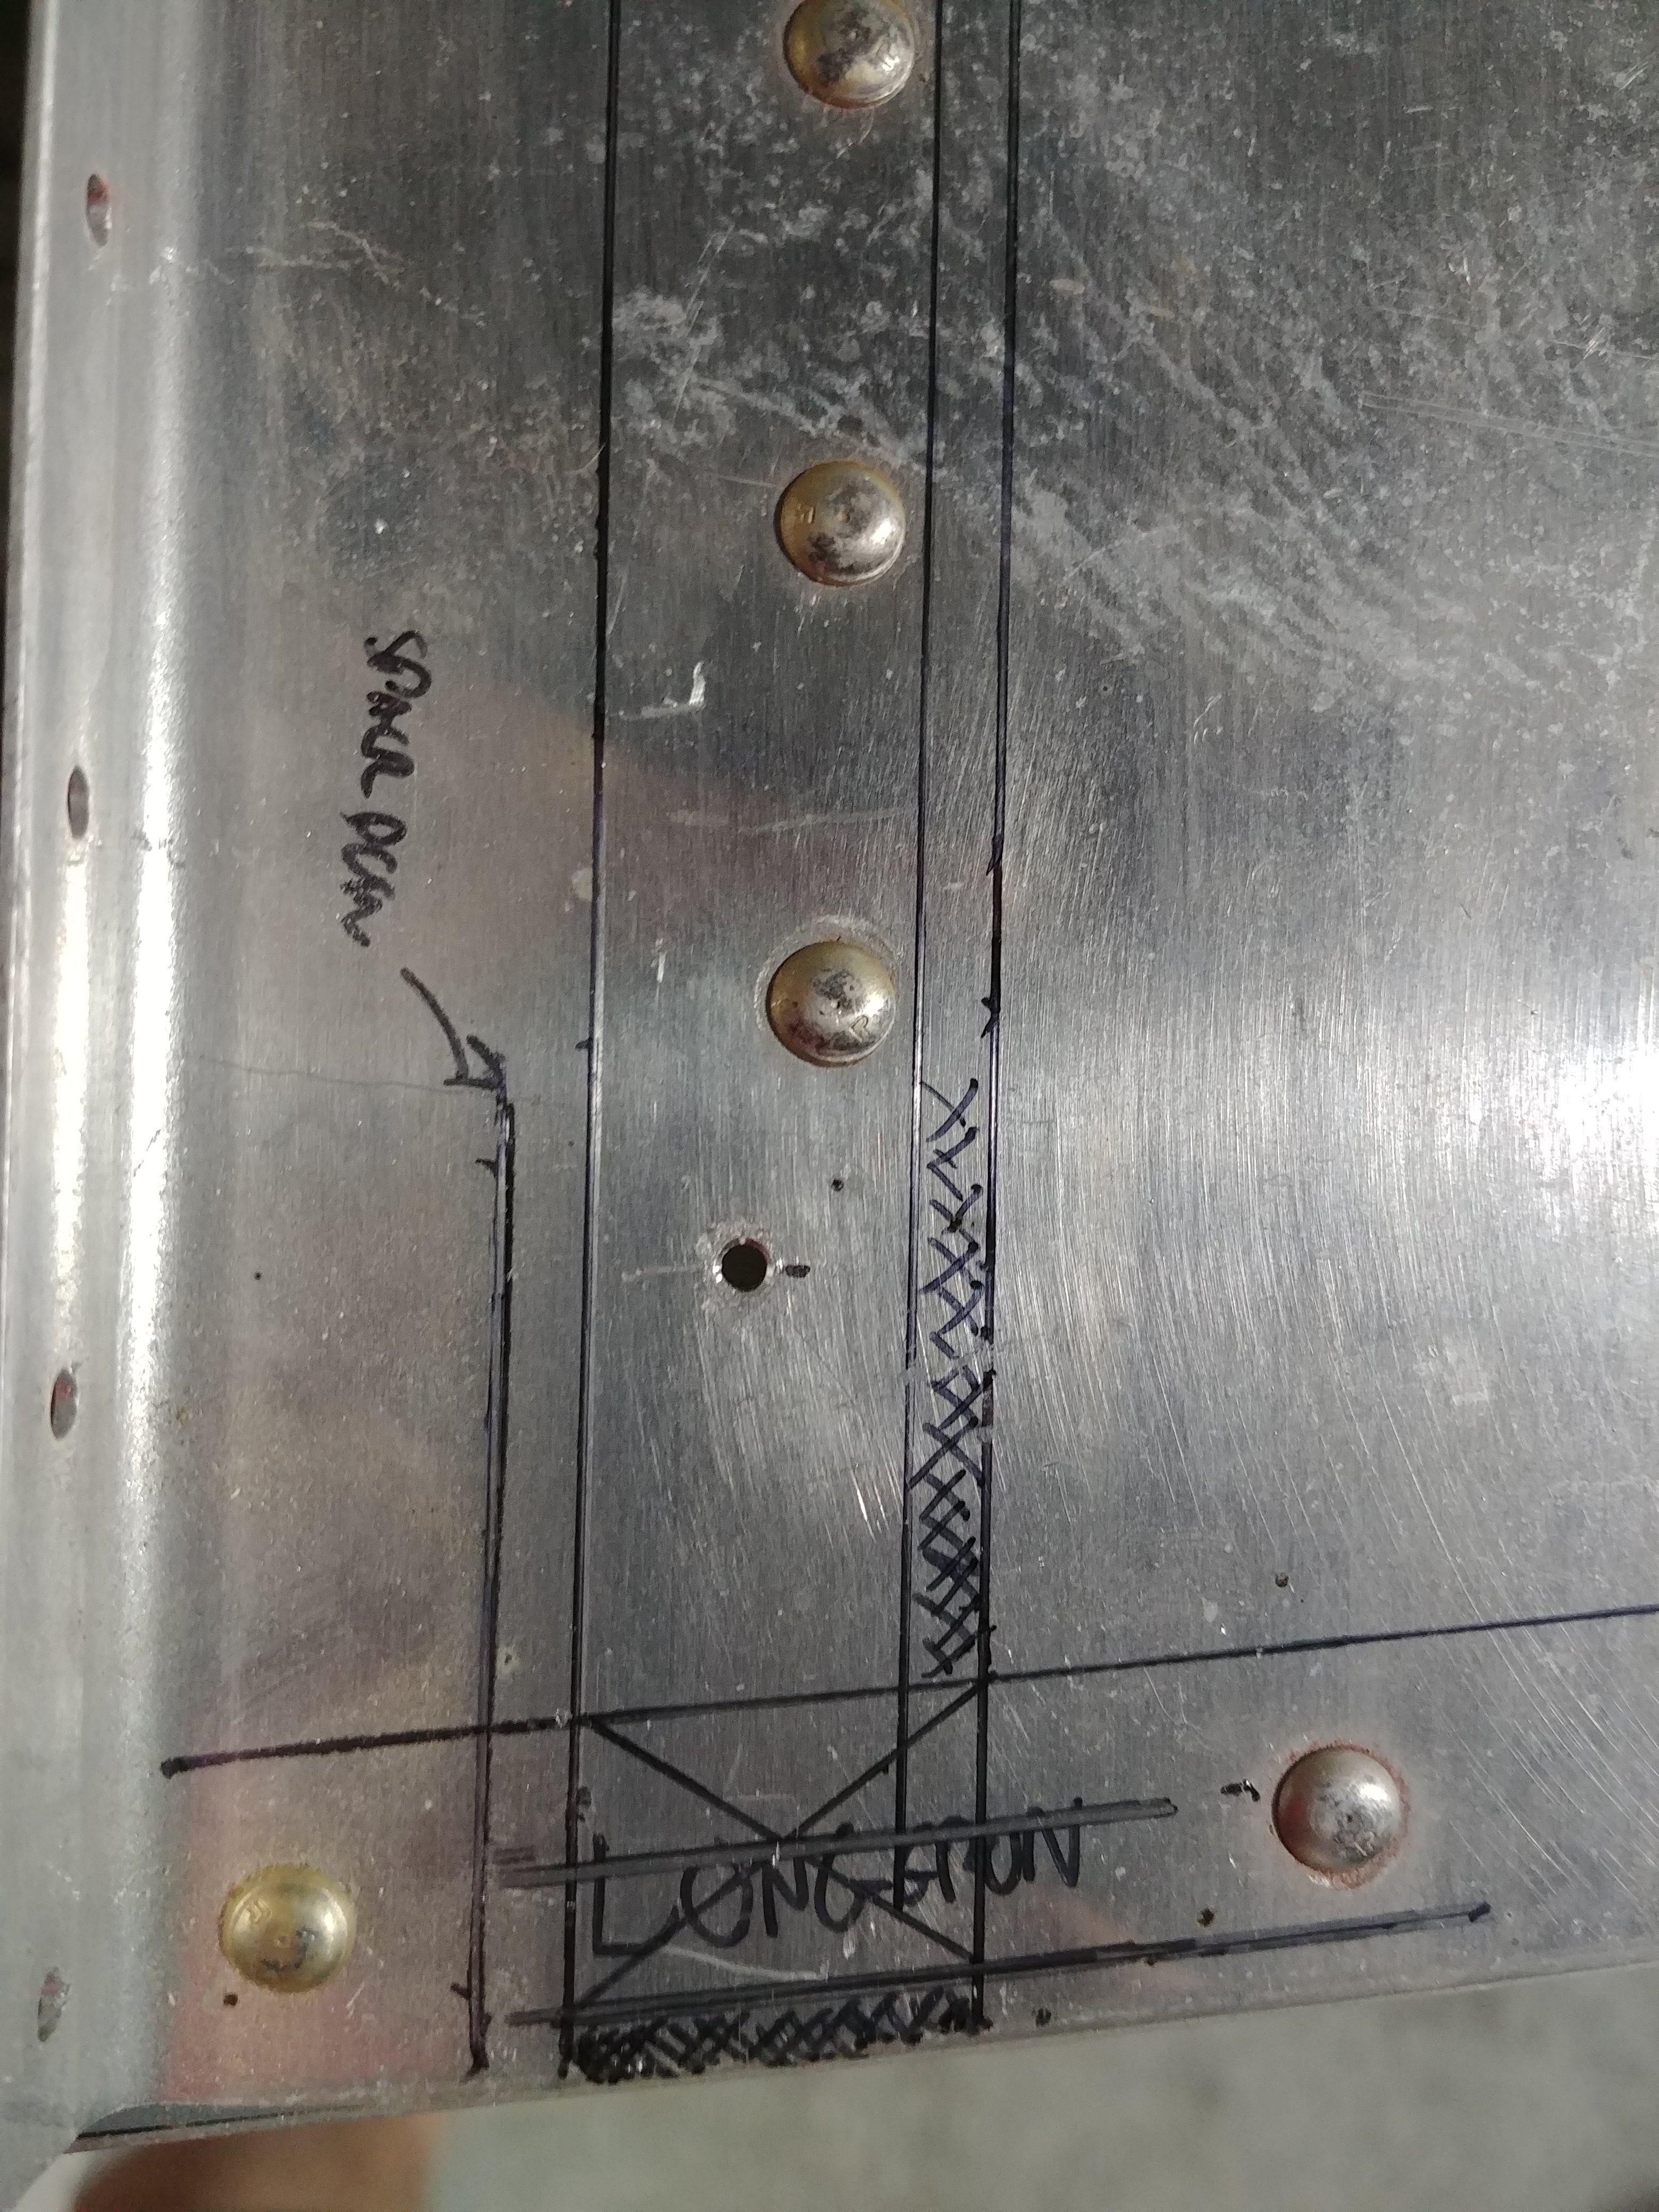
To start with, I removed the stab and proceeded to draw the outlines of the relevant pieces on the aft deck:

I also took those photos and made some annotated layouts with Photoshop:

Rv stab all

Rv tab detail

This is where it gets fun. By the book, for a 3/16” bolt hole, I’d want the center of that hole to be 3/8” from the edge of any part. But there’s only 5/8” of overlap between the longerons and the bulkhead angle, so the absolute best edge distance I can hope for here is 5/16”. The good news, based on my research, is that this is not a show-stopper, and in fact it sounds like almost everyone runs into the impossibility of getting “by the book” edge distance here.

Overall, I think I have a solid strategy here to make this as good as it can get, but this seemed like something where I should really let everything stew in my brain overnight before actually doing any drilling. I also posted to VAF just to get a sanity check from the peanut gallery there. It may even be possible that I’m way overthinking this.

So we’ll see how I feel about all this tomorrow, and what sort of feedback I get. I still have to decide how I want to drill the actual holes, even if I can lay them out nicely on the aft deck, I need to transfer those hole positions to the stab angle in order to actually do the drilling…

Posted in Empennage, Fuselage | Hours Logged: 1.5

H-stab fitting: making some actual holes

With last weekend’s track event behind me, it’s time to get back to work on this thing. Tonight I decided that I really wanted to actually get some holes drilled (but not at the cost of doing them wrong). Last time I’d put a lot of musing into figuring out how to properly position the bolt holes for the forward spar of the horizontal stab. I asked around a bit and got confirmation that my approach was reasonable. That just left the fun of figuring out how to actually drill the holes.

Here’s the fun part: with all the sharpie work from last time, I feel pretty confident about positioning the holes on the aft deck. The problem is, the holes have to be drilled with everything in assembly, which covers up all the fancy marks I made on the deck. Which is to say that if I drill from the top, starting with the attach angle, then I have to figure out some way to transfer the hole position markings onto the angle. Trying to work out a way to do this precisely was a real brain teaser.

For a while, I thought I had a bright idea: instead of drilling everything at once, carefully mark and drill the holes through the aft deck (and other attached stuff), then put the stab in place and use those new holes as guides to drill upward through the spacers and the attach angle. The downside to this approach is that it would require me to drill those holes from an awkward position, and I’d probably want to use the angle drill, particularly on the outboard holes. But a little investigation quickly showed that even with the angle drill, I wouldn’t be able to make the hole close enough to the sides for proper positioning. So that whole approach was off the table.

Finally, though (and when I say “finally” I mean “after 45 minutes of pacing around”), I figured out a solution. Here’s the real rub of trying to locate the holes on the stab attach angle: the reference points for the hole locations are the longerons, which sit under that angle. Trying to transfer those lines to the top of the angle seemed like a great opportunity to introduce error.

But…what I could do is transfer the location of the skin (which sits against the longeron) to the bottom of the attach angle, simply by clamping it in place, laying a ruler against the skin, and tracing that line on the angle. From there, I could mark out the hole locations on the bottom of the angle, drill the pilot holes there, and then use those holes as a guide to drill down through everything else with the stab in place.

That was a good approach for the two outboard holes, but the inboard ones were a different matter. The upper reinforcement angle makes it impossible to get a straight shot at the inboard locations from above with even a long drill bit. So for those holes, I decided to go with my original plan – drilling the initial pilot holes in the aft deck and using those to drill upwards through the angle. Since these weren’t right against the skins, there were no clearance issues using the angle drill.

And so I marked, measured, double-checked, verified, second-guessed, thought it all over again, re-measured with a different tool (I’m not making that up, that’s how OCD I was about getting this right), and then finally marked my holes and got to drilling. To ensure nice square holes, I made a drill block out of a chunk of poplar I had lying around.

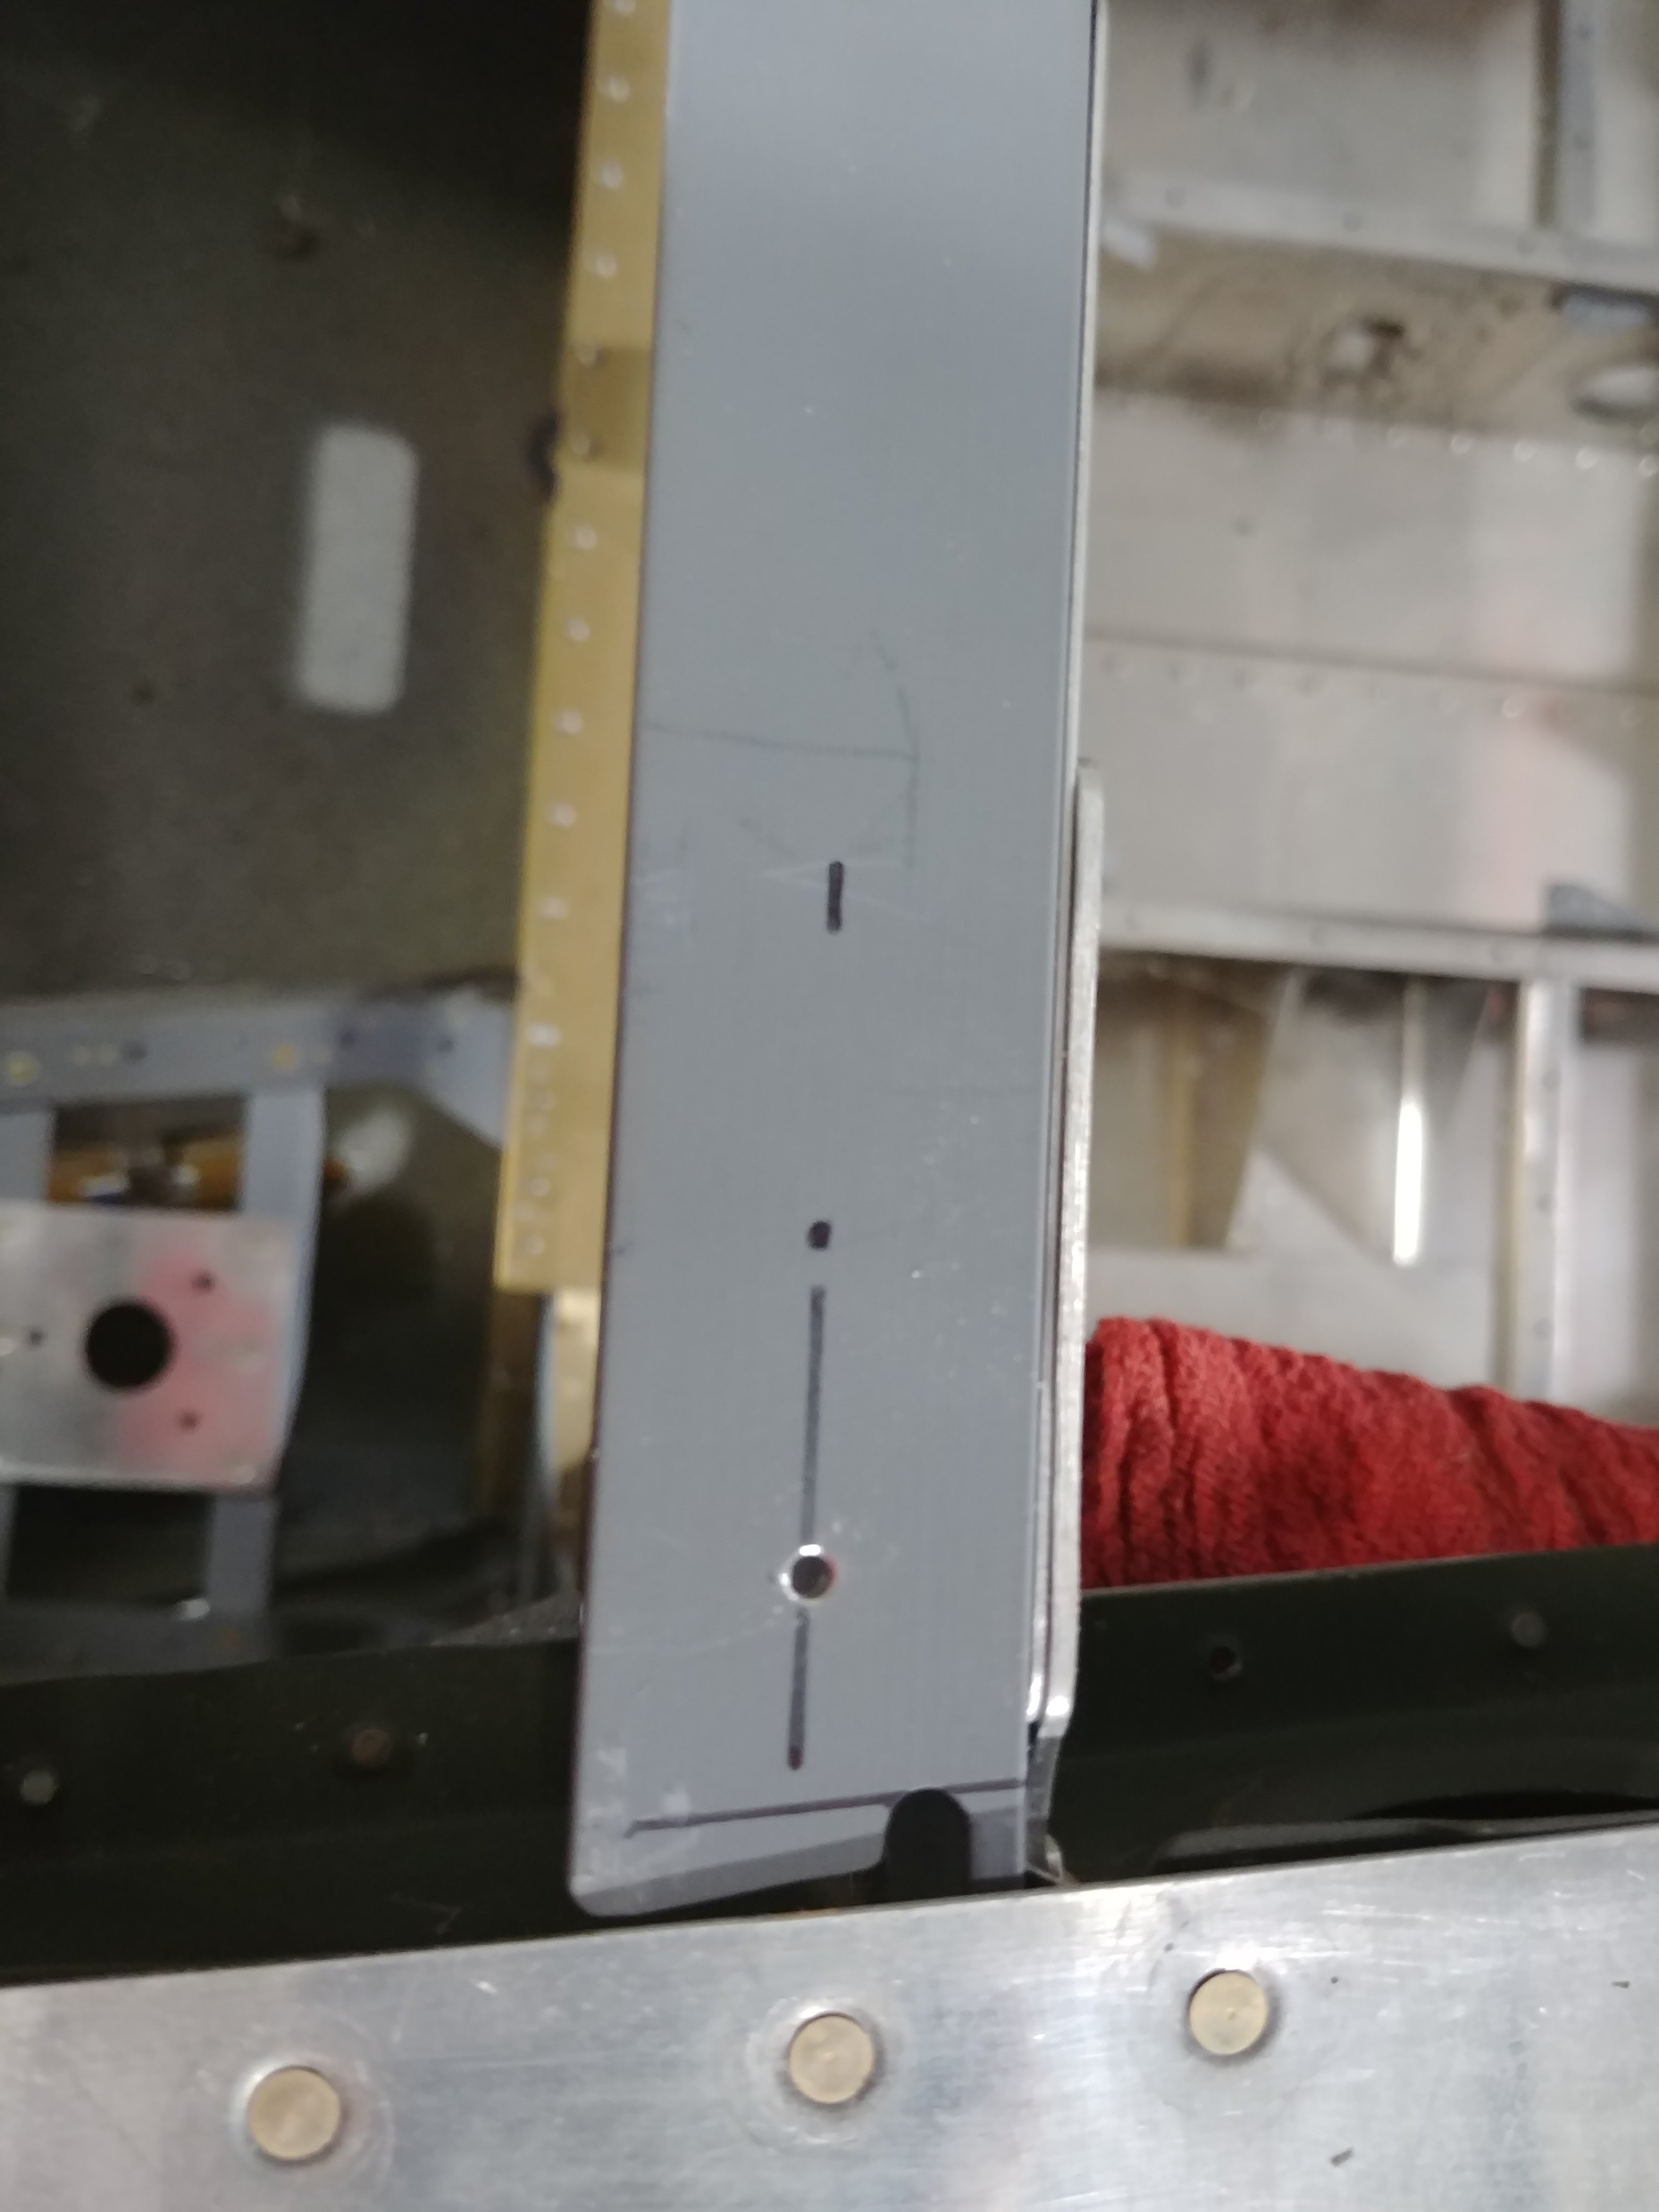
Here’s one of the outboard pilot holes in the attach angle:

And on a similar note, one of the inboard pilot holes in the aft deck:

Next, I put the stab back in place, clecoed it to the rear attach bars, squared it to the fuselage (again checking about 40 times), and clamped it tightly in place. The outboard pilot holes I drilled through using a 12” #40 bit and my drill block. The inboard holes I drill up from beneath using a #30 bit in the angle drill. Since these holes already went through about 1/4” of aluminum, I judged that the drill block wasn’t necessary. As I drilled each hole through, I dropped an old #40 drill bit in to ensure nothing wandered out of alignment while I was drilling other things.

Then I got out my inspection mirror and took a look at the hole locations beneath the aft deck, and they appeared to be properly located! That was a huge relief. I can’t even begin to communicate the amount of anxiety I felt before committing to actually making these holes.

But that’s not the end of this. The final holes need to be #12 for AN3 bolts, so there’s more drilling to be done. First, I wanted to drill them up to #30, at which point I could stop using old drill bits as alignment pins and use actual long-grip checks instead. The outboard holes were easy enough to drill up, just using a 12” #30 bit. The inboard ones were more interesting. I didn’t like the idea of drilling from underneath in this case (drilling to the next size up vs continuing a pilot hole), so I decided to drill from the top down. This required the angle drill due to tight clearance with the upper reinforcement angle.

And unfortunately, about halfway through the first hole, the gears in my angle drill adapter stripped out for some stupid reason. I’m a little grumpy about this, since this is the second adapter I’ve gone through on this build. Not sure what they make these gears out of, but I hope that same material isn’t in my airplane any more.

So that’s where the night ended – stalled pending the purchase of a replacement tool.

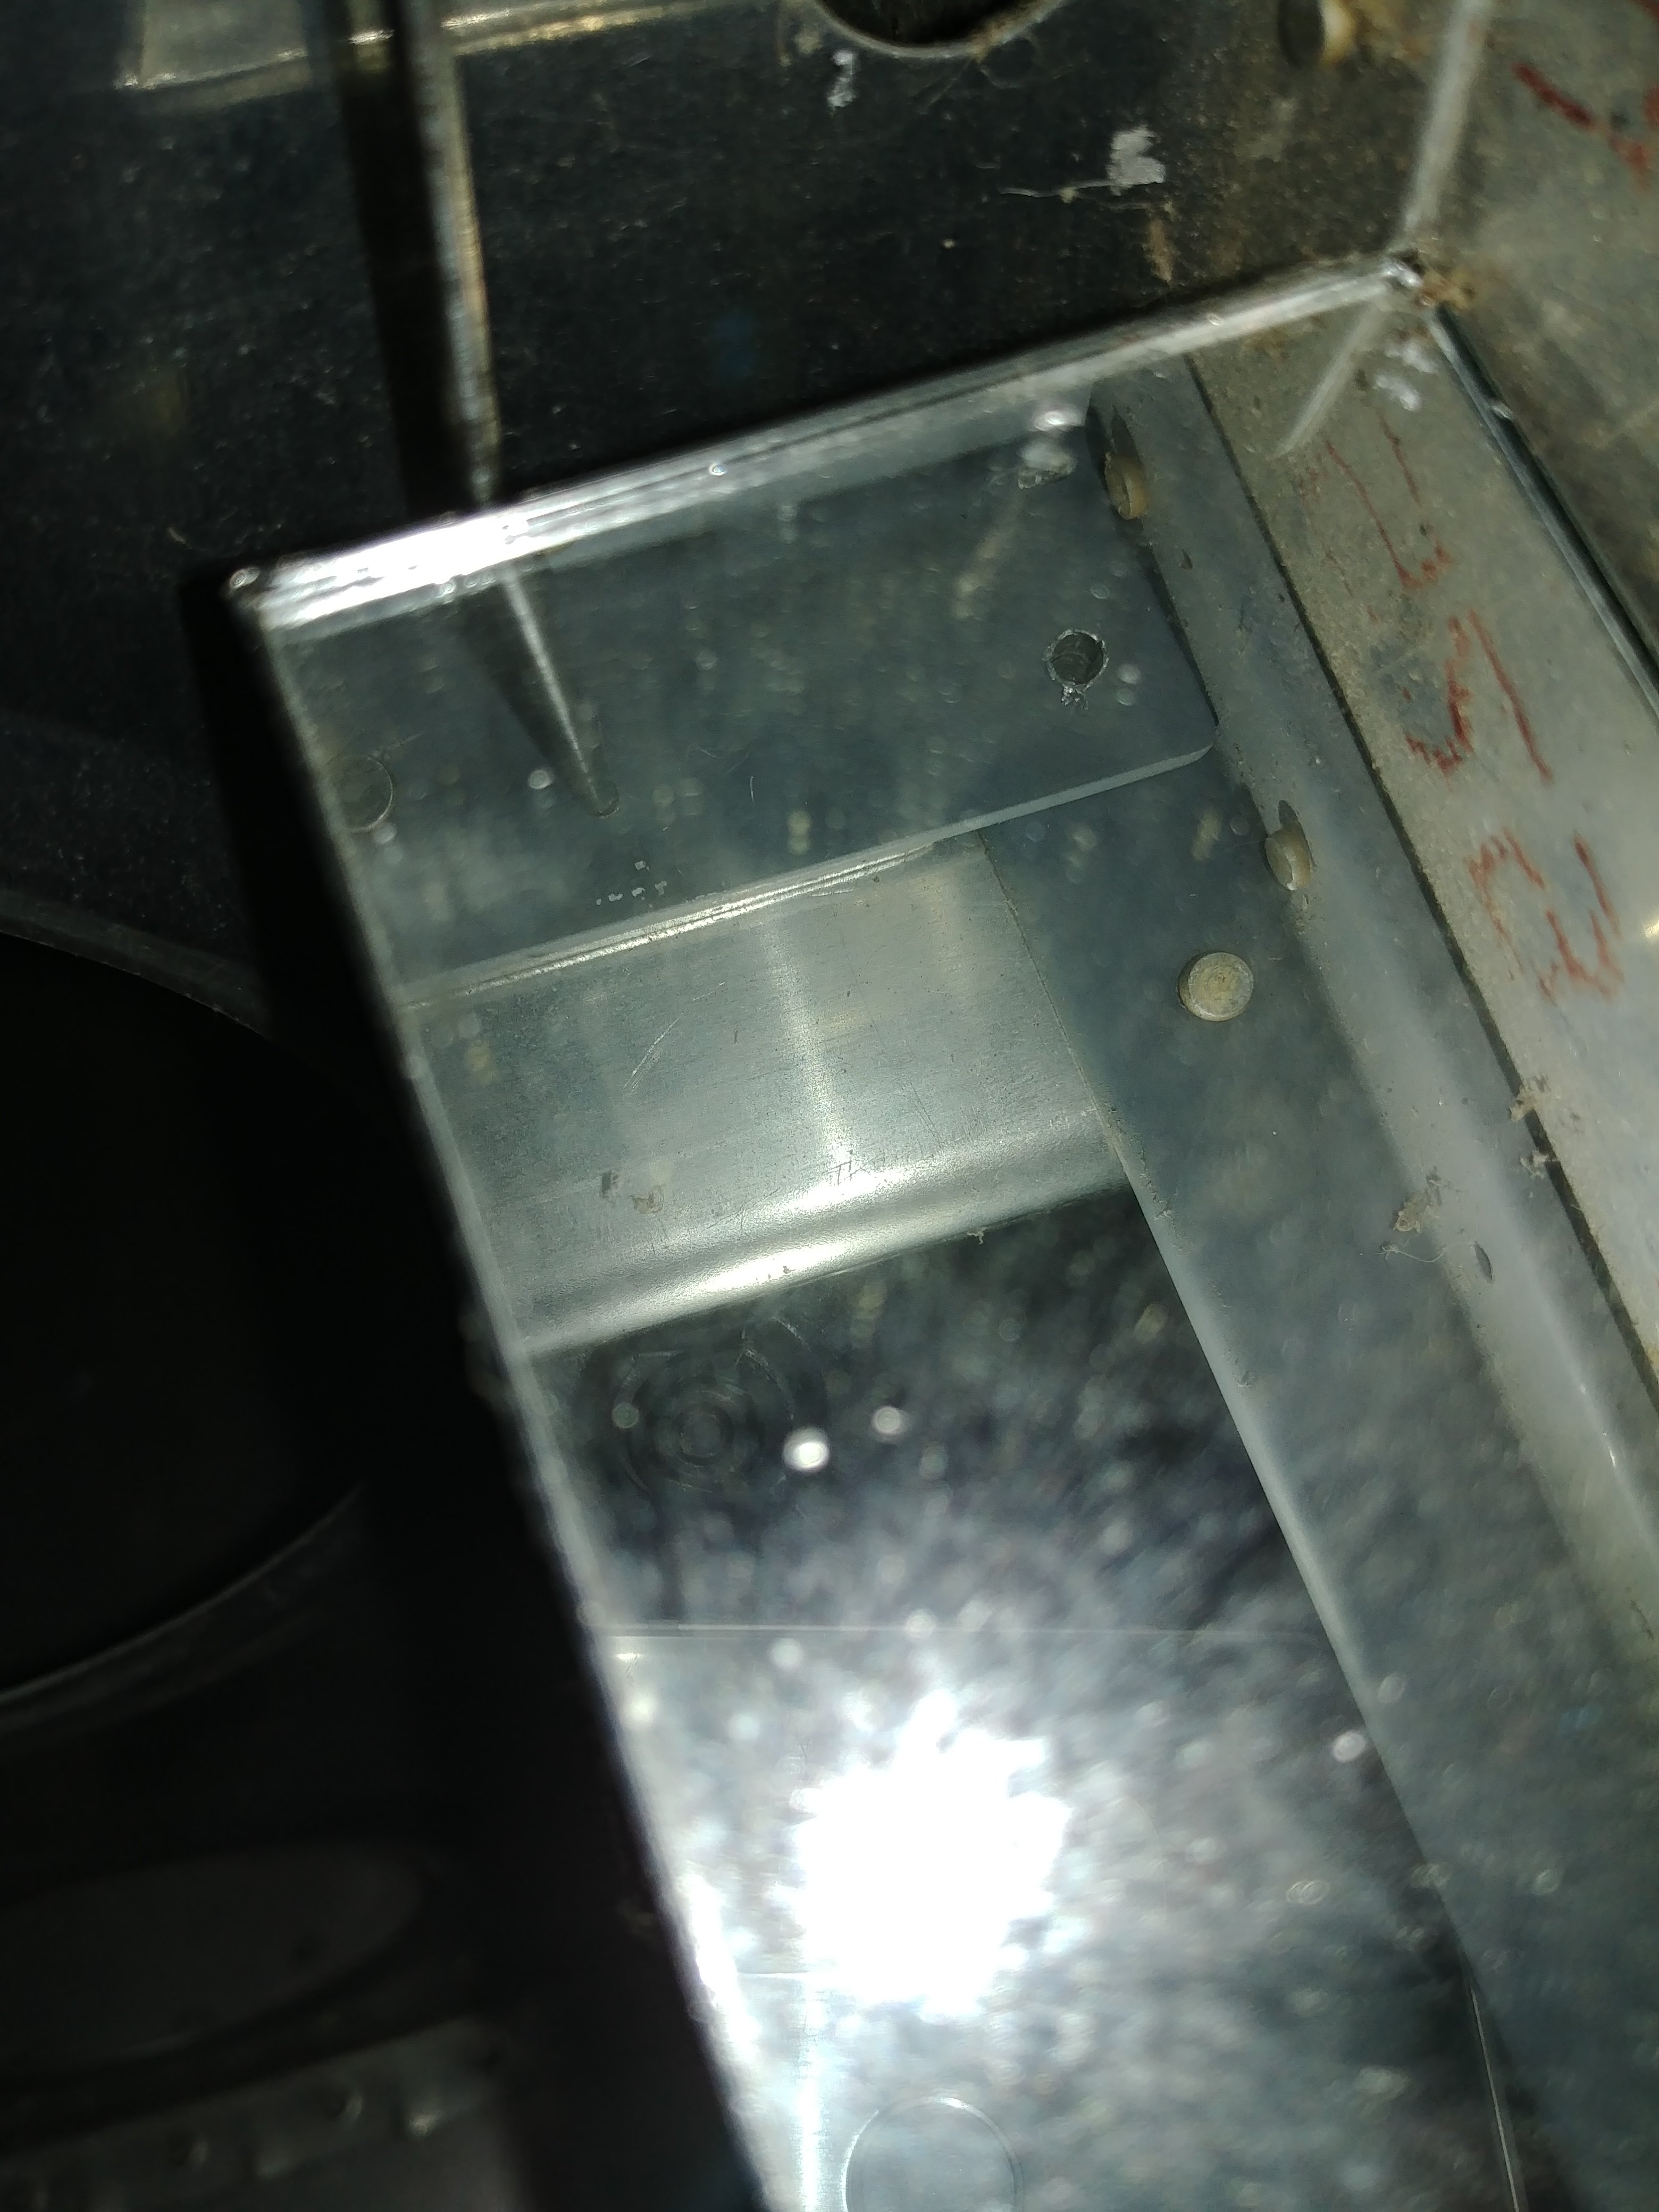
I’ll wrap up with photos from beneath of the holes. Here the outboard holes are drilled up to #30, but the inboards are still #40. Also, these photos aren’t great, but keep in mind I was using a cell phone to take a photo of an inspection mirror pointed at the holes. I think it’s about the best I could do short of actually getting in the fuselage.

Posted in Empennage, Fuselage | Hours Logged: 2.5

Elevator stuff

So tonight was kind of an exercise in not wasting time. After the failure of my angle drill attachment Tuesday night, I decided it was time to pony up and buy a real pneumatic angle drill – which I did. Thing is, until I get that in hand, I can’t do any more work on drilling the h-stab to the fuse. So the temptation was to just goof off until the drill comes in (tomorrow), but the reality is there’s plenty of other stuff I could be doing.

The first thing that came to mind was refitting the elevators. Back when I pulled these off prior to doing the stab SB, I lost the center bolt and the carefully-crafted spacers, and never could find them. I’ve since gotten a replacement bolt (rolled into another parts order), and so I decided that tonight I’d re-fab those spacers.

So I got the elevators hung on the stab, bolted them down, and then went looking for the spacer material. I thought that I’d done this before just using some of the aluminum tubing I have around, but when I went looking, I couldn’t find any tubing of the right size. The stuff I had fits nicely around an AN3 bolt, but this center bearing has an AN4 bolt.

So I went digging back through my build log, and it seems that when I tabbed these spacers up the first time, I bought some aluminum spacer pieces from a hardware store and used those. I guess I didn’t have any left over either, cause I dug through my parts bins looking for anything like that. This, in turn, put an end to any more work on making new spacers and re-fitting the elevators. I’ll have to make a stop tomorrow and see if I can find some suitable material.

In the meantime, here’s a pic of the stab and elevators mounted to the fuselage:

In a continuation of the original theme, I almost called it a night right there. But instead I looked forward to the next section after fitting/mounting the horizontal and vertical stabs, which is putting together the elevator control system. I spent the rest of the work session assembling the elevator bellcrank. Basically, this will be oriented vertically behind the baggage area. The pushrod from the control sticks to the bellcrank will run down low near the belly skin, whereas the pushrod from the bellcrank to the elevators will be mounted higher up, since it needs to go to the elevator horns which are also mounted higher up.

Probably this is going to go back in a bin until after I get the stabs mounted, which I should be able to pick up on this weekend, but look, it’s another part:

Posted in Empennage, Fuselage | Hours Logged: 1.5

H-stab fitting: done!

Welp, my shiny not-new (used) angle drill came in today. I picked up the materials I need to remake the elevator center bearing spacers, but I decided that I preferred to pick back up with the stab fitting and then circle back to the elevators later on. So I busted out the angle drill and had one of those “I should have bought one of these ages ago” experiences. It was so much easier to position this thing than the old angle drill adapter.

I had two more of the four forward holes to open up to #30, and then went back to final-drill them to #12, installing the attach bolts as I went. I did pause after the first #12 hole to take a look at its positioning, and it looks pretty decent (though maybe hard to tell from this inspection-mirror photo):

After installing all four attach bolts, I took another photo, using the front-facing camera on my phone, which ended up being unintentionally amusing and sorta creepy. But hey, the bolt positions look good:

Next up, it was time to dust off the vertical stab. This is actually the first time this thing has come out of the shipping fixture I built for it in Atlanta, about…um….six years ago. There were quite a few mud dauber nests to clean off of the thing, and then I had to remove the rudder and set it aside.

Technically, the first thing I’m supposed to do is trim the forward spar of the vertical stab, but I was about ready to call it a night, so instead I just settled for clamping the stab in place so I could get this photo:

Tomorrow I’ll have to do this in a more serious manner. Actually mounting this thing looks interesting, for some reason there’s a spacer piece that goes between the forward spar and the attach bracket to the horizontal stab, which should make it fun when it comes time to drill all this stuff in assembly. And I’ve gathered that drilling the attach holes in the rear bulkhead is fuuuuun.

We shall see.

Posted in Empennage, Fuselage | Hours Logged: 1.5