Right flap riveting

Got rolling on riveting the right flap tonight. I’d hoped to get further, but Josie had to work late and couldn’t help me out, and some of this riveting is definitely better done with two people on the job. I’d intended to kind of document my riveting procedure in detail, since the instructions are rather sparse here, but of course that kind of fell by the wayside once I got going. It’s a wonder I even get any photos half the time…

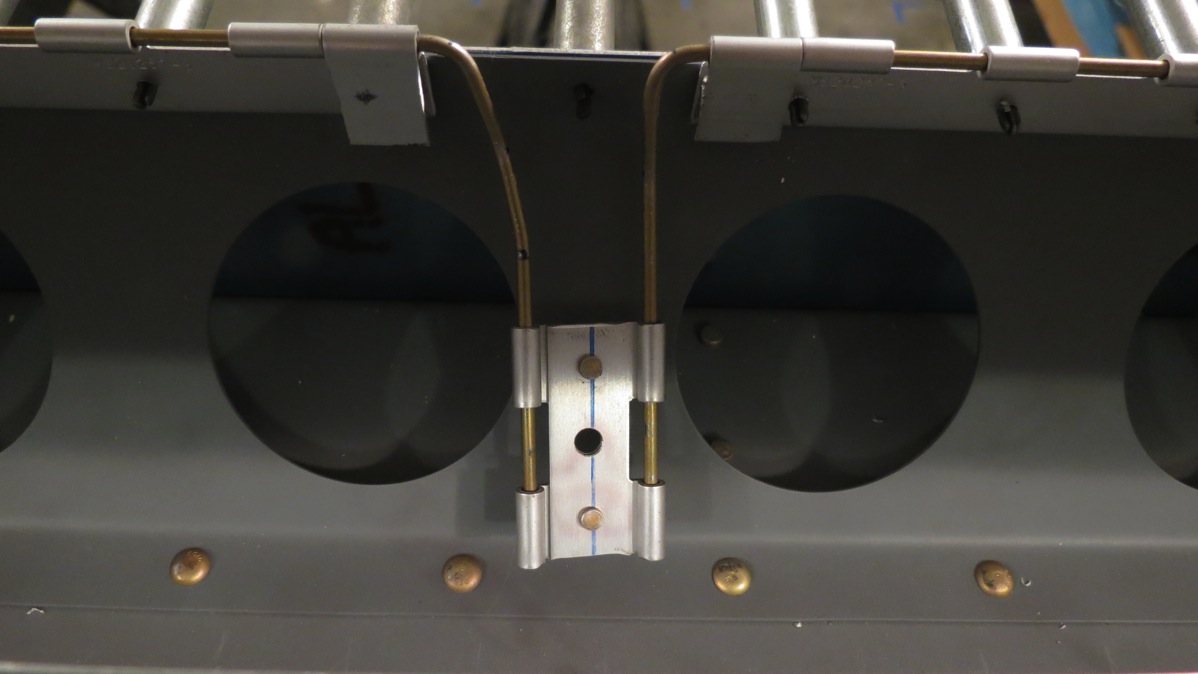
Anyway, I started by riveting the interior ribs and the inboard rib to the bottom skin. I’m skipping the outboard rib for now; since its flanges face the outside of the flap, those rivets can be easily squeezed any time. First I squeezed the -4 rivets between the trailing end of the interior ribs and the pseudo-spar (Side note: I wonder if there’s a technical term for that that I should be using. My aero engineer coworker who reads this blog hasn’t made fun of me for calling it a pseudo-spar yet, so maybe I’m not too far off base.) Next I shot all the skin-run rivets. These were pretty straightforward and easy to do with the mini tungsten bucking bar:

IMG 5620

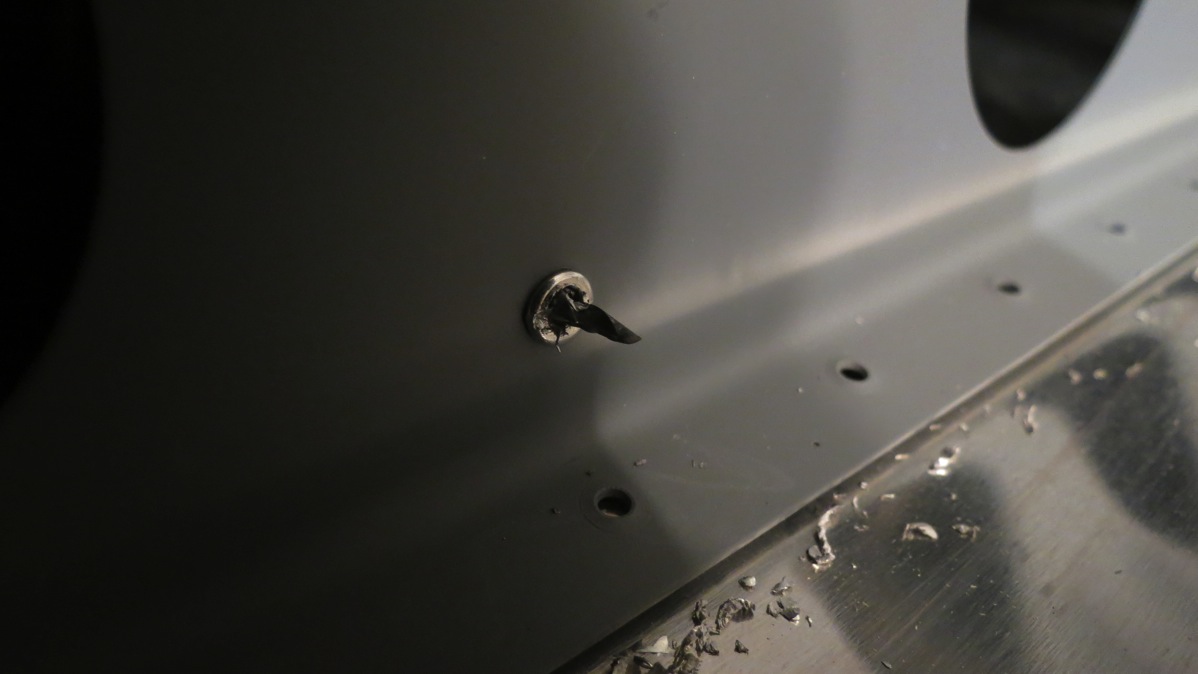
The only issue I had with a rivet was this one on the inboard rib:

IMG 5622

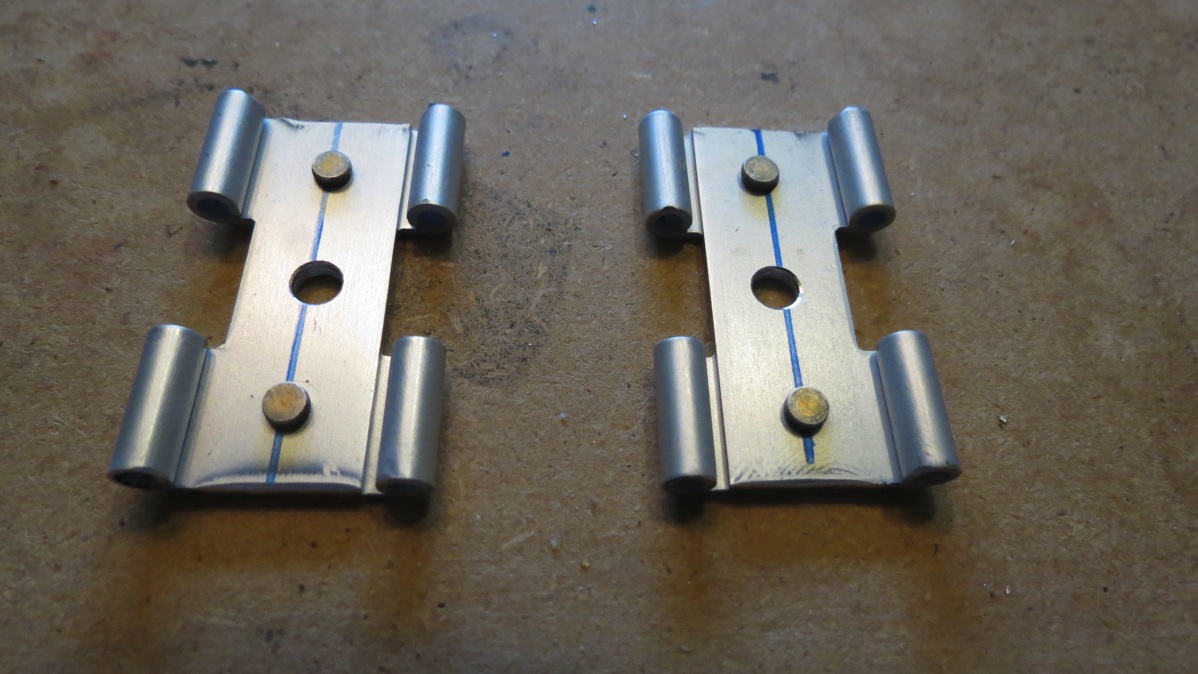
Note how the rivet sits right below the protruding part of the nutplate. I briefly tried shooting that rivet, using my narrow footed bucking bar, but it turned ugly pretty quickly. So I just drilled out the nutplate rivets, shot the offending rivet, and then reriveted the nutplate in place. That rivet on the left end of the nutplate clinched over a bit – it was tough to get the squeezer in there with the skin in the way – but since this is a nutplate, I’m not especially concerned with the rivet.

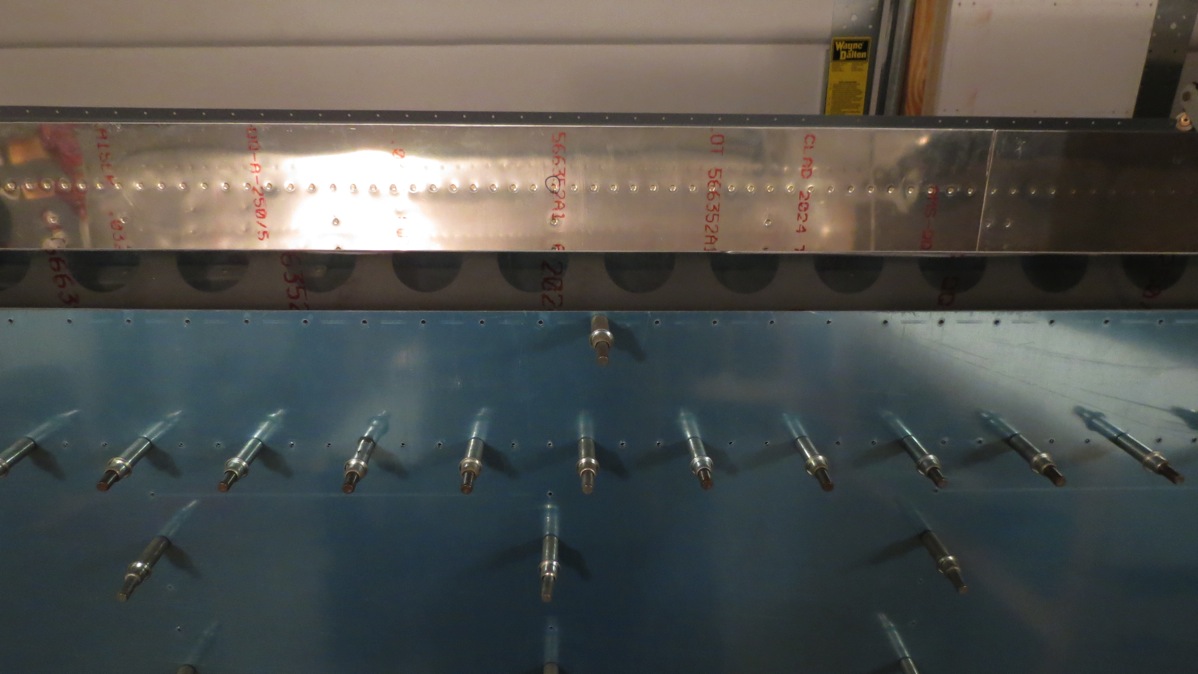
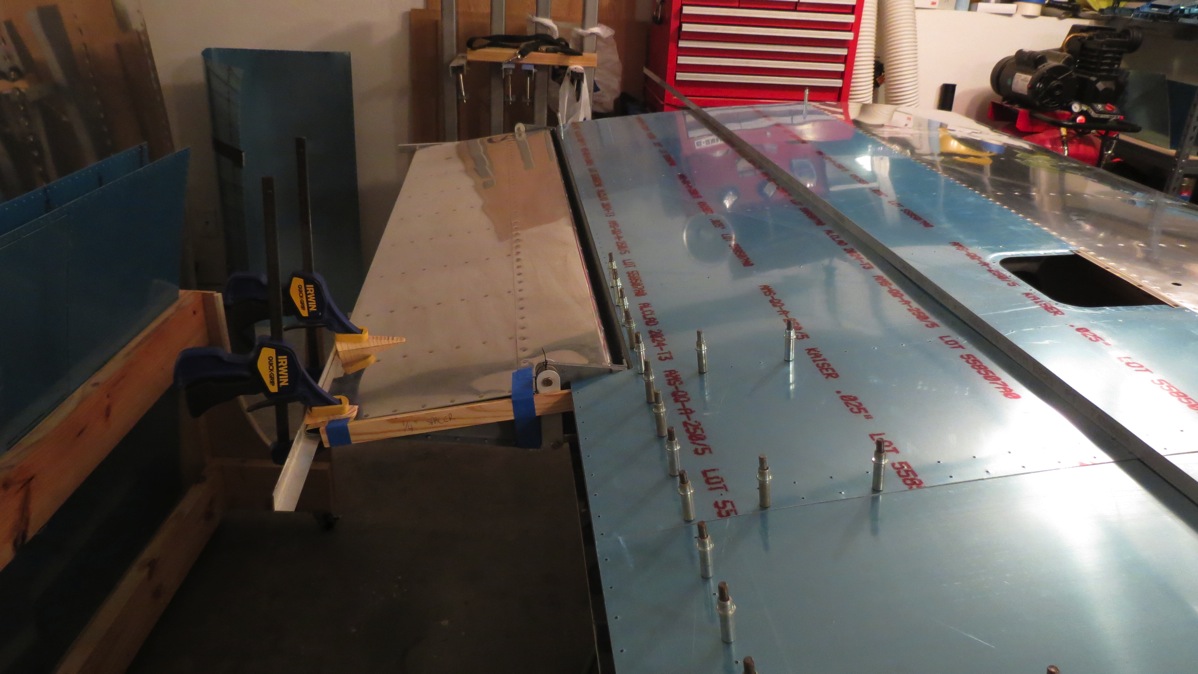
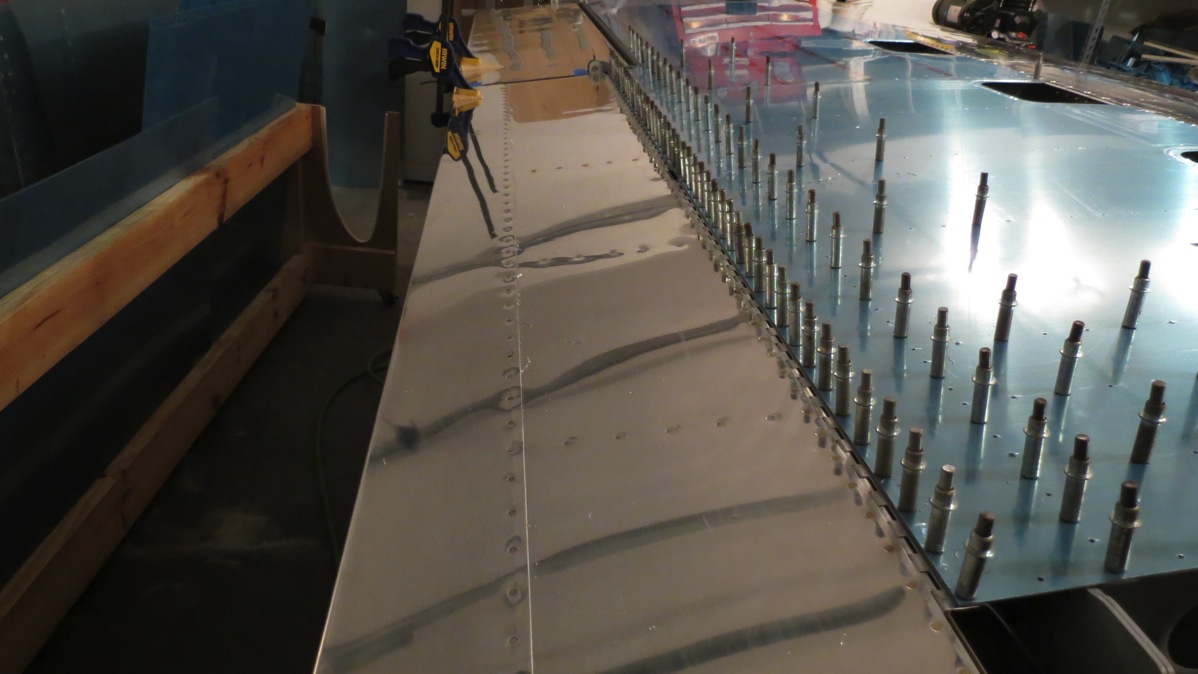
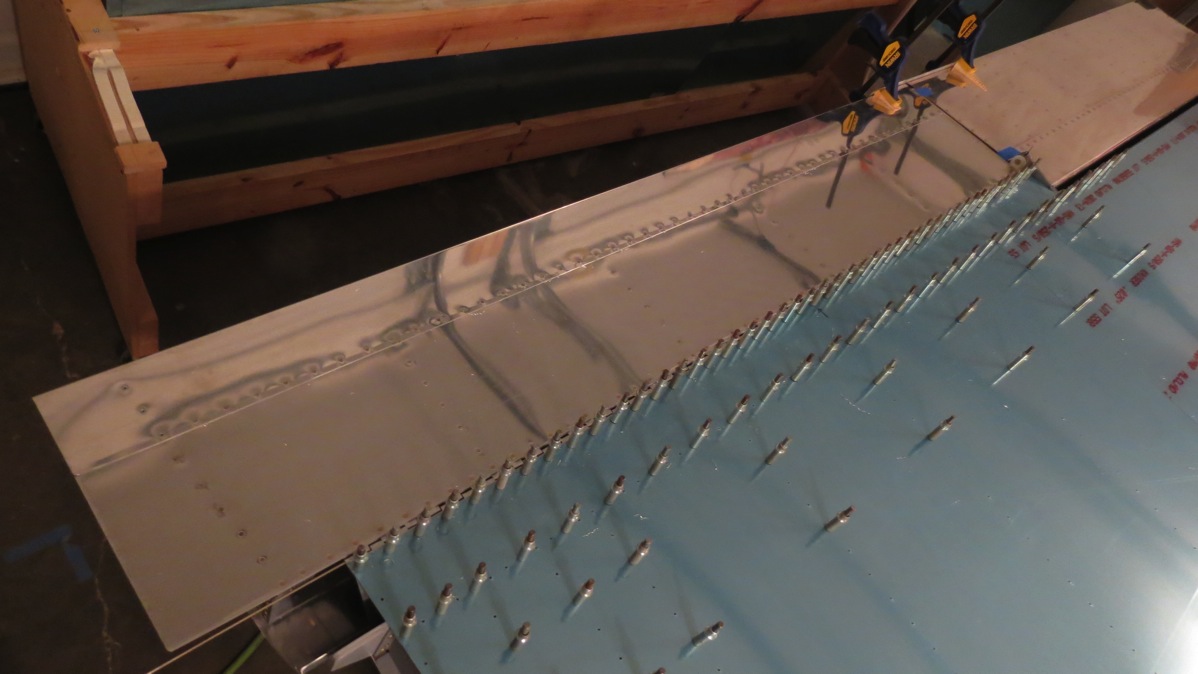
Next, I set the top skin on my work surface, slipped the bottom skin-rib assembly in place, and clecoed the line of holes that join the two skins. This is the riveting job that I figure should be done by two people. It’s pretty tight quarters back there where I’ll have to buck these rivets, and trying to shoot and buck is probably a recipe for disaster.

As for bucking those rivets, I’ve seen where guys used their back rivet plates to buck the rivets, but I don’t think it’s necessary. My mini tungsten bar is small enough to get on the rivet head, though it’ll be challenging to hold it straight. My plan for the moment is to hold the skin open with some wood blocks to improve my working room, sort of like this:

IMG 5624

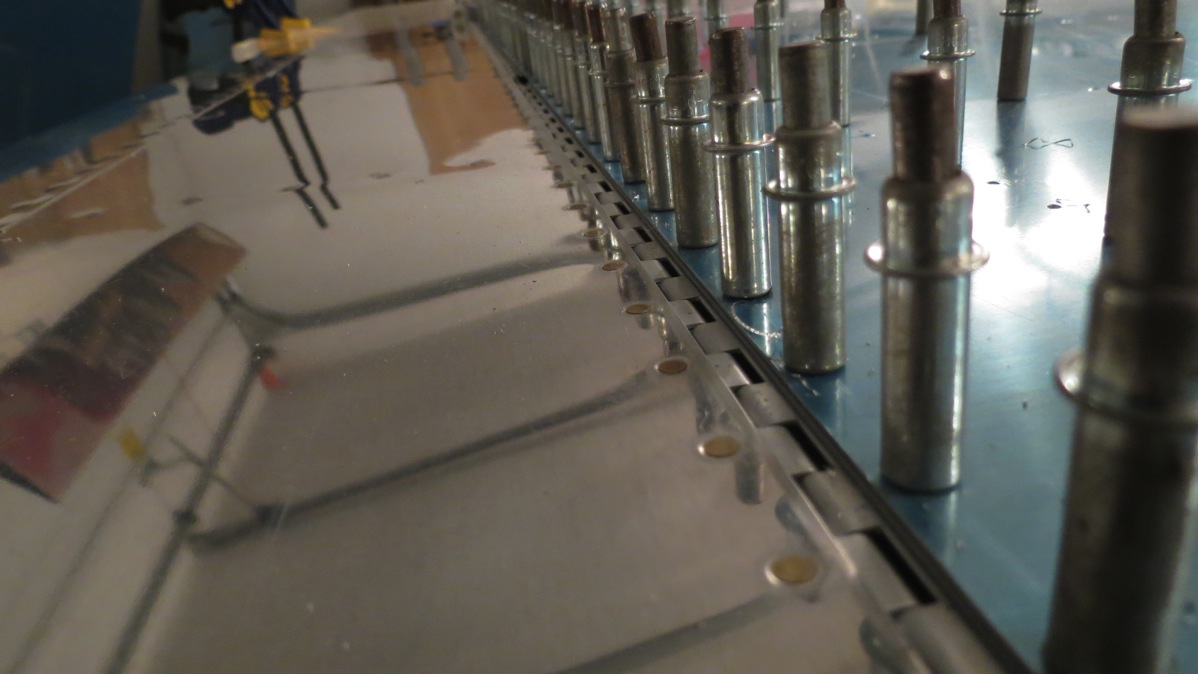
In that photo, you can see the little J-bend in the bottom skin, the pseudo spar I keep talking about. The row of rivets I have to shoot is just ahead of that. Once we’ve shot all those rivets, I’ll flip the assembly over, clamp it down tight to the work surface, and we can shoot the rest of the skin-rib rivets. After that, the rest should be a cakewalk; all the remaining rivets are either blind or accessible with a squeezer. Though it occurs to me as I write this that the downward-curving portion of the top skin may make doing the blind rivets between the spar and the ribs difficult. Oh well, we shall see.

Posted in Flaps, Wings | Hours Logged: 1.5

Flap dimpling and initial riveting

Whee, time to break out the C-frame! Well, actually, first I got out the edge rolling tool and put a little roll in the edge of the top skins that will overlap the bottom skins. Then, since I already had the squeezer out with the dimple dies in it, I dimpled the spots that weren’t good for the C-frame. Then I went back and C-framed the majority of the rivet holes.

Dimpled skins:

IMG 5611

I didn’t really intend to start doing any riveting tonight, but I figured I’d at least read over the instructions and get an idea of the procedure. I’ve seen where other builders weren’t happy with how the instructions are here, and at first glance, I agree. The instructions basically just say to cleco everything together minus the spar, then start riveting the skins to the ribs. But doing it that way would remove access to rivet the internal ribs to the pseudo spar on the bottom skin.

So far, I think my general plan will be to first rivet the internal ribs to the bottom skin with the top skin not in place. This will allow good access to shoot the skin rivets and squeeze the spar rivets. Next I can cleco the top skin in place and shoot those skin-rib rivets. The rivets joining the top and bottom skins should be lots of fun, there’s not much space to get in there and buck. I’ve seen others use a back rivet plate as a bucking bar back there; I guess that’s probably what I’ll try to do.

I clecoed the internal ribs to the bottom skin while thinking this through. Oh look, here’s a picture:

IMG 5618

At this point, I decided to instead go ahead and rivet the reinforcement plates to the spars and inboard end ribs. Fairly straightforward stuff here, though I came frighteningly close to riveting the spar reinforcement to the wrong side of the spar when I did the first one…

Inboard spar ends with reinforcement angles:

IMG 5615

Inboard ribs with reinforcement plates, also showing the nutplate inside the rib where the actuator will attach:

IMG 5613

And now I’m going to do some research to get a better handle on how to approach riveting. Hopefully I can get started on that tomorrow night…

Posted in Flaps, Wings | Hours Logged: 2

More flap prep

Short night tonight. I got out the die grinder and went to work on the edges of the flap skins. Turned out to be a kind of tedious job what with all the odd bends and such, but not too horrible. I decided not to go ahead and dimple the skins; for one thing, it was about 11 by this time, and for another, I think I want to roll the edge where the top skin overlaps the bottom. I’ll do a bit of research before I decide to do that though.

I wasn’t quite ready to quit, so I decided to test-fit the two piano hinge halves for the flaps and figure out where to cut each half…in half. The instructions give two options for dealing with the hinge pin here; the first is to leave each hinge half in one piece, use a single pin for the entire flap, and drill a hole in the aileron bracket to allow for removing the pin for maintenance and such. The second option is to use two shorter pins, with a gap in the middle of the flap; in this case, the pins are removed from that center gap. I’m going to do the latter option, since it means not having to disconnect the aileron every time I need to remove the flap. That explanation probably doesn’t clarify much, but it should make more sense once I have some assembly photos later on.

Once again, no photos tonight.

Posted in Flaps, Wings | Hours Logged: 1.5

Flap prep and priming

Whew…now that was a good day’s work. Since the weather was nice, my primary goal was to finish prepping the flap components so I could shoot primer. First order of business was to countersink the bottom spar flange where it mated with the hinge half. But first I wanted to figure out the final length of the hinge half (I knew it wasn’t the full length of the spar), which in turn meant doing a rough fit-up on the wing. The flap is positioned 1/4” from the aileron…so now I needed to be sure the aileron was located correctly before doing anything else. I’d followed the plans for the washer stickups at the hinges, but an examination of the wingtip showed that the outboard edge of the aileron wasn’t aligned with the outboard edge of the top skin. Was that intentional or not? A look at the plans seemed to show this misalignment, and to make double sure, I pulled down a wingtip and held it in place to get a look at how everything lined up.

So finally, I was convinced that it was OK to position the flap off the aileron. I made a 1/4” spacer out of two paint stirrers glued together, lined the flap spar and aileron up, and marked three hinge tooth segments to remove from the inboard end. The other flap spar came out the same way (as it should have), and finally I was able to proceed with the countersinking. Then I dimpled all the other spar flange holes along with the ribs. 

I was taking a final look at the inboard reinforcement pieces when I noticed a small imperfection right beside one of the rivet holes. At first I tried buffing it out with the scotchbrite wheel, but it seemed to be surprisingly deep. Eventually I realized what it was – a center punch mark. Apparently when I drilled this hole, the drill bit wandered far enough that the original punch mark was still there:

IMG 5598

Probing it with a punch, I verified it was quite deep. In any other area, I’d remove some material until the mark was gone, but here, that would mean impinging on the rivet hole, which I wasn’t comfortable doing. And I didn’t want to just leave the mark either. Fortunately, there was enough of the original angle material left to just make a replacement, so that was what I did. All in all, it was pretty straightforward, only cost me about half an hour or so.

Finally, I was able to go clean all my parts. In addition to the flap parts, I cleaned the aileron pushrods, which also needed a coat of primer. I worked up a fun bit of redneck engineering to hold the pushrods for priming. Basically I just stuck a 3/16” dowel in each end, then stuck the dowels through holes in the saw horses. This gave me access to shot the whole pushrod without it resting on anything:

IMG 5601

After a whole lot of time in the driveway, I had a nice bunch of primed ribs:

IMG 5603

Next I figured I’d start deburring the flap skins, so I started pulling off the blue plastic. I’d read before that it was necessary to be careful while doing this, lest you accidentally bend your piece. Well, I think I was probably daydreaming about how careful I needed to be when I did this:

IMG 5606

Urgh. That’s the little bend at the very leading edge of the top skin, resulting in a slight bow to the curved portion which fits under the trailing edge of the top main wing skin. Thankfully, fixing it wasn’t that difficult. I clecoed the spar in place to apply some straightening force to the skin, then went to work on the creased area with a hammer and wood block, along with some hand seamers to apply some targeted force. The end result looks practically good as new:

IMG 5607

Finally, I went to work deburring the rivet holes in the skins. That seemed like a good stopping point for a good day’s work, so I quit. That just leaves deburring the edges of the flap skins and dimpling them, and then it’ll be time to do some riveting. And then I’ll be closer to getting rolling on the fuselage!

Posted in Flaps, Wings | Hours Logged: 8

Fuselage organization, bit of flap prep

OK, so a lot of stuff going on today, didn’t have a lot of time in the garage. I did run out to Harbor Freight to pick up another storage case, which now contains some of the bagged small parts that would fit in the little bin inserts. The rest of the smaller parts still live in a cardboard box under the workbench. Hopefully it won’t be too horribly tough to find stuff when I need it.

I also spent a little time remembering where I was on the flaps and getting back to work. I deburred the holes in the hinge halves and the edges of the spars. The weather is looking good for tomorrow (after a monsoon day today), so I’m thinking tomorrow I’ll try and finish prepping the flap parts and get them primed. All I really have left before I can prime is to edge finish the ribs and dimple/countersink the ribs and spars. I’ll try an get an early start tomorrow for a good long day of work.

No photos today, not much to see.

Posted in Flaps, Fuselage, Wings | Hours Logged: 2

Fuselage inventory, pt 3

Just in case I haven’t mentioned it…there are a lot of parts in the fuselage kit. Tonight I went to work inventorying and organizing all the hardware bags. Calling these hardware bags is a bit of a misnomer, actually…about half of the bags are actual hardware (rivets, nuts, bolts, screws, nutplates, etc.) and the rest are just assorted small parts. There are also a few random standalone parts in this bundle, including the brake master cylinders and the flap motor.

Anyway, to start off with, I went down the line, simply checking off that I had every bag I was supposed to. And I actually found one I was missing, so I’ll have to shoot Van’s an email about that Monday morning, assuming it doesn’t turn up this weekend some time. Next, I actually went through and inventoried the contents of most of the bags. I skipped this step for the bags that contained nothing but large numbers of rivets/screws/washers/etc.; mostly I was concerned about the bags with specific small parts and so forth. If I come up short some rivets or screws, those are easy to get; not so much with some of the Van’s-specific parts.

All that inventorying took the better part of two hours, and next I started working on organization. I had a few new rivet sizes, so the case of rivets had some modifications made in terms of bin sizes and such. And I made use of the third case I’d bought as well, generally getting better organized with the bolts and nutplates. I still have a few open bins in the third case at the moment, which I’ll probably fill with assorted bushing and stuff like that:

IMG 5591

And I’m still not done organizing. All I put away tonight were the actual hardware pieces. I still have a large number of bags of small parts to deal with:

IMG 5595

I’m considering buying yet another storage case to use for this stuff. Folded up, those paper bags fit very nicely into the large bins, and it’s easy to write on the top of the bag and have the contents still be visible. With the wings, I stuck all these random part bags in a little box, but there were a lot fewer of them. Storing them in the case would have the double benefit of me being more organized and already having a storage spot for the cases.

One of these days I might even get back to building flaps…

Posted in Fuselage | Hours Logged: 4

Fuselage inventory, pt 2

Tonight was cleanup and organization night. As shown last night, I had parts strewn all over the place, along with a mountain of packing paper about six feet high. So tonight I moved as much stuff out into the driveway as possible (most notably the wing cradle; that freed up a lot of space to work. Then it was just a matter of cleaning off the shelves, consolidating, organizing, etc. The really long pre-bent tail skins ended up in the spare bedroom on the bed. Sorry, no overnight visitors for a while. Some of the other large flat skins fit nicely in the middle of the wing cradle, and the smaller ones went on the shelf under the workbench:

IMG 5587

Somewhat surprisingly, I managed to get all of the parts onto the shelves without having to stack them too high. I still foresee lots of parts searches, but at least it won’t resemble an archeological dig:

IMG 5585

And now, tomorrow night we can start going through this giant bag of hardware:

IMG 5589

And maybe I can get back to working on the flaps this weekend. I took a few minutes tonight and read through the first part of the fuselage instructions. Looks like I get to start off with the firewall before building up the forward fuselage floor and gear towers and such. I can’t wait to get going on this stuff…though on the other hand, the fuselage instructions are quite thick. Lots to do!

Posted in Fuselage | Hours Logged: 2

Fuselage inventory, pt 1

So even though I was out of town this past weekend, I still made time to obsessively check on the tracking for my fuselage kit, and I was quite plead to see that it had arrived in Houston as of Sunday. Around midday Monday, I got a call from a lady at Old Dominion about picking the kit up. I was pleasantly surprised to find out that I could pick it up any time before 9 PM; I’d expected to have to come during the day and thus take some time off work. So of course I came home Monday, ate some dinner, went to Home Depot to rent a trailer, and proceeded way up north near IAH to the Old Dominion terminal.

Back home, Josie and I got the crate off the trailer and into the garage, and while it was too late to start any inventory, I of course had to at least crack the lid off and take a look at the contents:

So tonight after dinner, we went out and proceeded to get to work on the inventory. Before I’d even gotten much out of the crate, I already had a fairly large pile of packing paper going:

IMG 5571

There are a ton of parts here. The packing list is a full 12 pages long. The wings had lots of parts, but were relatively simple: ribs, spars, stiffeners, skins, and some assorted bracketry and such. There’s no such consistency to the fuselage at all. Just tons of variations on angles, weldments, brackets, skins of all shapes and sizes, etc. I can already see that I’ll probably spend a lot of time searching for parts once I’m working on the fuselage.

Anyway, after a couple solid hours of inventory, the crate was finally empty:

IMG 5572

And I’d learned that a real giant pile of paper looked like: (the photo doesn’t do it justice really)

IMG 5575

Even after dragging the empty crate out into the driveway, the garage looks like a disaster area. I can’t even get to the shelves to start putting any of this away at the moment, because I have the workbench shoved against the tool cabinet and the wing cradle shoved against the workbench.

IMG 5577

IMG 5578

IMG 5583

And really, I’m not done with inventory. There’s still a bag of hardware the size of a small toddler that has to be checked, sorted, and put away, and based on my experience with the wings, that’ll take even longer than the general part inventory. I suppose maybe tomorrow I’ll start trying to reign in the chaos out there…

Posted in Fuselage | Hours Logged: 3

More pushrods

Rather than mess with deburring flap skins – which I won’t be able to do any priming on this weekend anyway – I decided to go ahead and build the second set of aileron pushrods tonight. These are the long pushrods that will run between the bell cranks in the wings and the control stick in the cockpit. These are simpler to make than the other ones as well; instead of small-diameter steel tubes with solid rivets, these are fairly large-diameter aluminum tubes and the ends attach with blind rivets.

Once I’d cut the rod stock to length and marked and center-punched the hole locations, I got Josie to come out and hold one end of the tube while I drilled the pilot holes in the drill press. Next I inserted the threaded ends, lined them up carefully, and drilled all the holes out to full-size, clecoing as I went:

IMG 5562

Some quick deburring of everything and then it was just squeezing a bunch of blind cherry rivets. Afterwards, I couldn’t resist the urge to install a bellcrank and both pushrods, just so I could sit at the wing root, move the pushrod, and watch the aileron move:

IMG 5565

IMG 5567

IMG 5569

The next time I do some priming, I’ll go ahead and shoot the outside of these rods as well. I figured it was easier in this case to just prime after assembly instead of before.

Posted in Ailerons, Wings | Hours Logged: 2

Pushrods done

Not a lot of time tonight, but I figured I’d see if I could get the pushrods done. The epoxy was cured nicely, now to get those rivets out:

IMG 5551

That turned out to be a fun exercise. I was able to get all the rivets moving in their holes with a little touch from the rivet gun, but extracting them was a little more difficult. As usual, the first one took quite some time to get out, but then I had a system down and the other five came out in no time. I was pleased to find that shooting the rivets now was a cakewalk, with hardly any tendency to clinch. The resulting heads aren’t the best I’ve ever done, but perfectly adequate:

IMG 5553

Next, as a precaution, I decided to shoot some primer on the ends of the pushrods. Cutting the rods to length had removed some of the powder coat, and I’d also seen some flakes coming out from under the rivet shop heads as I shot them, so better safe than sorry. I wrapped the threaded portion in masking tape and went to town:

IMG 5556

I like how fast the 7220 primer dries. Ten minutes later and I ripped the making tape off and installed the rod ends and jam nuts:

IMG 5557

After that, I may have pinned one of the pushrods to an aileron and then moved the rod so I could watch the aileron move. This is strictly a rumor, totally unconfirmed…

In other news, my minor griping last night about Van’s not notifying of shipments was premature. Today I got a notification from Old Dominion with my shipment info, including a tracking number. Now I get to spend my time refreshing the tracking page three times a day. I imagine I should have the kit early next week. I won’t have the flaps done by then – I’m out of town at least one day this weekend – but that’s okay. I suspect some serious garage reorganization is going to be in order once we start unpacking the fuse kit.

Posted in Ailerons, Wings | Hours Logged: 1