Wings

Right flap riveting

Got rolling on riveting the right flap tonight. I’d hoped to get further, but Josie had to work late and couldn’t help me out, and some of this riveting is definitely better done with two people on the job. I’d intended to kind of document my riveting procedure in detail, since the instructions are rather sparse here, but of course that kind of fell by the wayside once I got going. It’s a wonder I even get any photos half the time…

Anyway, I started by riveting the interior ribs and the inboard rib to the bottom skin. I’m skipping the outboard rib for now; since its flanges face the outside of the flap, those rivets can be easily squeezed any time. First I squeezed the -4 rivets between the trailing end of the interior ribs and the pseudo-spar (Side note: I wonder if there’s a technical term for that that I should be using. My aero engineer coworker who reads this blog hasn’t made fun of me for calling it a pseudo-spar yet, so maybe I’m not too far off base.) Next I shot all the skin-run rivets. These were pretty straightforward and easy to do with the mini tungsten bucking bar:

IMG 5620

The only issue I had with a rivet was this one on the inboard rib:

IMG 5622

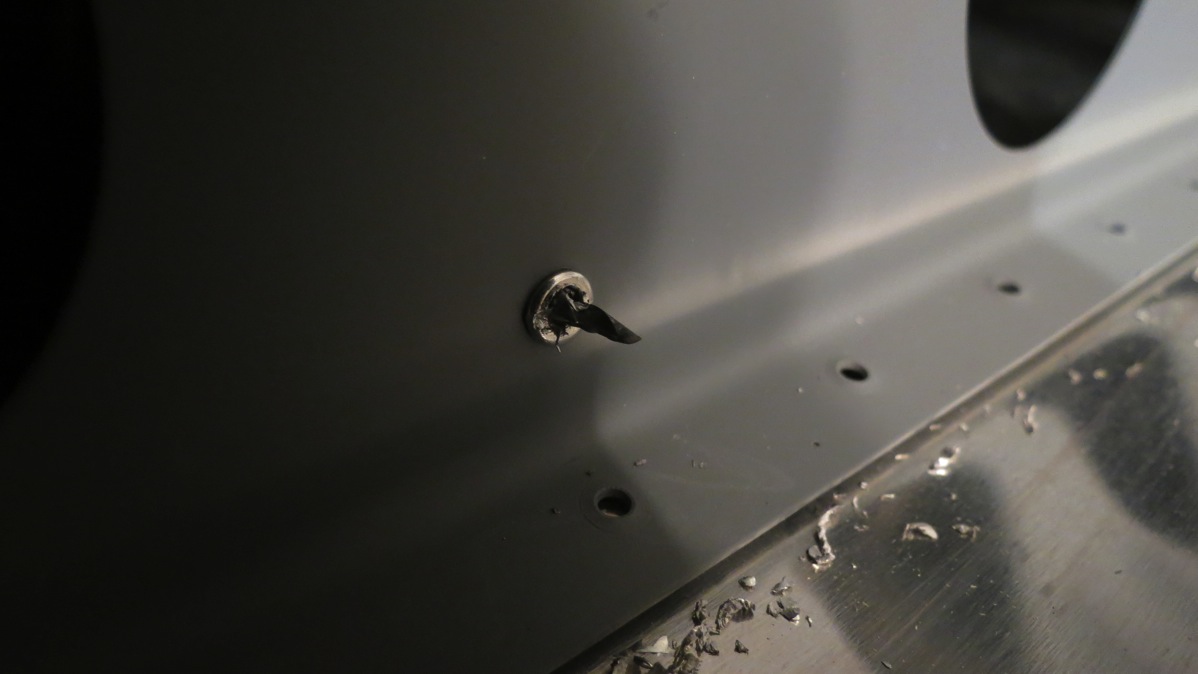
Note how the rivet sits right below the protruding part of the nutplate. I briefly tried shooting that rivet, using my narrow footed bucking bar, but it turned ugly pretty quickly. So I just drilled out the nutplate rivets, shot the offending rivet, and then reriveted the nutplate in place. That rivet on the left end of the nutplate clinched over a bit – it was tough to get the squeezer in there with the skin in the way – but since this is a nutplate, I’m not especially concerned with the rivet.

Next, I set the top skin on my work surface, slipped the bottom skin-rib assembly in place, and clecoed the line of holes that join the two skins. This is the riveting job that I figure should be done by two people. It’s pretty tight quarters back there where I’ll have to buck these rivets, and trying to shoot and buck is probably a recipe for disaster.

As for bucking those rivets, I’ve seen where guys used their back rivet plates to buck the rivets, but I don’t think it’s necessary. My mini tungsten bar is small enough to get on the rivet head, though it’ll be challenging to hold it straight. My plan for the moment is to hold the skin open with some wood blocks to improve my working room, sort of like this:

IMG 5624

In that photo, you can see the little J-bend in the bottom skin, the pseudo spar I keep talking about. The row of rivets I have to shoot is just ahead of that. Once we’ve shot all those rivets, I’ll flip the assembly over, clamp it down tight to the work surface, and we can shoot the rest of the skin-rib rivets. After that, the rest should be a cakewalk; all the remaining rivets are either blind or accessible with a squeezer. Though it occurs to me as I write this that the downward-curving portion of the top skin may make doing the blind rivets between the spar and the ribs difficult. Oh well, we shall see.

Posted in Flaps, Wings | Hours Logged: 1.5

Right flap riveting again

Whew, finally back to work. First order of business tonight was to start riveting the joint between the top and bottom skin. I’d been intending to have Josie come out and help with this, but she was working late again, so I examined the situation again and decided that I could shoot these rivets solo. And in fact it turned out to be really straightforward; I had no problems at all. The only tough spots where where the two skins are also riveted in assembly with the ribs.

Here, access was tight enough that even the tungsten bucking bar was to big. I had a different bucking bar that would fit, but holding it in the tight space was going to require both hands. So I got Josie to pause work long enough to come out for about five minutes and help me shoot those. Overall, they weren’t bad at all.
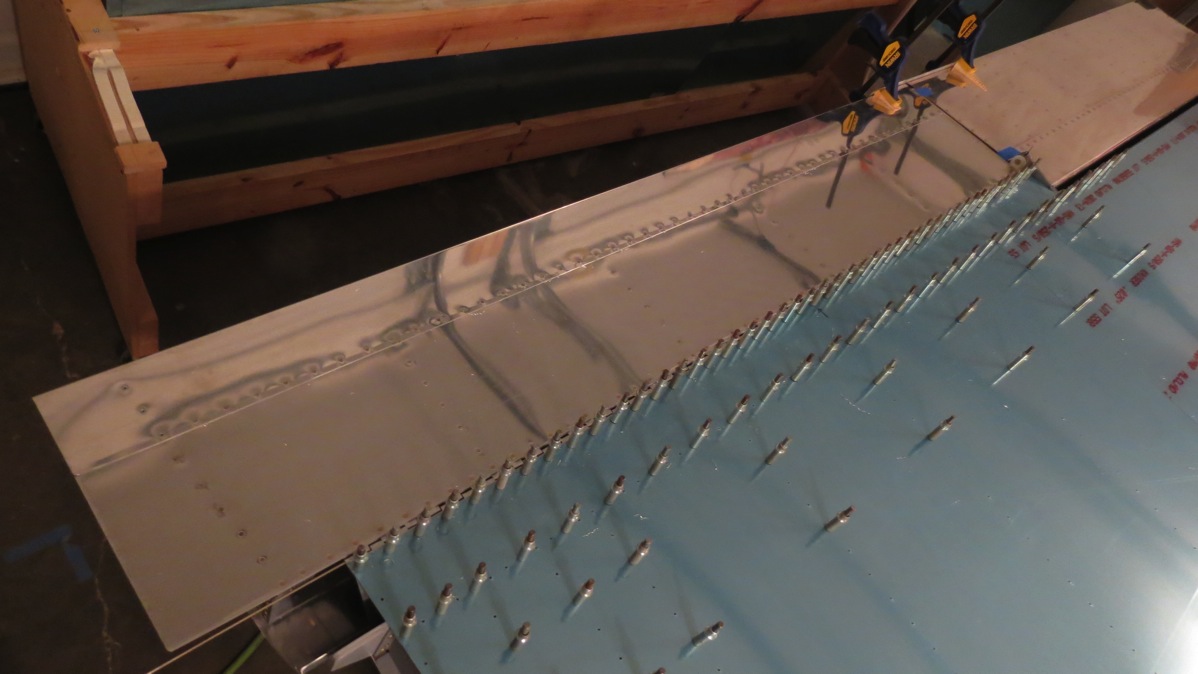
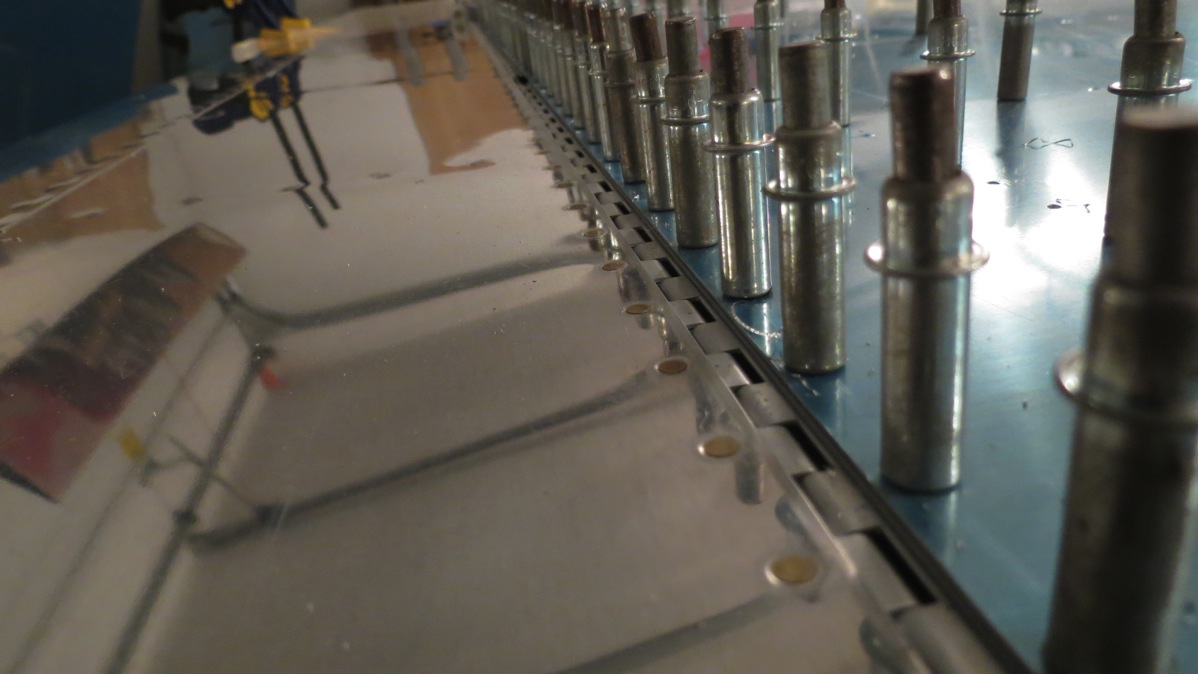
The joint turned out really nice. I was a little concern I overdid it rolling the top skin edge, but the lap joint is really tight, with no gap visible at all:

IMG 5626

Next I flipped the flap over and clecoed the top skin to the top of the ribs. This is where things are going to get fun for sure. Doing the bottom rivets, I could pull the top half of the skin out of the way for better access, but that’s no longer possible with everything clecoed together. And to make matters worse, the downward cube of the leading edge of the top skin really limits access inside the flap. There’s no question this is going to be a two-person job:

IMG 5631

Since there was nothing else I could do with the right flap, I moved on to working on the aileron bellcranks. I’d temporarily assembled the left one once just to watch the aileron move; now it was time to do it for real. First I used a green scotchbrite pad wrapped around a drill bit to clean up the inside of the bellcrank pivot point, then I chucked each bushing into the drill and gave it a once-over with the green pad. That made the bushings nice and shiny:

IMG 5632

Then I clamped the bell cranks in the vice, covered each bushing with a coating of grease, and installed both bushings:

IMG 5634

Finally, I bolted each bellcrank in turn into a pair of brackets so I could bench-test them and ensure that they moved freely even when torqued down. Better to do this on the bench than in the wing!

IMG 5638

And that’s it for tonight. If I can’t get Josie to help me tomorrow night, I’ll probably just move on to doing the solo riveting on the left flap. I also need to fabricate some spacers for the bellcranks and aileron hinge brackets before things can go together properly.

Posted in Flaps, Wings | Hours Logged: 2

Left flap riveting

So I haven’t been especially productive the past week or so, but tonight I finally got back out and got some stuff done. I started out by doing the solo riveting on the left flap: riveting the ribs to the bottom skin and then the joint between the top and bottom skins. The rest will have to wait until I have help.

The lap joint didn’t turn out quite as nice as the right flap, I don’t think. Or maybe this macro shot just makes it look worse than it is:

IMG 5640

Next up, I worked out my aileron alignment jig. A couple of operations require positioning the aileron in-trail, most notably rigging the bell cranks and hanging the flaps. This position is defined by a line passing through two tooling holes in the main wing rib, so the alignment tool takes the form of a length of aluminum angle, in which bolt holes are cut to attach it to the ribs, with some standoff to allow clearance for the aileron hinge. That part is pretty simple:

IMG 5642

IMG 5644

With this setup, the aileron can then be held so it’s at the midpoint of the angle piece. However, I wasn’t 100% satisfied with that; it would require a second set of hands carefully holding the aileron while other stuff (like flap hinge drilling) was taking place. My solution was to drill a third hole in the angle right at the trailing edge of the aileron. I then took a chunk of 5/16” dowel I had lying around and sanded one end down until it fit snugly into the trailing edge bend. Then that dowel fits into the hole and into the trailing edge, holding the aileron in place:

IMG 5646

IMG 5648

As you can see, that last hole was off by a touch, but it doesn’t prevent the dowel from doing its job. This should make rigging and such significantly easier. I might actually go ahead and rig the bell cranks and pushrods tomorrow night…

Posted in Flaps, Wings | Hours Logged: 2

Aileron rigging pregame

No help for riveting tonight, so I switched gears to work on getting the initial aileron rig done. First item of business was the attach point between the short pushrods and the aileron hinge bracket. Each aileron needs a spacer fabricated from aluminum tubing, which is the main source of work here. So for each aileron, I put the bolt, required washers, and a detached rod end in place, measured the remaining space with calipers, and used that to make a pice of tubing the proper length. This basically just ends up being a lot of trial and error.

Here’s the end product, showing the full washer + spacer stack:

IMG 5649

The bellcranks require similar work; the gap in which the long pushrod (to the cockpit) fits is way oversize, and needs a 1+” spacer. Same deal as before, measure, cut, trim, check, trim again, check, trim, etc… Finished product:

IMG 5651

Next, I went to work installing both bellcranks. Unfortunately, this is where rigging work stopped. Once the bellcranks were torqued in place, they were very stiff and difficult to move. After doing a touch of research, I realized that my bushings fit way too tightly in the bellcranks. For some reason, despite the manual calling for a “slip fit,” I felt that a fit tight enough to require tapping with a hammer was appropriate. I can only chalk this up to being in a “get this task done” mode that particular night.

Long story short, those bellcranks will be coming off and I’ll be cleaning up the insides some more with emery cloth until I get an actual slip fit. It seems that this is a common spot where builders encounter a lot of trial and error – one guy said that he figured he installed/removed the bellcranks about eight times! Hopefully I can be a little more efficient than that…

Posted in Ailerons, Wings | Hours Logged: 2

Aileron bellcrank rigging

As alluded to last night, my first goal tonight was to fix the far-too-tight aileron bellcranks so they’d pivot freely. This turned out to be fairly simple; I got an appropriate-size metal rod, taped on a piece of emery cloth, chucked the whole thing in the drill press, and used that to clean up the inside of each bellcrank. I did this with each one until the bushing slid easily in and out without any binding. Then I regreased and reinstalled the bushing, and put the bellcrank back on the spar. Now the bellcranks move nice and smoothly.

With that done, I moved on to rigging the system and sizing the short pushrods. The procedure is to fix the aileron in the neutral (in-trail) position, then use a provided jig to set the bellcrank in its neutral position. The purpose of the bellcrank jig is to ensure that, when everything is rigged, it’s not possible to over-center the bellcrank, which could possibly result in the controls locking up, a situation I would prefer to avoid. Anyway, with the aileron and bellcrank fixed in neutral positions, the pushrod can then be adjusted until it fits nicely in place.

Here’s the left pushrod adjusted and sitting in place. Notice the cleco clamp I used to help hold the bellcrank jig in place while I dealt with the pushrod:

IMG 5656

Same assembly, different angle:

IMG 5657

Same assembly, but with the long pushrod also installed:

IMG 5660

With both long pushrods rigged, they stick out quite a bit from the wing roots. Not too surpassing, I suppose, since they do have to reach the center of the fuselage. But as much as they stick out, I doubt I’ll leave them this way. Seems like a good way for them to get damaged when someone runs into them:

IMG 5661

And that’s it for tonight. Maybe one of these days I’ll actually get those flaps riveted and hung…actually, at this point, I’m pretty much out of wing stuff to do besides the flaps. I guess if I can’t get Josie to help rivet the next couple of days, I’ll start messing with the firewall.

Posted in Ailerons, Wings | Hours Logged: 1.5

Nine rivets

Yes, that’s right, in an hour and a half in the garage we shot a grand total of nine rivets. Working inside these flaps is no fun at all. We started out finishing up the bottom skin rivets; most of those I did solo, but the ones at the trailing edges of the ribs require two hands to buck. Those weren’t so bad, unless you count me needing to have my fingers right between the bucking bar and the table, which made shooting the rivets a bit painful.

Then we flipped the flap, clecoed the top skin holes, and I started trying to figure out how in the world to buck those things. I didn’t have the top skin clecoed while I was doing the bottom rivets, so it was easy to lift the bottom and get some extra room to work. Not only was that luxury gone, but I also had the downward-curving part of the top skin blocking my access. I could barely even get my hand inside the flap at all, much less actually hold a bucking bar.

After much thought, I created a pretty hilarious redneck-engineered solution. I used a spare flap rib to cut a piece of wood at an angle matching the angle between the flap skins. Then I taped that wedge to my mini tungsten bucking bar, and finally I taped a paint stirrer stick to that assembly so I could hold it in place.

The final product:

IMG 5672

IMG 5674

IMG 5670

This setup allowed me to just rest the thing on the bottom skin, butt it against the rivet tail, an then just apply forward pressure while Josie operated the rivet gun. As the shop head formed, the bucking bar slide forward to keep striking the tail. It actually ended up working far better than I expected, and we made four beautiful rivet tails in no time.

I’d hoped to use that same device on the next line of rivets forward on the flap, but with more space to deal with, the bucking bar didn’t align correctly, and the tail of the rivet got mauled. So I decided to go ahead and call it a night after drilling that rivet out. I’m going to seek advice from VAF just to see if anyone has any other great ideas. My tool idea works well, but it’s rather painstaking since it seems I’d have to remake the tool for each row of rivets. But I guess if that’s what it takes…

Posted in Flaps, Wings | Hours Logged: 1.5

Left flap done, right flap undone

Well, this day pretty much covered the full range of aircraft-building emotions. Friday I got in my shipment from Cleaveland, with my two new teeny tungsten bucking bars. These things are tiny (cleco for scale):

IMG 5680

And they worked great inside the flap, as I expected. I knocked out all the rivets to the top skin in about an hour; most of that was working out how to hold the bucking bar. What I ended up doing was adding a wad of tape on one end of the bucking bar, roughly the same thickness as a finished shop head. By doing this, I could just hold the bar against the skin and it would hold itself more-or-less level.

Next I installed the outboard rib and squeezed its rivets, followed by the spar and hinge halves. Installing the blind rivets between the spar and ribs was somewhat challenging due to the overhanging top skin, but I got it done by shortening the blind rivet stems and using my handy little blind rivet angle tool from Avery. And before long, I had a finished left flap:

IMG 5683

So I moved on to the right one. I figured this one would go even faster since I’d worked out my techniques with the left, and I was right…at first. I got the internal ribs and the end rib riveted in place, and installed the spar. Here I inadvertently went a little out of order by riveting the bottom spar flange and the hinge halves before doing the blind rivets to the spar. I didn’t think much of this, but I’d come to regret it later.

It all started when one of the blind rivets, on the inboard end rib, didn’t set correctly. The outside head was sitting proud of the surface by about 1/32”. OK, no worries, I’ll go take care of the rest of the blind rivets and then come back to that one. After all, drilling a rivet out is no big deal, right? Well, not in this case. I got the head popped off the rivet fairly easily, but the rivet shank didn’t want to come out. I kept hitting it with a punch, it’d move a little, then seem to hang up again.

I banged on it for way longer than I should have before stopping to think “maybe something is wrong here.” I reached my fingers through a spar lightening hole, groped over towards the rib…oh boy. I bent the absolute crap out of the rib flange. No no no no no nooooo…I tried to come up with some way to remedy this problem, but I had no ideas that weren’t just totally stupid. I had to make peace with the fact that I was going to have to drill out all those rivets on the spar, remove it, and then remove and replace the rib.

The especially fun part was drilling out the blind rivets in the spar. The ones that were a pain the install because of the skin overhang. I ended up using my angle drill attachment, which worked great until the drill bit snapped. AAARRRHGHGJHLJGKDH:LSJ

IMG 5685

IMG 5687

Fortunately, I had a slightly longer bit that I was able to use, but just barely. Finally, after drilling out all ~60 rivets between the spar flange, skin, and hinge halves, I got a look at the rib. And boy, did I do a number on that thing:

IMG 5688

IMG 5697

Well, it’s been a while since I ordered a replacement part from Van’s. Time to break that streak…

Posted in Flaps, Wings | Hours Logged: 6.5

Replacement flap rib prep

Got my shipment from Van’s today, including the replacement for my botched flap rib. After dinner, I retired to the garage to get this thing up to speed. This is a little more complex than many replacement parts like this, because there are no prepunched holes for the reinforcement plate that rivets to the rib. During initial assembly, all this stuff gets carefully drilled in assembly, but I couldn’t really pull that off here. So instead, I used a piece of scrap wood to create a template to transfer to the new rib.

First I used the tooling holes in the old rib to secure it to the piece of wood:

IMG 5699

Next I drilled through a few of the rivet holes into the wood. I stopped at three because all I really care about here is accurately locating the reinforcement to the new rib. Once it’s clecoed in place, I can drill the rest of the holes using the plate as a guide. Completed template:

IMG 5701

The plate fit great, and it didn’t take long at all to get all the holes drilled:

IMG 5703

Then I deburred, dimpled, scuffed, and cleaned the rib, blew it dry with the air gun, and set it aside to dry a bit more for good measure. While waiting for it to dry, I worked on the hinge halves and the flap assembly. Most of the rivet tails from all my drilling out were still in place, so I got to knock all those out. That, in turn, bent up the hinge halves a bit, so I also worked on them a bit to flatten them.

Finally, I went back to the rib and shot primer on it, just working inside the garage door. Not optimal lighting, but it worked fine for a small job like this:

IMG 5705

That’s it for tonight. Tomorrow I start putting all this stuff back together again – hopefully without mucking anything else up…

Posted in Flaps, Wings | Hours Logged: 1.5

Right flap done

Fairly uneventful evening, just repeating the work from last weekend, except without ruining any parts this time around. I had one blind rivet through the spar that didn’t set right, and I had to drill it out (CAREFULLY), but that went through with no issues. Beyond that, it was just lots and lots of riveting.

IMG 5706

IMG 5709

The garage is a hilarious mess at the moment. I guess first order of business tomorrow will be tidying up everything. The real question is, what comes next? I still have all the firewall parts lying around, so I’m not sure whether to get back working on the firewall or set that stuff aside and get the flaps hung. Eh, I’ll figure it out in the morning…

Posted in Flaps, Wings | Hours Logged: 2.5

Garage cleanup, right flap mounting

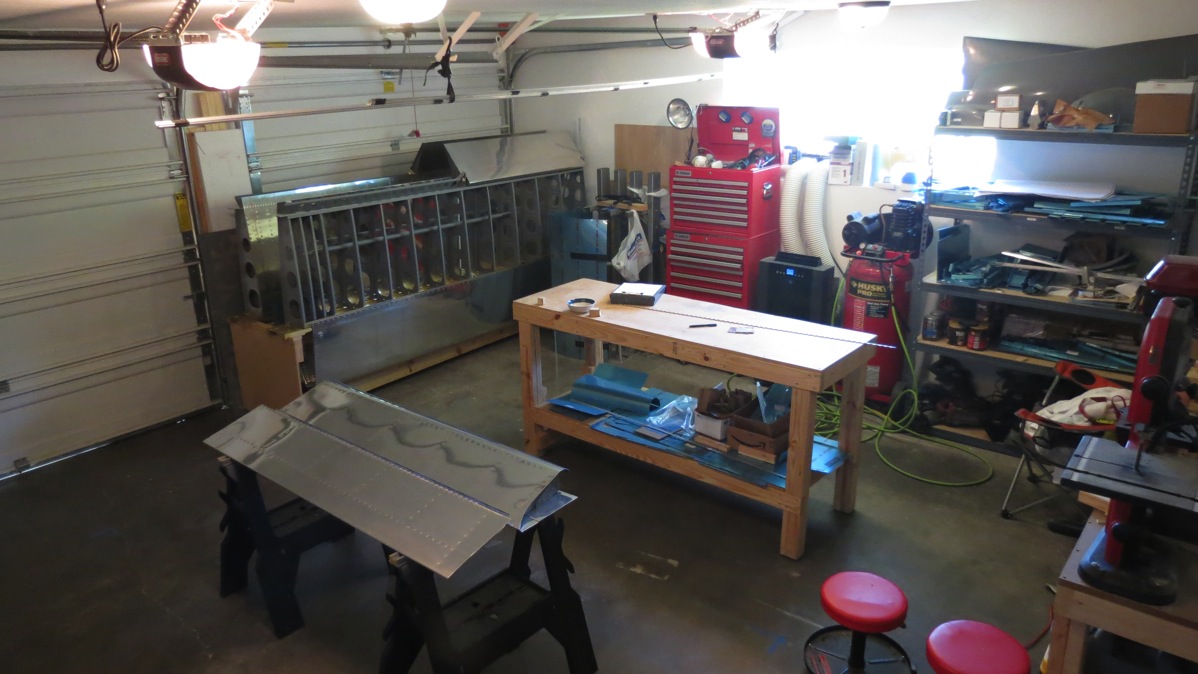
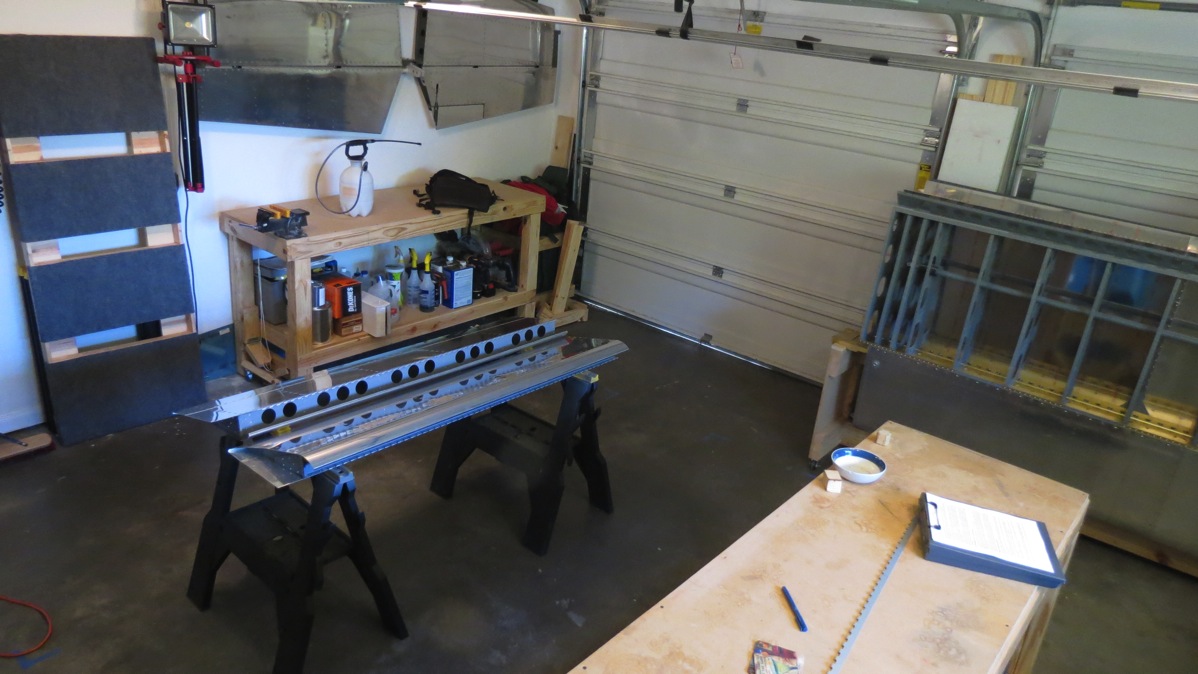
As alluded to yesterday, the garage was in a horrible state after the whole right flap fiasco. Even in the best of times I have a tendency to just leave tools out as I finish up with them, even when I quit of the day. (“in case I need them again later”) It’s even more pronounced when things don’t go well; I used lots of various tools while dealing with the right flap issues, and they were all left strewn about. I’d also been meaning to do a larger-scale garage cleanup and reorganization, oriented towards getting things laid out to make room for fuselage work. Since the weather had turned nice by noon, I opened the garage door, rolled the wings out in the driveway, and got to work cleaning up.

The new arrangement puts the wings out of the way in one corner, with the second workbench up against another wall. The first workbench still lives out in the open, but even so, that leaves the major it of one garage bay wide open for whatever I’m working on at any time:IMG 5710

IMG 5711

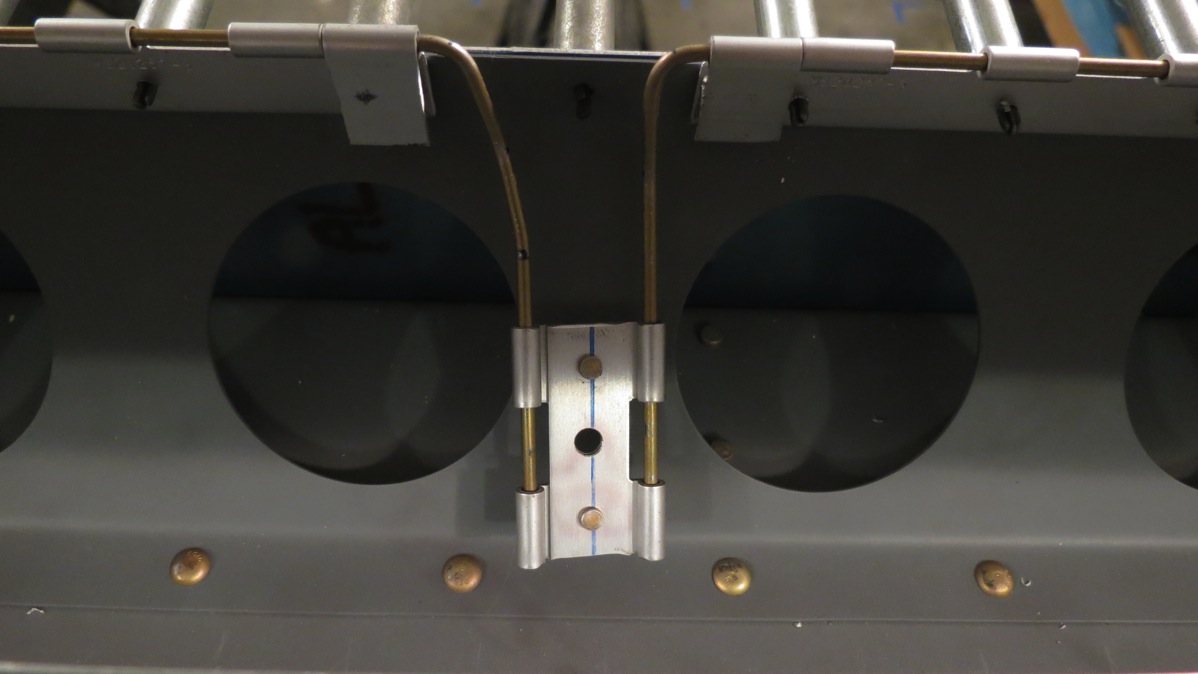
The cleanup took a few hours, and once it was done, I shut the garage for, turned on the A/C, and went inside for a bit to cool off. It was already up in the high 80s today…gotta love Houston. Once I got back to work, I started planning on how to get the flaps hung. The first thing I needed to do was to take the wing side hinge half for each flap and remove a couple eyes in the middle, where the hinges are split. This setup will result in each flap having two hinge pins, which will be removed towards the center of the flap.

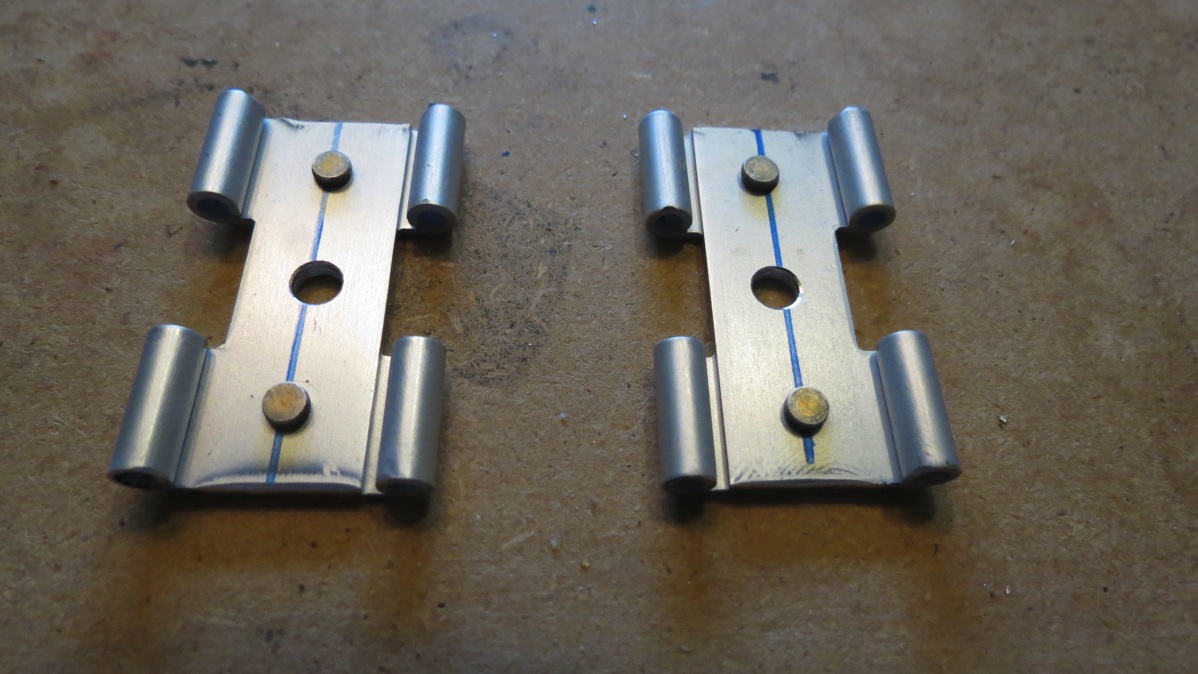
The scrap bits I cut out of those hinge halves got turned into the clips that will retain the ends of the hinge pin pairs. Each retainer is just two pieces of hinge material riveted together, with a center hole where the retainer will attach to the flap brace. More on how this works later…

IMG 5713

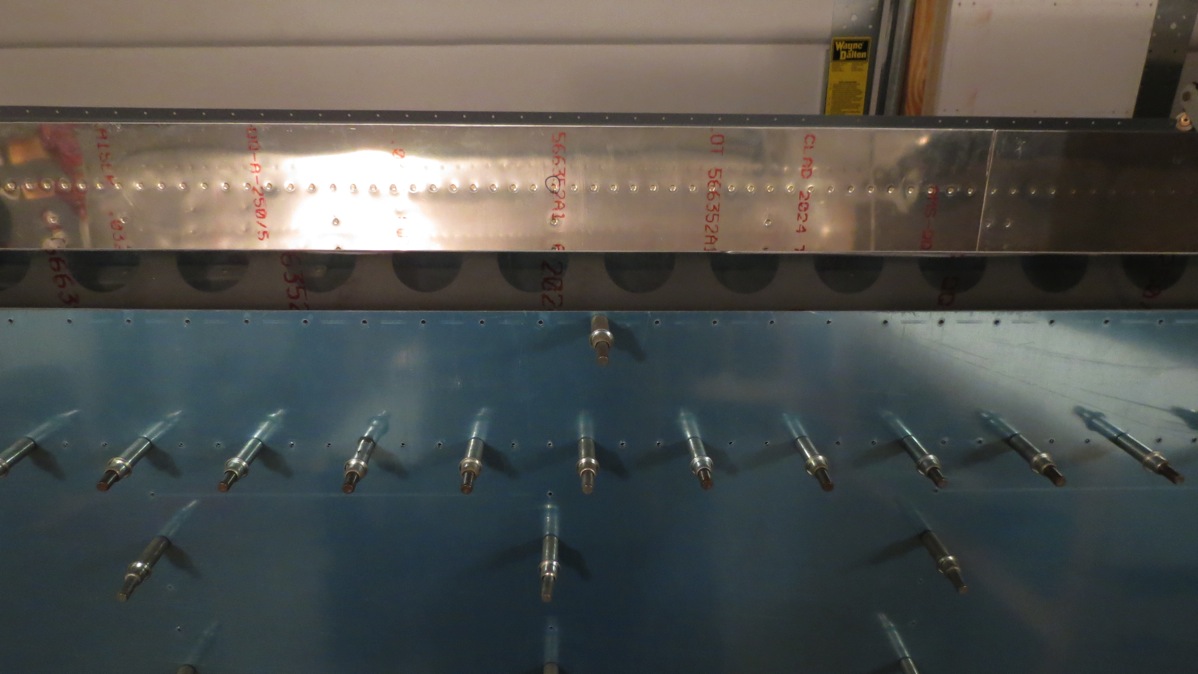
Next, I clecoed the bottom skins onto the right wing. These are needed to position the flap brace correctly, which is in turn necessary to drill the hinge properly. The fun part here is that the flap brace doesn’t quite naturally line up with the trailing edge of the skin; it has to be pulled into place slightly when clecoing the two parts together. Problem is, the brace and the skin can’t be clecoed together while drilling the hinge half, since the hinge is drilled in assembly with that same joint. I’d been worrying over how to get this done for a couple weeks, but in the end I hit upon a decent solution. Since I’m doing the split hinge approach, there’s one rivet hole, roughly in the center of the flap, that won’t have the hinge attached to it. So I put a cleco in that hole, which gave me a starting point for aligning all the parts later on:

IMG 5715

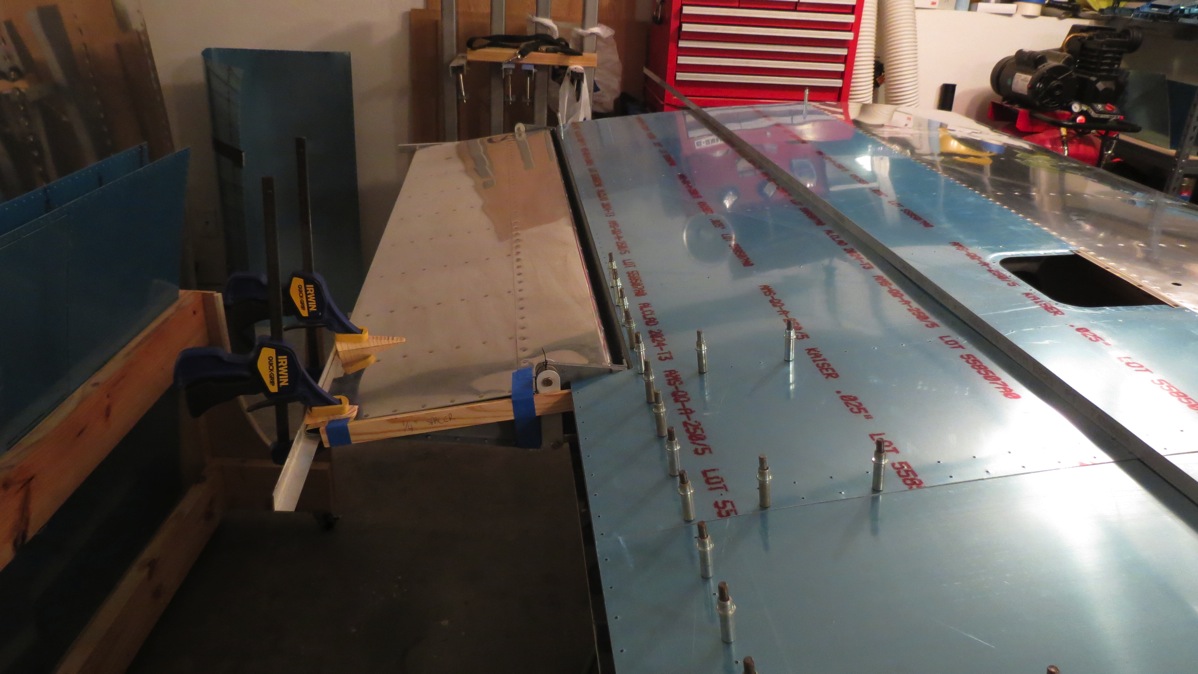
Next, I got Josie to come out and help me move the right wing onto a workbench, top side down. I put my aileron alignment jig in place and got the aileron in the neutral position, then clamped on a piece of angle to help align the flap and aileron trailing edges. There’s also a wooden spacer attached to the end of the aileron to help get the proper spacing (1/4”) between the two pieces:

IMG 5716

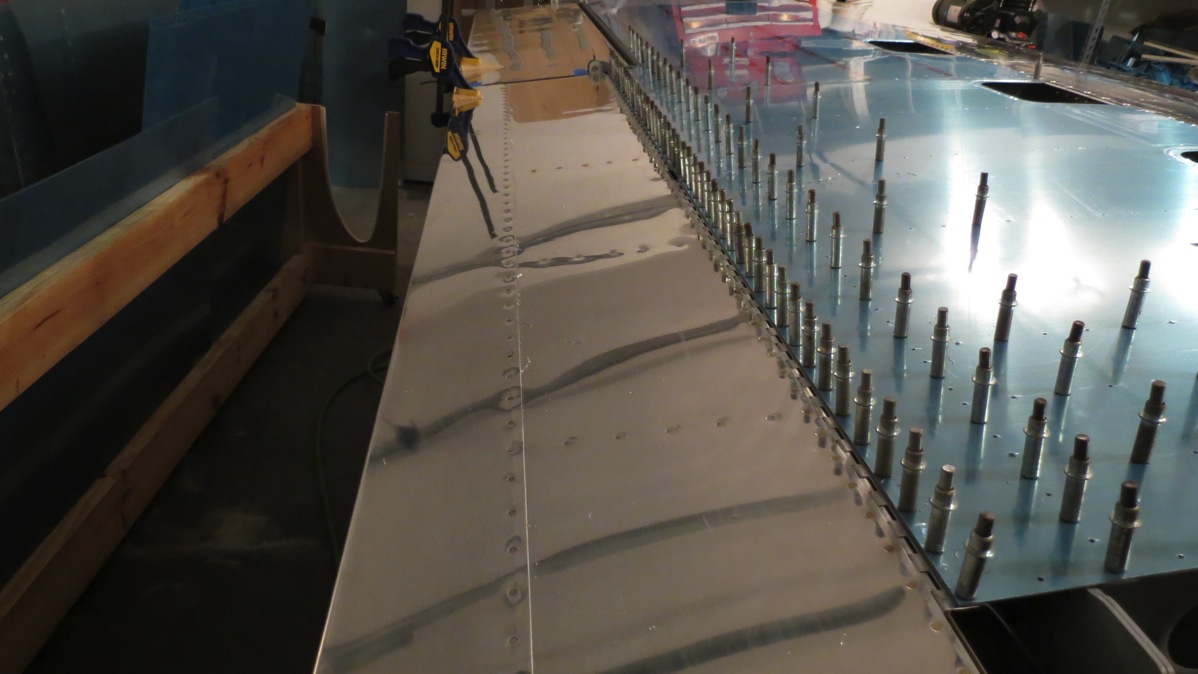
Then we got the flap lined up in place, clamped it in the center and at the inboard end (about the only places where there’s access to do so), checked the alignment several times, and then I got to drilling. As per usual when drilling hinge like this, I put a cleco in each hole as I went. This also helped to gradually pull the flap brace in alignment as I worked down from the center to each end

Everything drilled and clecoed:

IMG 5718

IMG 5720

IMG 5721

Then I pulled the hinge pin, removed and set aside the flap, and we put the wing back into the cradle. I wasn’t quite ready to quit for the night, so I decided to go ahead and make the hinge pins for the right flap. This was just a bit of trial and error, cutting to length, tapering the ends, bending for proper fit, etc. I finished up by taking a photo with one of the retainer clips loosely in place. Obviously, in practice this clip would be screwed into the flap brace to secure the pins. I’ll deal with drilling that screw hole and mounting the nutplate some other time; I just wanted to illustrate the setup:

IMG 5724

And that really was a good stopping point. Tomorrow we should be able to get the left flap mounted as well, and I’ll probably get the retainer nutplates mounted as well. Pretty soon I’ll be moving on to the fuselage full-time!

Posted in Flaps, Wings | Hours Logged: 5