As per usual, plenty of stuff around the house to do today, but I did make some time in the evening to get in airplane work. I’d intended to get the elevator tips sanded down and see if they’d need some more filling, so the first step was to get them separated from the elevators. This was significantly tougher than when I did the similar gap-filling work on the rudder tip, and I guess I maybe should have scuffed the area around the tip recesses some more, because in a couple places the thin bead of cured micro stuck to the elevator instead of the tip. The end result was that my gap-filling was sort of a failure.
I did still go ahead and rough-sand the micro on the leading edges, but the more I looked at the gap fill and thought about stuff I’d done with these tips, the less I liked how everything was going. Unlike with the rudder, the excessive gaps here were caused by nothing more than me not having the tips completely flush while drilling the mount holes. I could possibly fill those holes with flox and re-drill, but at this point the original recess lines are lost.
Basically, I’ve decided to order a new pair of tips and start over again clean, and chalk these up to a learning experience. Some more careful fitting of the new tips may make it easier to match the contour of the stab tips as well.
In any case, for today I moved on to working on the rudder bottom instead. It was finally time to open up the mount hole for the tail light and figure out the mounting. It took a few different ideas to find a good way to mark the approximate center of the light pad, but that turned out to be sort of unnecessary. I didn’t have the right size hole saw for the light mount, so I decided to use a unibit instead, which wandered as units are wont to do. It ended up being a multi-stage process of opening the hole to a particular size, then using a sanding drum on the Dremel to massage the hole in a desired direction, then opening it up some more with the unibit, and so on.
The fun part is that the pattern in the Flyleds instructions is kinda incomplete – it says to make a 1” hole for the light, which is larger than the heat sink, but the wires for the light exit beside the sink, far enough out that a 1” hole isn’t big enough to accommodate them if it’s centered on the light itself. So after getting a nice round 1” hole, I proceeded to add a notch on one side with a file, then use the sanding drum to turn the whole thing into a sort of weird oblong hole.
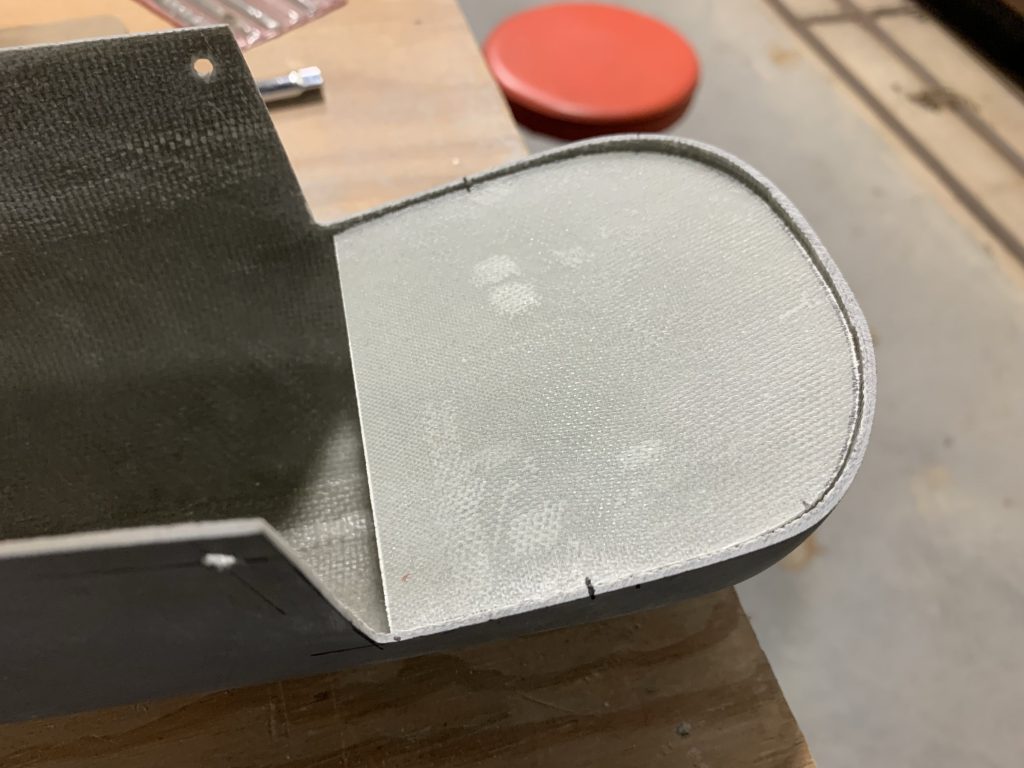
Not that it matters, as the bezel for the light covers a lot. In fact, it covers the entire flat pad it’s mounted on, which is something worth noting when you consider the time I spent trying to carefully make this area super flat…in the end, absolutely none of it is visible. Now I’m sort of tempted to reshape the pad to better blend into the light, but that’s probably absurd overkill. Seems like it looks decent as-is:

Notably, those two mount screws are just loosely inserted, not attached to anything (more on that later). That nice shot belies the sorta ugly hole hiding behind it. But that’s why…it’s hidden:

The marker line seen above relates to the next bit, which is the attach bracket for the light. There’s a sort of semicircular aluminum piece with tapped screw holes, which is intended to be epoxied inside. Problem is, the inside of this fiberglass piece 1) isn’t super flat, and 2) doesn’t have a lot of room for this piece. I spent a fair amount of time tonight working on carefully removing material inside there (a challenging process in and of itself) and then removing material from the bracket as well. It still doesn’t fit perfectly flush, but I at least got it to the point where I could start the screws with it in place before calling it a night. More trial-and-error is in store for tomorrow.
Finally, before quitting, I decided to get ahead of other rudder bottom work. At the leading edge, the portion which extends ahead of the spar, I want to add a sort of “cap” on what would otherwise be an open end. This has a couple advantages: first, it looks nice, and second, it provides a place for me to add a grommet or other provision for routing the tail light wire inside. On that second note, I think I’m going to add a short bit of conduit in the leading edge area. This won’t extend all the way to the aft end of the tip, but only far enough to allow for directing the tail light wire from the vertical orientation (where it enters the tip) to a horizontal one, pointed at the trailing edge.
With this in place, I’ll feel confident riveting the bottom in place (vs using screws), knowing that if the rudder is removed, when it goes back the conduit should make it straightforward to feed the wire back towards the trailing edge for reinstallation, while also allowing for enough excess wire further back to allow for puling the light out and disconnecting it. For connections, I’m going to use knife splices and heat shrink, rather than something like a Molex connector.
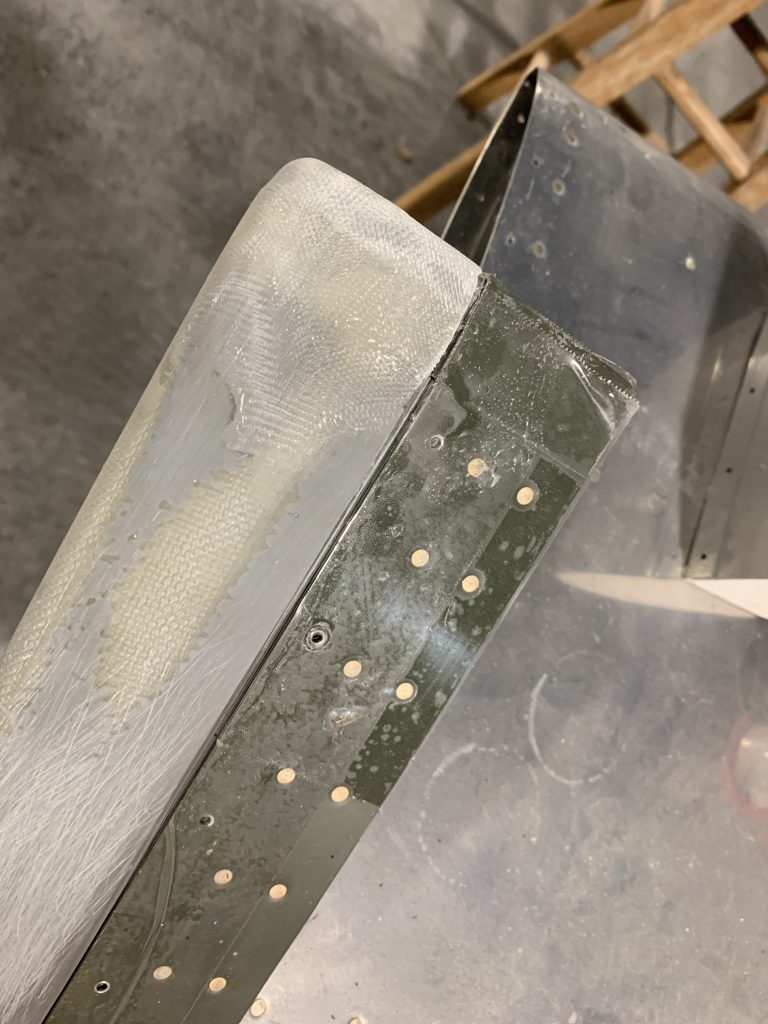
Anyway, that was a roundabout preface for saying that I cut out three 5×5 squares of glass and did a flat layup with them. Once that’s cured, I’ll cut it down to size and get it epoxied into the bottom. It’ll probably make more sense when it’s done and there are pictures, vs me trying to explain it…