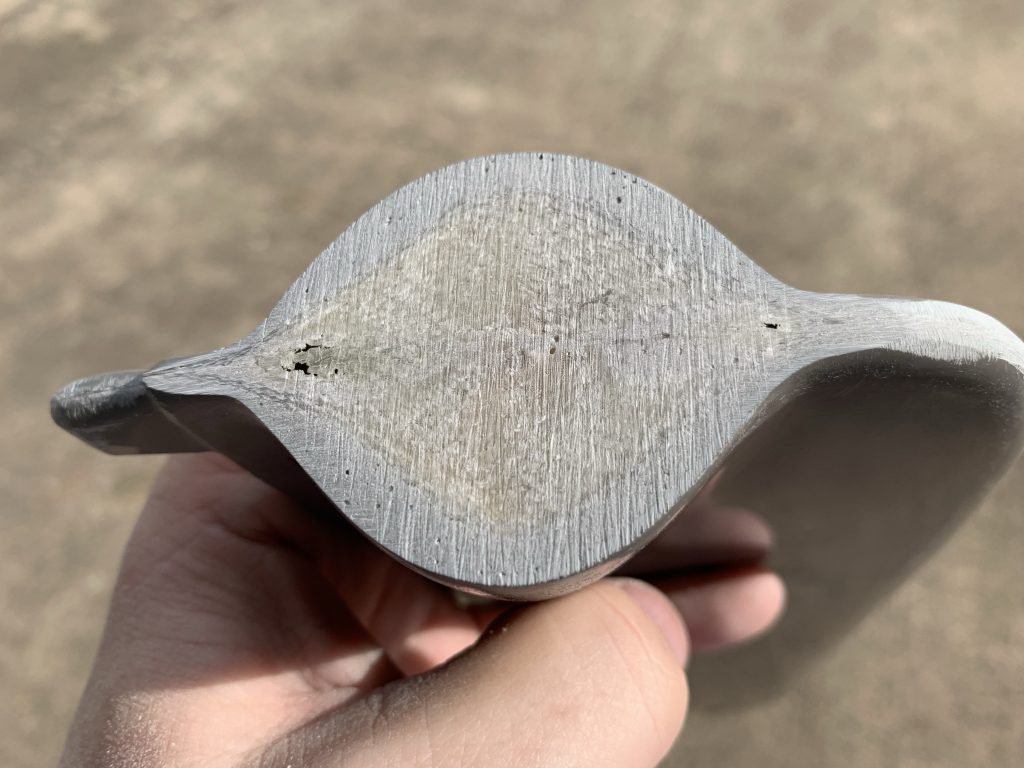
First goal for today was to see about getting the tail light mount cutout done, so I could assess the annoyance of feeding the wire through without removing the tip. Before doing that, I wanted to get rid of the seam line that runs along the length of the tip, including over the light pad. So I got to spend a decent amount of time with 120-grit working that out to a nice smooth surface. But now the bottom is looking pretty nice:

Next up was the light pad itself. The first thing I noticed was that the pad wasn’t actually flat, on each side of the seam it seemed to slop back a bit. So I started hitting this up with 40 grit, but at first did this while holding the tip. This turned out to noe be conducive to getting a nice square face; I had much better luck with the tip clamped to a work table. Unfortunately the result of this was that I removed more material than necessary, and in the process opened up a few holes:
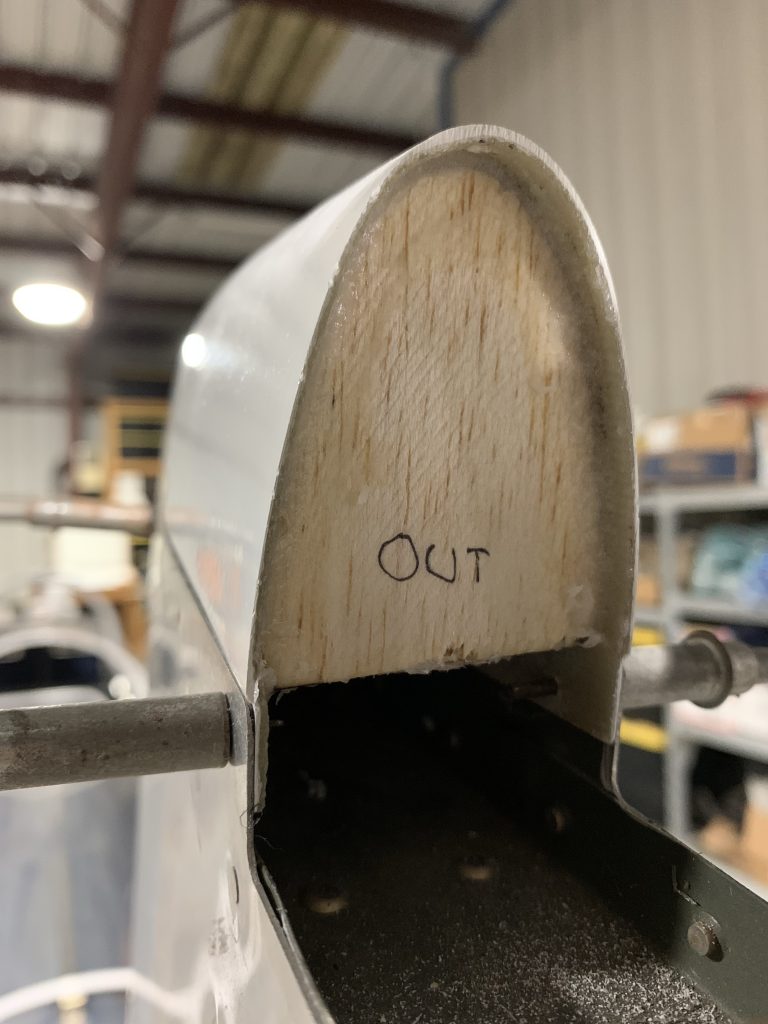
So I decided to do my first real fiberglass layup, to add some more layers of glass here on the pad. Since I figured I’d have some leftover epoxy after saturating the cloth, I decided to also go ahead and prep for adding the balsa insert into the vertical stab tip. The fun part here is that the tip gets spread a bit when clecoed in place, yet I needed the tip off of the stab in order to fit the insert. So I worked up a length of popsicle stick that I could put in the back of the tip to hold it at the proper size even when removed from the stab:

After cutting and fitting the balsa, it was time for glassing. I made a cardboard template using the perimeter of the light pad, which I’d later use for cutting the layup pieces. For the layup, I put the glass and epoxy between sheets of plastic and moved the resin around with a squeegee until the cloth was soaked, then used my template to draw outlines to be cut out. After that, I just needed to peel off the plastic and put the cutouts in place. After adding four layers, I topped it all off with peel ply and left it to cure:

With the remaining resin, I mixed in some flox to make a nice thick structural epoxy, then buttered up the edge of the balsa insert. That got installed into the tip, with a nice tooled bead made around the mating point, and I clecoed it in place to cure overnight. Later, I’ll add some glass plies on the interface for more strength, then fill out the exterior side with micro before sanding it to match the rudder tip:
So that’s it for today – tomorrow we’ll see how these layups turned out.