Aside: this actually covers work done both yesterday and today. Yesterday it was super windy, and so I scaled back my priming goals and decided to just get the longerons done. We also hosted a class at our house than ran super long and took up more of the day than I expected, so the longeron priming was all I got done yesterday. And for some reason, I was really tired that night, and fell asleep without even doing my write-up, which is…unusual.
Today, however, I had nothing else to do but work on the plane. Unfortunately, it was still pretty windy, but I decided to press on and at least get the forward fuse subassembly primed and painted. I quickly surmised that this was going to be a more complex endeavor than I’d originally thought. Way back when I riveted the gear towers in place, I’d only primed the area under the towers, figuring the rest would get scratched up along the way. As I considered the annoyance of trying to prime around the firewall and gear towers, I kind of regretted that decision. But oh well.
One decision I made was to not paint the inboard gear weldments. For one thing, they’re already finished with a nice durable powder coat, and for another, they have lots of nooks and crannies. Most importantly, they’re attached with bolts and thus removable. So off they came. (not actually that simple, since they have 18 bolts each!)
Next, I masked off the exposed portions of the firewall. I don’t want the firewall painted, since its function is to contain an engine fire. If that happens, it’s going to get super hot, and anything not temperature-resistant on it will burn, outgas, or maybe both. I don’t want to find out that the paint emits noxious fumes or anything.
Then it was time to clean and scuff the floor for priming. Normally, I do this with degreaser and water, but if I did that here, it would take days to dry. Instead, I first used a blow gun to get rid of accumulated dust, then wiped down with a dry cloth before scuffing with a maroon scotchbrite pad. I followed this with another blow-off, and several rounds of acetone wipedowns. I figured that would be roughly equivalent to my usual prep (which, honestly, is probably overkill for self-etch primer).
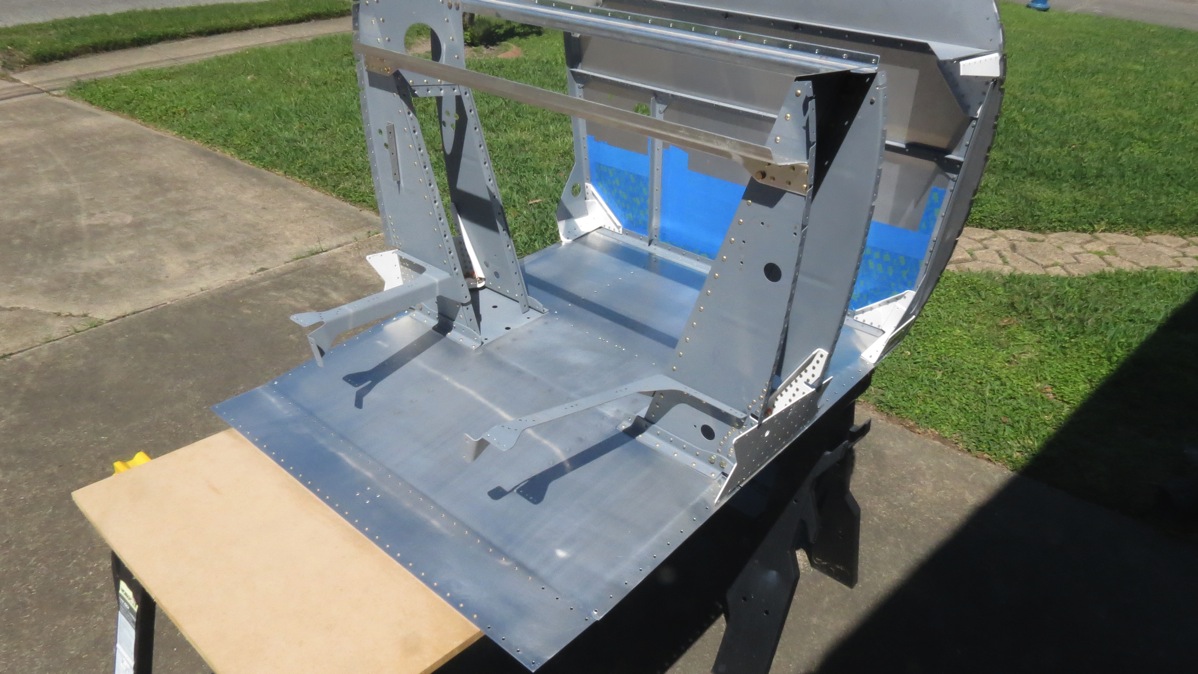
Here’s the assembly after scuffing, just before priming:

After shooting the primer, I went inside to have lunch, giving the primer time to set up prior to spraying the top coat. As I’ve probably mentioned before, I’ve decided to go with a granite-texture spray paint for visible interior surfaces, in lieu of more expensive two-part topcoats. I figure this stuff will hide damage well, and be easy to touch up if necessary. Plus I don’t think it’ll look bad, either. A nice bonus is that the gray 7220 primer makes for a nice base coat under the gray granite paint.
Spraying that stuff didn’t take too awful long, but I knew from experience that it would take a fairly long time to dry to the touch, so I decided to move on to other things. I’d intended to also paint the forward baggage bulkhead pieces, which are already primed, but when I tried to set up my sawhorse painting jig, the wind blew it over! Well, so much for that.
It then occurred to me that there were some visible areas on the center section assembly, so that became the new goal. These areas were small, but I wanted to ensure that I didn’t get overspray in places it shouldn’t go – for example, the close-tolerance bolt holes where the wings will attach. Any paint in there would be a problem, especially this textured gunk. So I spent a decent amount of time carefully masking the spar carry-through area, so I could only actually spray the bulkheads.
After this, I took another break to watch the MotoGP race (new season has finally started!), and after that, I figured the paint ought to be good and dry, so I went out to bring everything in from the driveway and wrap things up for the day. But first, I had to reinstall those gear weldments (and all 36 bolts).
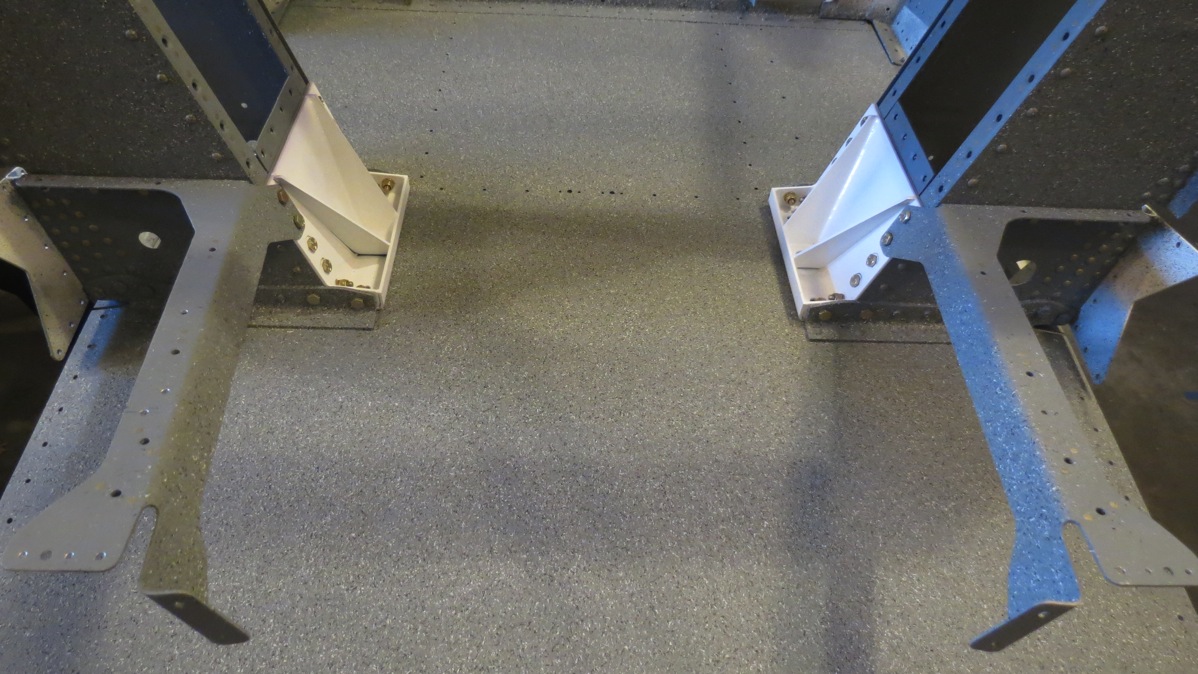
Here’s a look at the painted floor area:

Note that some areas are still bare primer; for example, the tops of the mid-cabin braces. There will be covers in both those locations, so there’s no point spraying paint there. Similarly, the side of the gear tower below the braces won’t be visible, so no paint there either.
Another angle, showing the nice contrast of the gear weldments:

So that’s it for the weekend. I have enough parts painted now that I can move forward with assembly this week; the next tasks are installing the lower longerons, then joining the center section and seat rib/floor assembly to the forward fuse. Once that’s done, I think the next step is assembling the mode side skin/armrest assemblies, which will require some more priming and painting. Fortunately, future priming and painting should be much simpler than today’s work.