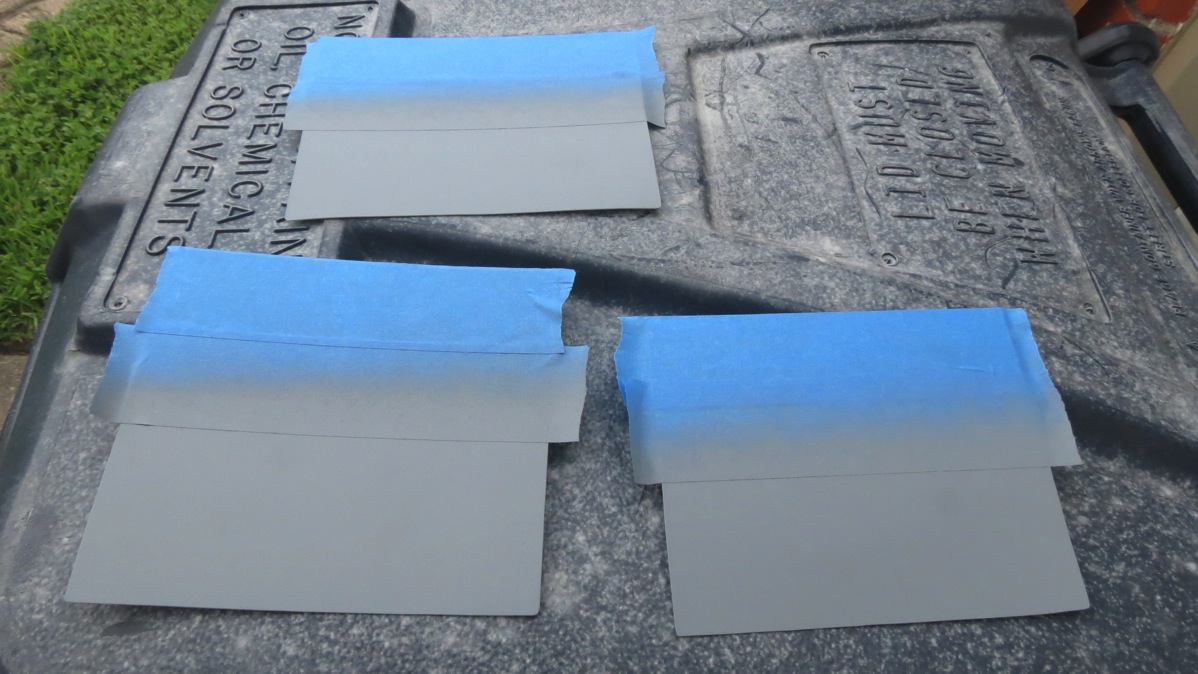
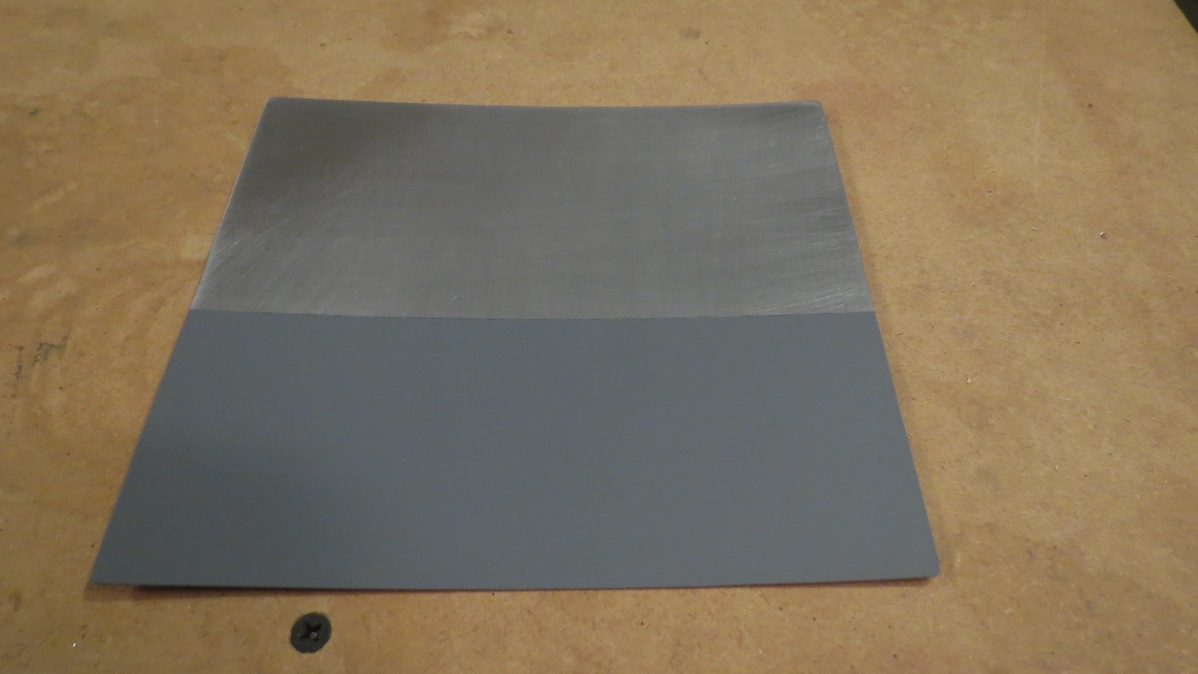
Started off the day today by making and prepping some paint test patches. Numerous other RV builders have had good luck with, of all things, Rustoleum hammered finish spray paint for an interior finish. So I got a few different color cans and I’m going to shoot some test pieces to see how they look and hold up. After cutting three patches from my scrap leading edge skin, I cleaned/scuffed one side, masked off half of each patch, and shot primer. I’m only priming half of each patch so I can evaluate how the paint does with and without primer. The instructions claim that no primer is needed, but I’m curious to see if adhesion/durability are any different. I also got some matte clear coat that I’m going to try on half of each patch as well.
Next, I moved on to drilling out the smeared rivet from last night. I was tempted to try and drill it out last night but that seemed like a good way to exacerbate the problem. Despite the smeared head, I got it out with hardly any trouble today, shot a new rivet in its place, and then got back to work. Except that about four more rivets in, I smeared another head badly. I’d been noticing that my short set seemed really prone to this, so I took a closer look and I think I found the problem:
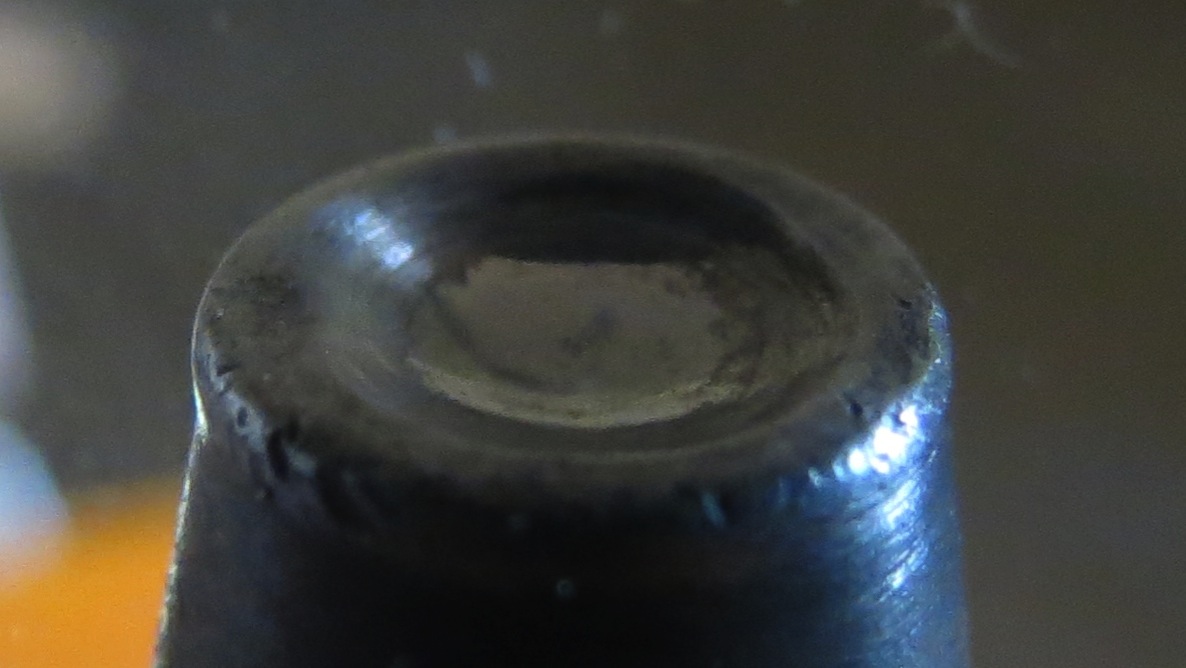
There’s a little deformed lip in the cup, towards the back of the photo, which I’m sure is what’s making this set tend to drift off of the rivet heads. Time to get a replacement. To make matters worse, I didn’t do such a good job drilling out this bad rivet, and the hole got enlarged. So i drilled it out to the next size up, and I’ll be ordering some -5 rivets from Spruce next week. I should probably have some around for repair jobs like this anyway.
Anyway, I finished riveting the rest of the weldments using my long cupped set. It’s a little more awkward, but plenty workable.
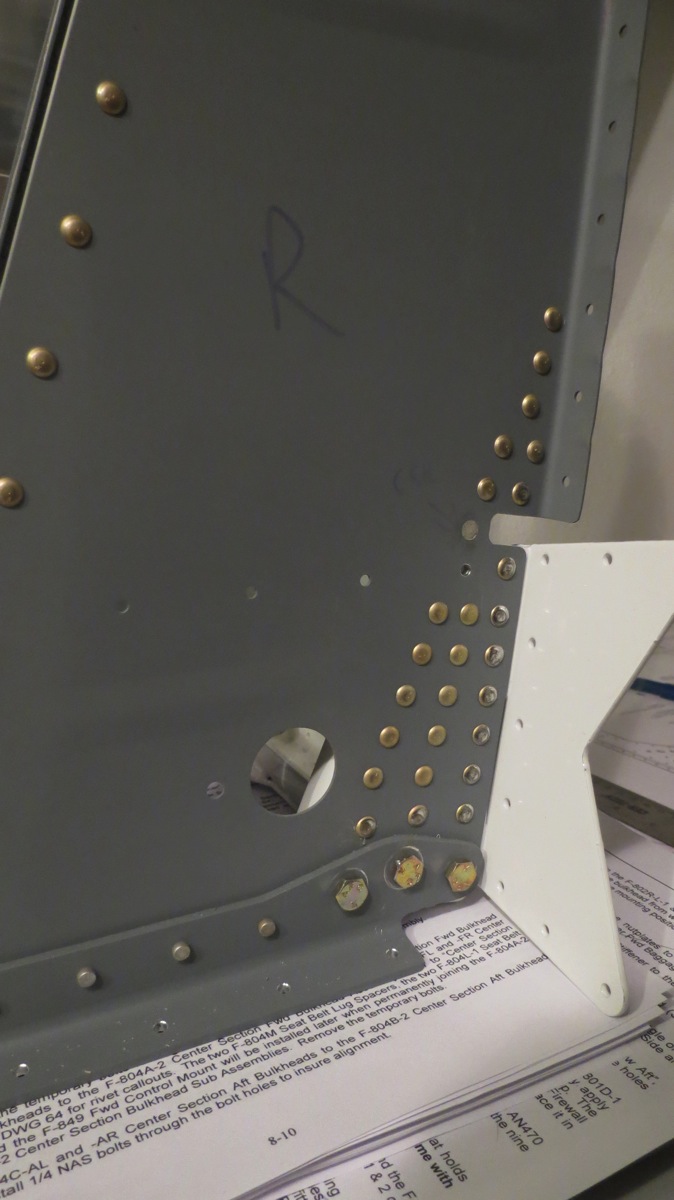
Next I match drilled the tower bases to the forward floor, then pulled the towers from the floor so I could deburr. This is as far as I can really go until I get those rivets from Spruce next week, so I set the towers aside. I hadn’t yet deburred the edges of the forward floor, so I knocked that out before setting the floor aside too.
So after looking through the directions, the next task is working on the center section. The centerpiece of this assembly is the spar carry-through, which the wings will bolt to. For obvious reasons, this is a critical structure, and it comes mostly preassembled and gold anodized, just like the wing spars. I ran into my first issue once I unpacked the center section parts:
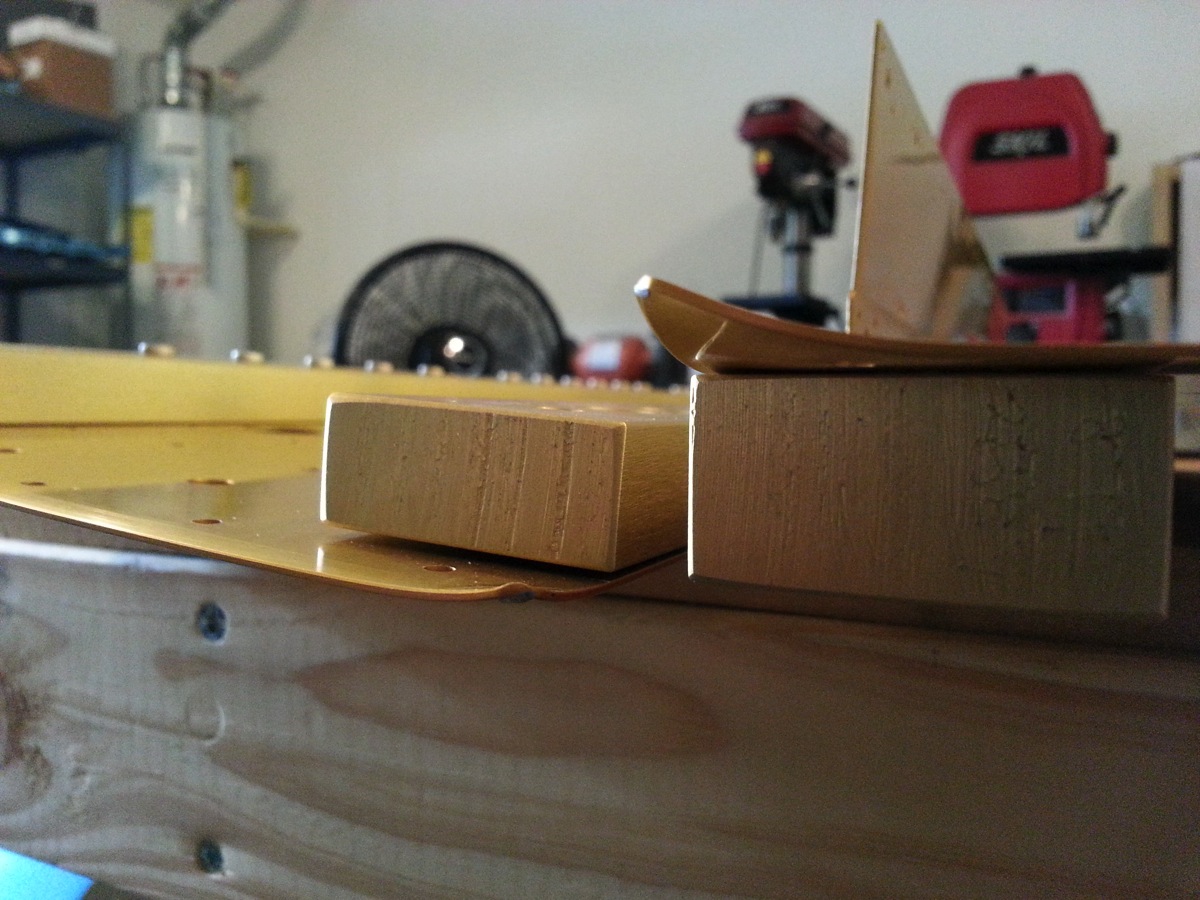
Apparently those got bent up a bit in the crate, and it wasn’t obvious while these parts were still wrapped in plastic. The bends are pretty minor, and I don’t think there’s any issue with just bending them back, but seeing as how this is a critical component, I’m going to email Van’s about it just in case. For the time being, I went ahead with work on the center section. The first task is to enlarge a couple holes in the forward and rear bulkheads for the rudder cables to pass through. Interestingly, the hole locations are different depending on whether your building a tailwheel or tricycle plane. I took careful not of the correct holes and circled them with a sharpie for good measure.
Drilling holes this size (5/8”) calls for using the unibit, which I prefer to do in the drill press. This was slightly awkward, given the size of the bulkheads, but I got the holes in the forward bulkhead done with no problems. For the rear bulkhead, though, it was necessary to flip the bulkhead over, putting the side where I’d marked the proper holes on the bottom. And that was my mistake. I’d just finished drilling the first hole in the rear bulkhead when I realized I’d enlarged the hole corresponding to a tricycle plane. The wrong hole. In the spar carry through web.
It would be an extreme understatement to say that I was displeased. In fact, I think that was the first time I’d actually thrown something across the shop. I was pretty sure that I’d just ruined what I’m sure is a very expensive part to replace (subsequent research indicated that a replacement would run $850).
After calming down a bit, I began wondering if it’d be possible to drill the correct hole and add a doubler patch to compensate for the potential structural problems from the misdrilled hole. Looking through the plans, it doesn’t look like there will be anything on the forward side of the web, so it’s at least physically possible to add a patch there. I still have to find out if that’s a viable solution though. I guess my email to Van’s will now include two questions.
I put together a picture to show my proposed solution when I send the email. I really hope that this is an OK fix.
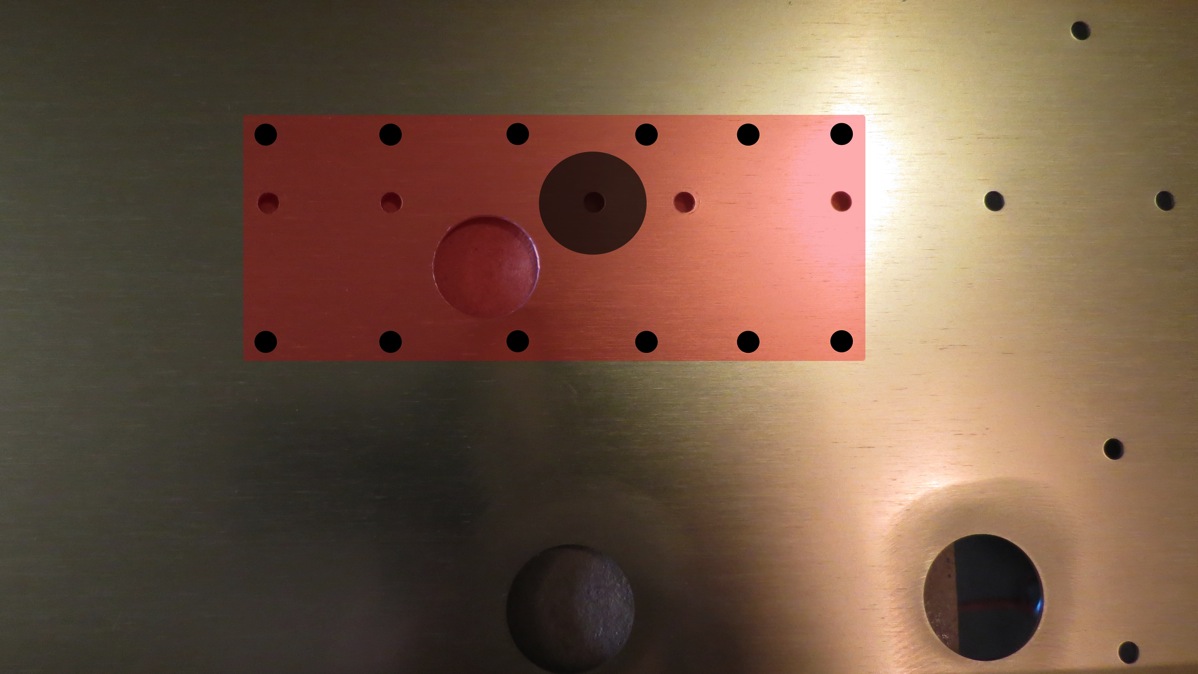
Anyway, I moved on to other center section tasks, after drilling the final rudder cable hole in the rear bulkhead. I got as far as cleaning up the center seat belt attach lugs and fabricating the forward control mount:
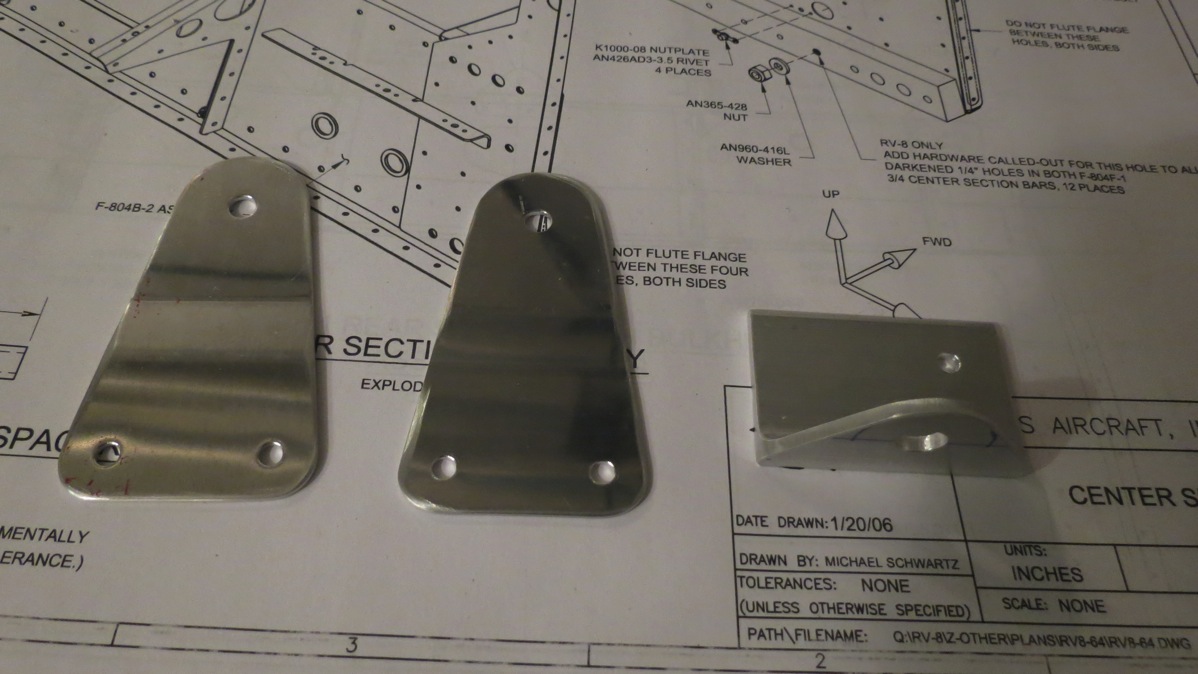
Then I went inside to have dinner and watch a movie. I was supposed to fly tomorrow morning, but it definitely looks like the weather isn’t going to cooperate. At least that gives me more building time, I guess, assuming I can avoid fouling anything else up…