And once again, not the most productive day. I had held out some slim hope of priming flap components today, but that was obviously not workable, given how much prep I still have to do on that stuff. So rather than try to do that, I went back to the left aileron. I’d been under the impression before that it’d be really simple to finish this thing up, and that was kind of true, but as usual there were some small things that slowed the process down.
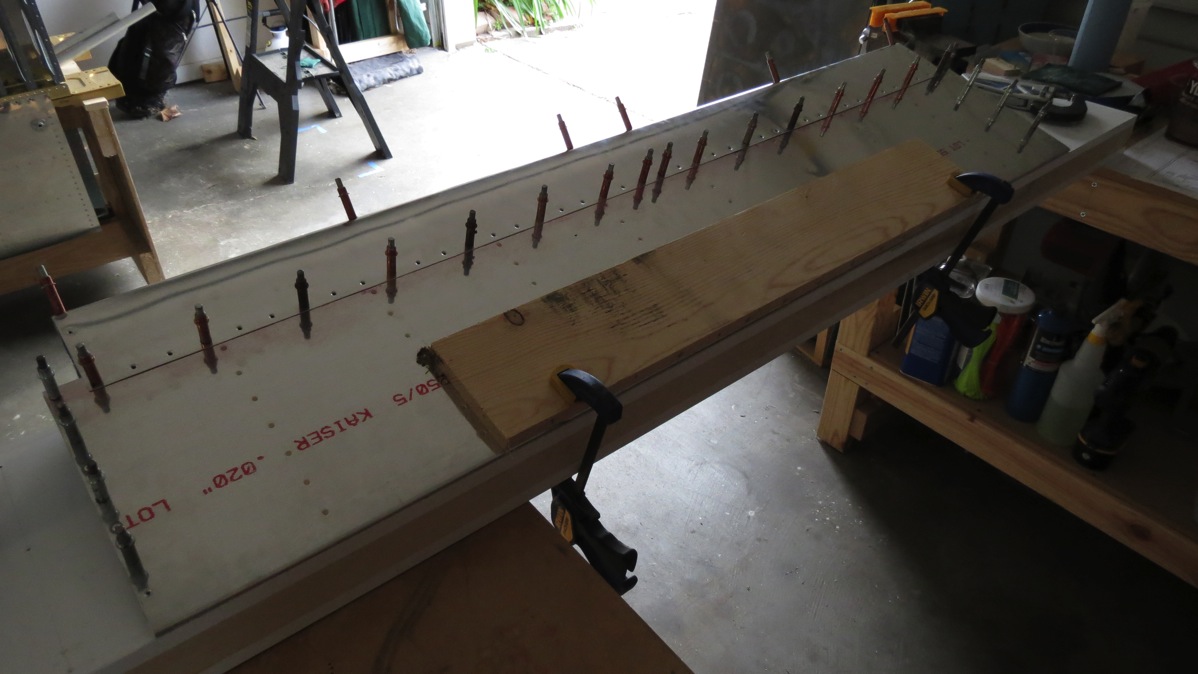
With the top skin/spar joint riveted, the next step is to install the end ribs. There’s a specific riveting order in the instructions for this part of the assembly which I neither remember exactly nor care enough to go look at the instructions to relate. Once you start working on rivets on the bottom, though, it’s important to secure the aileron to a flat surface to keep it straight. The instructions call for weighing the aileron down, but I didn’t have anything good for this purpose. Since the aileron naturally sat nice and flat on the surface, I just took a short piece of scrap wood and lightly clamped the trailing edge down to the surface. Then I just kept checking that the aileron was sitting flat during the following steps.
Aileron secured on the flat surface:

Before long, a lot of rivets had been squeezed and pulled and I had a finished aileron:

Next, I installed the hinge brackets, torqued the fasteners, and added torque seal:

This part of the process took way longer than I expected. As seems to be common, access to the bolt heads was limited, especially on the forward side. At one point I tried turning an old deep socket into a thin wall socket with the bench grinder, but it didn’t work out too well. I eventually ended up holding the bolt heads with an adjustable wrench,
Now, where to store this thing? I guess I’ll just temporarily attach it to the wing. I just put the bolts through the brackets and lightly installed a lock nut; I haven’t bothered with the various washer stickups and spacers that will be in place for the real assembly, though I’ll need those before I can get to fitting the flaps down the road.


At this point I broke for dinner, and after that it had cooled off rapidly in the garage, so I called it a night. Tomorrow I should be able to finish the right aileron and get to some flap work.