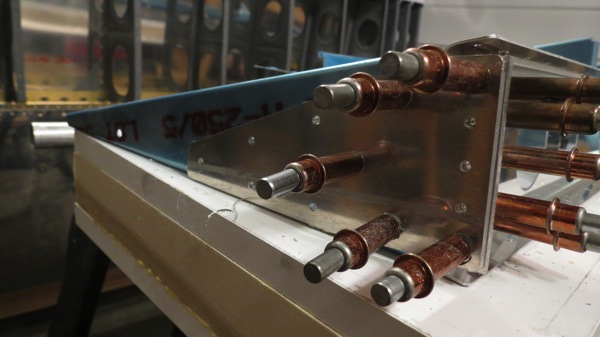
Started out tonight by match drilling the left flap skin, which I’d clecoed in place before knocking off last night. To be really careful about avoiding putting a twist into the structure, I put 2×4 blocks under the flap so it was resting on those instead of the clecos while I match drilled. Per the instructions, I match-drilled the top holes before flipping the flap over and doing the joint between the top and bottom skins.
The next order of business was to take care of the reinforcements in the inboard end; these provide the mount point for the flap actuator. There are two parts; the first is a flat plate that rivets to the end rib, and the second is fabricated from aluminum angle. Here’s the flat plate clecoed in place and drilled to the end rib:

But there’s more fun to be had here. The inboard rib isn’t perpendicular to the spar, so that reinforcement has to be bent so the portion forward of the spar mates correctly with the angle bracket. And that plate is pretty beefy, so it takes a good bit of force. At first I just tried clamping the plate in the vise between two pieces of scrap poplar, but it was hard to get everything aligned properly. So I ended up using the bracket as a guide to drill holes in the poplar blocks, then I ground the heads off two rivets and used them as pins to hold the entire assembly together:


After committing repeated acts of violence on that plate, the bend was finally correct and I was able to cleco it back in place, clamp the rough-cut angle bracket on, and drill the rest of the rivet holes. Here’s the final reinforcement assembly in place:


Now I just get to repeat all this with the right flap tomorrow…but it should go a lot faster since I figured out a lot of stuff tonight.