This should take care of all the long lead-time stuff, the things that have the potential to stop me from making steady progress into next year. I think the only thing I still need to find out about is my exhaust from Vetterman. I saw some comments on VAF this past week that imply they may be pretty busy right now too. I note that Aircraft Spruce sells some Vetterman products, but I don’t think they have the specific exhaust I want – as far as I can tell, they stock the two-pipe crossover systems, but I want the four-pipe, which should make the cowling a little less busy. Guess I’d better reach out about that next week too…

Next up, I needed to adapt the mount to accommodate this hole and the snap bushing. I started by screwing each light in place, and using the hole to trace a starting point for the mount modification:

That was followed by a fair amount of trial-and-error, trying to remove just enough material to clear the snap bushing. It took a bit, but eventually it all worked out:

Next up, I went to work adding the wiring pigtails, which will stretch to the outboard rib and mate up with a connector from the main wiring. Here we can see the power and ground wires for the landing lights, going into the snap bushing:

Then, from the back, we have the wires from the taxi light. These wires pass through a sort of tight space between the two pieces here, which got me worried about chafing, so I added some snakeskin wrap and secured it with heat shrink. The unwrapped wires are the ones from the landing light:

Each stub harness was then finished with a four-pin molex connector. This was really my first chance to use my printable heat shrink, which I’ll be making extensive use throughout the aircraft. I also got to work on my cable lacing chops a bit – the job I did on the pitot heat harness a while back was kind of so-so, but I found a nice technique video on Youtube that helped me do these a lot more efficiently and cleanly:

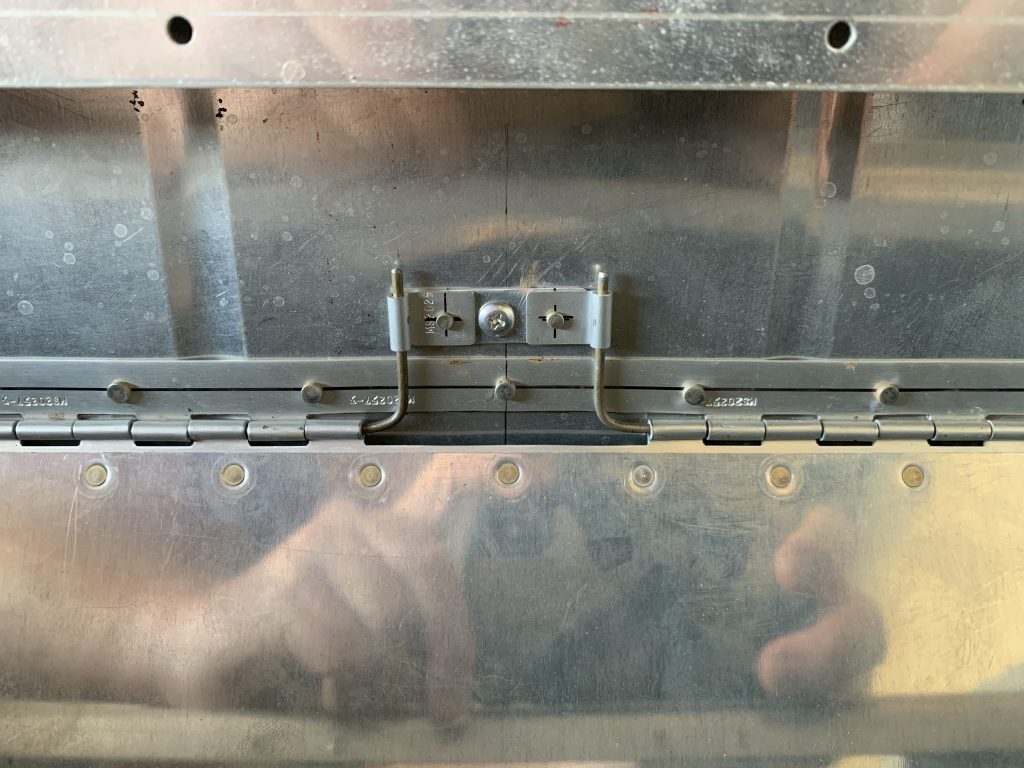
And then it was time to put these back in their box…again. I moved on to one detail I glossed over for the lower shelf (where the fuse blocks will live) – I needed to secure the two hinge pins. Nothing really fancy here; I cut two hinge eyelets, added a strip of sheet to tie them together, then located and added a nutplate in the bulkhead for the retainer to tie into. Now my shelf hinge pins are properly secured:

It was about this time that the invading mosquito force started ramping up, so I made that quitting time. I’m kind of thinking I might go ahead and mount the fuse blocks and other stuff to this shelf, maybe even start tying together the components that don’t require external wiring. Except I think I need some of the heavier-gauge wire to do that. Guess I might be making another order for stuff this week. I’m starting to think that shipping charges might make up 5% or so of the total build cost…