So, as mentioned last time, I decided to fab up a spacer to fill the unsightly gap between the throttle quadrant and the cover plate. Last time I said I was working a Spruce order, well, I actually ended up ordering the material from…wait for it…Amazon. It was significantly cheaper than Spruce for the same alloy and amount of material. If this had been something structural, I probably wouldn’t have done this, but it’s just cosmetic. I also ordered way more material than I actually needed, enough to make four spacers if I wanted. I figured I might mess one up, after all. Predictably, the first one came out fine.
Anyway, tonight was just a lot of semi-painstaking fitting. I’d been thinking through the procedure of fitting this thing the way I wanted it, so tonight was just putting that into effect (and figuring out all the weird issues I didn’t think before). To start with, I cut one of my two plates in half, which gave me the rough size of raw material I needed for a spacer. I had to trim off one corner to match the angle at the back of the cover plate as well, since this has to nest in there. Then came the first fun bit: the cover plate’s inboard edge has a radius, and I wanted this spacer to nest in there nicely, so I needed to take the square edge of the raw plate and shape it to match that radius.
It took me a bit to figure out the best tool for this job. At first I tried the file but that seemed too rough. The scotchbrite wheel on the grinder was nice and smooth but removed material super slowly. So i ended up doing most of the rough shaping with a cutting bit on the Dremel, and fine-tuning the shape with the scotchbrite wheel. After lots of trial and error, I ended up with this:
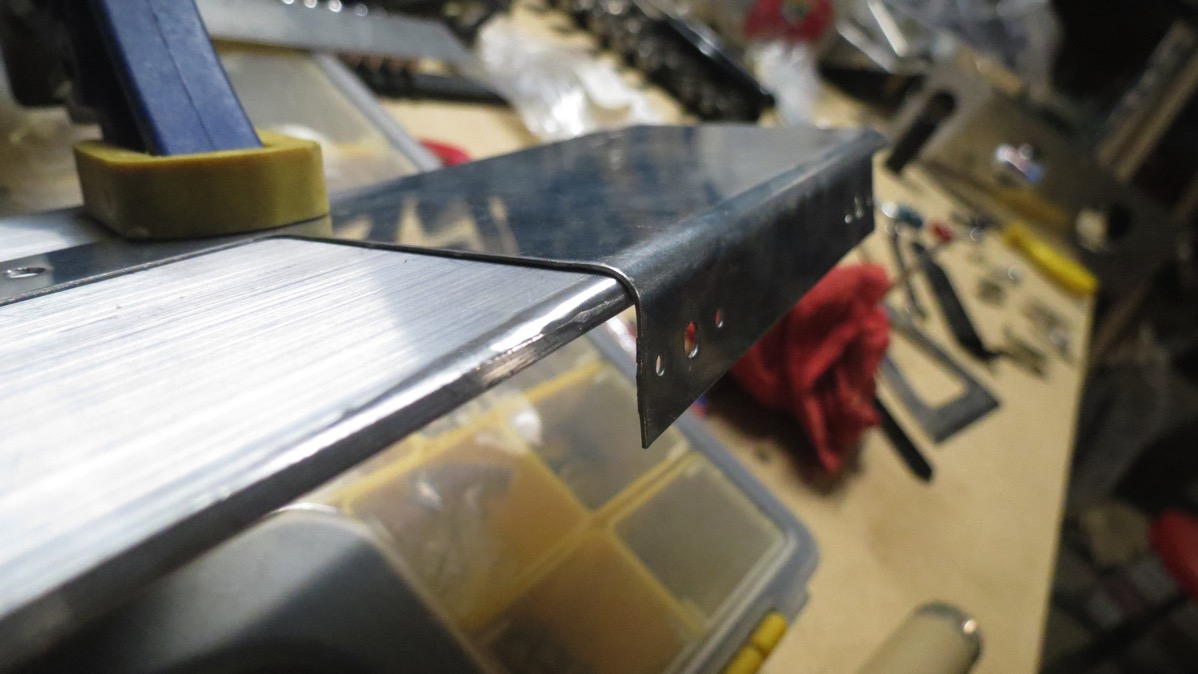
With the rounding of the edges done, the spacer piece could now nest fully into place where it belonged against the cover plate. So I clamped it in place and traced the outline of the cutout in the cover plate:
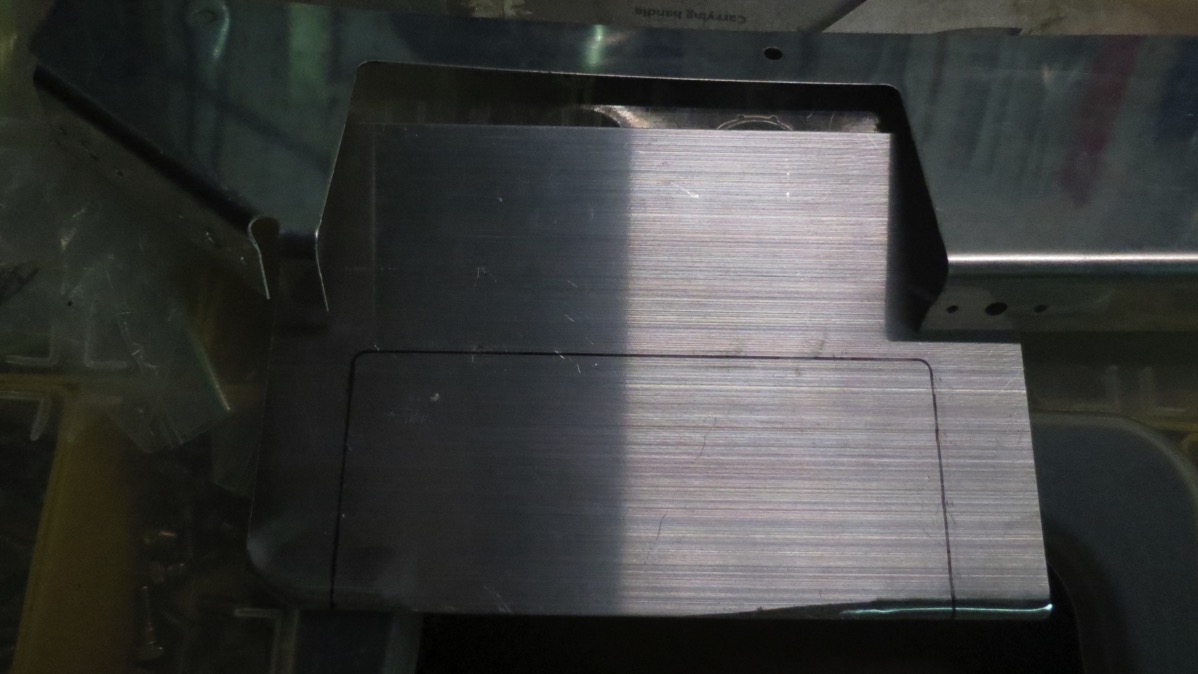
Then rough-cut it with the bandsaw:
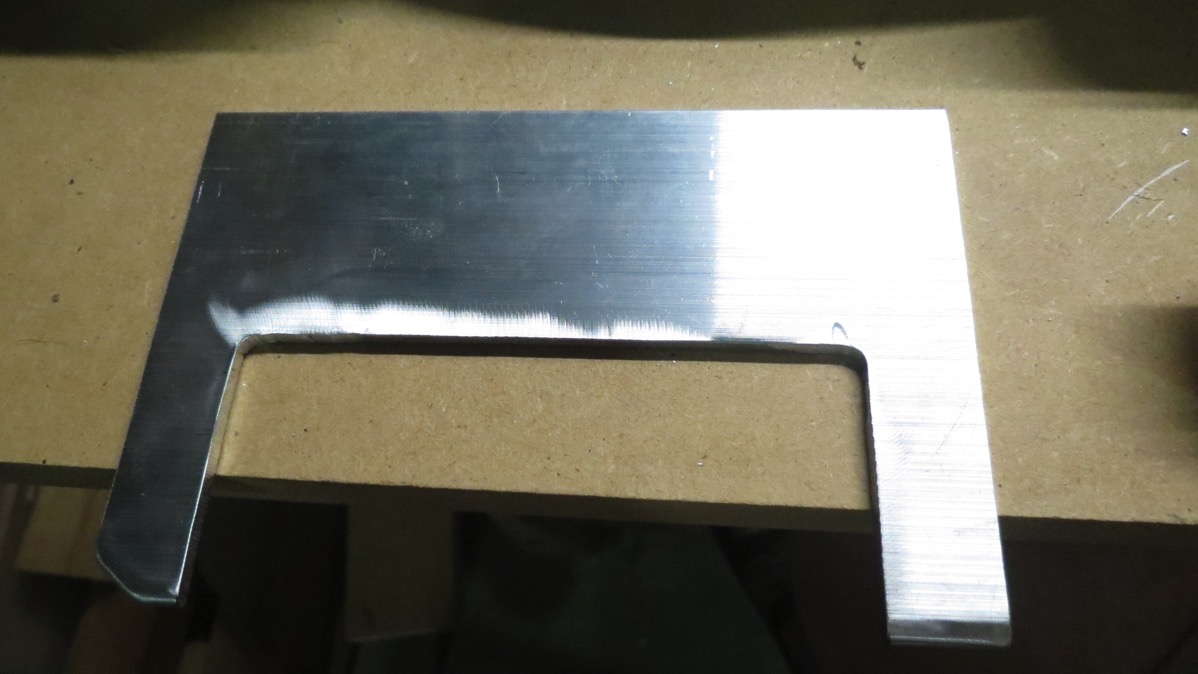
The cutout section in the spacer plate is intentionally a bit smaller than the opening in the cover plate. The plan was to final-shape both piece in assembly, to hopefully get as smooth a combined edge as possible. For now, though, it’s still rough:
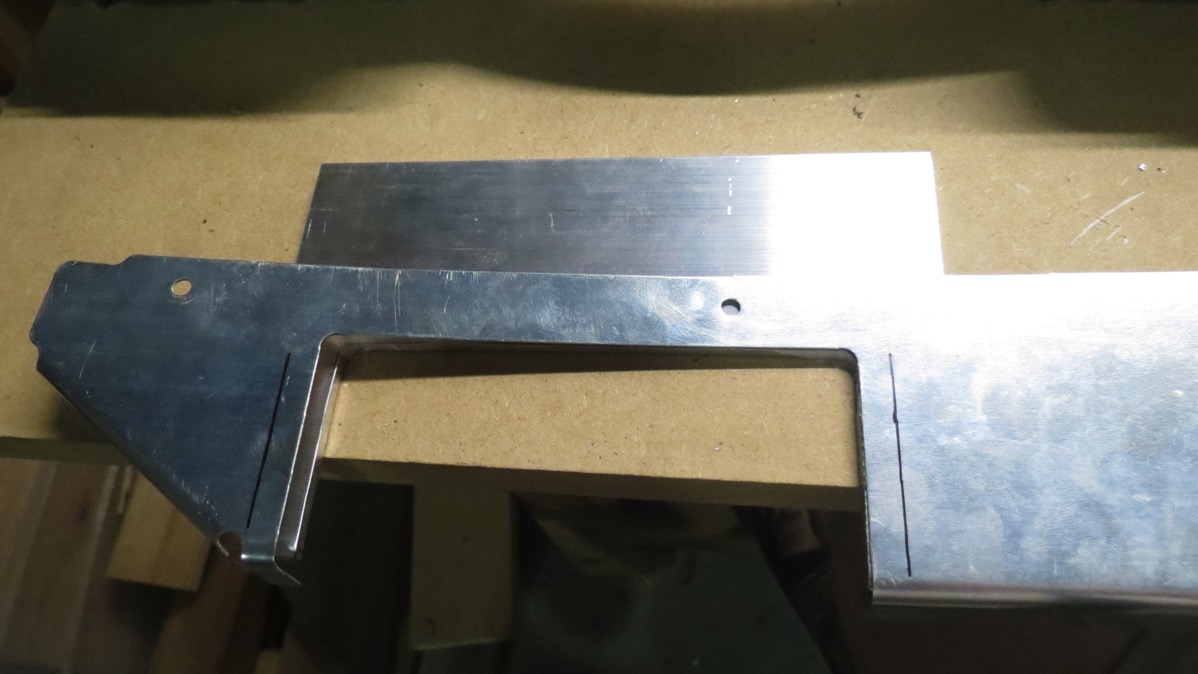
Next up, I clamped the spacer in place and laid out and drilled my rivet holes. The spacer will just get flush riveted to the cover plate. Here I’ve already dimpled the cover plate and countersunk the spacer:
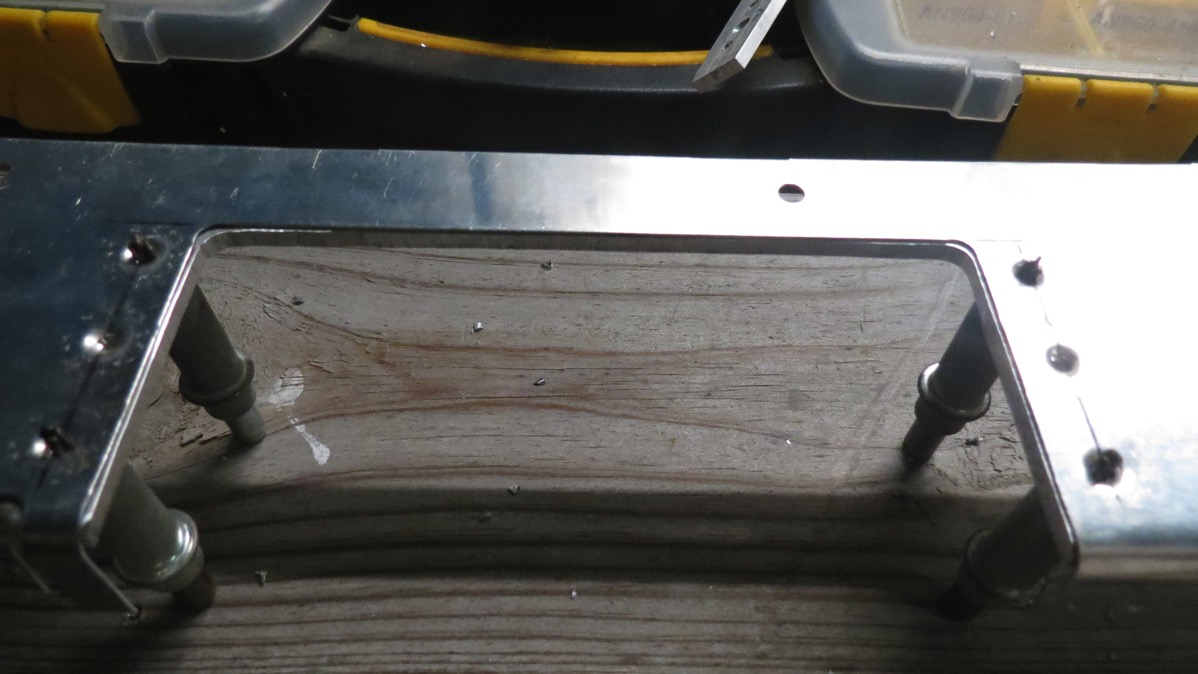
A lot of material had to come off the outboard edge; the cover plate sits against an angle piece on the outer skin, so the spacer can’t interfere. Technically this trim was done in the previous photo, but it’s easier to see the extent of it here:
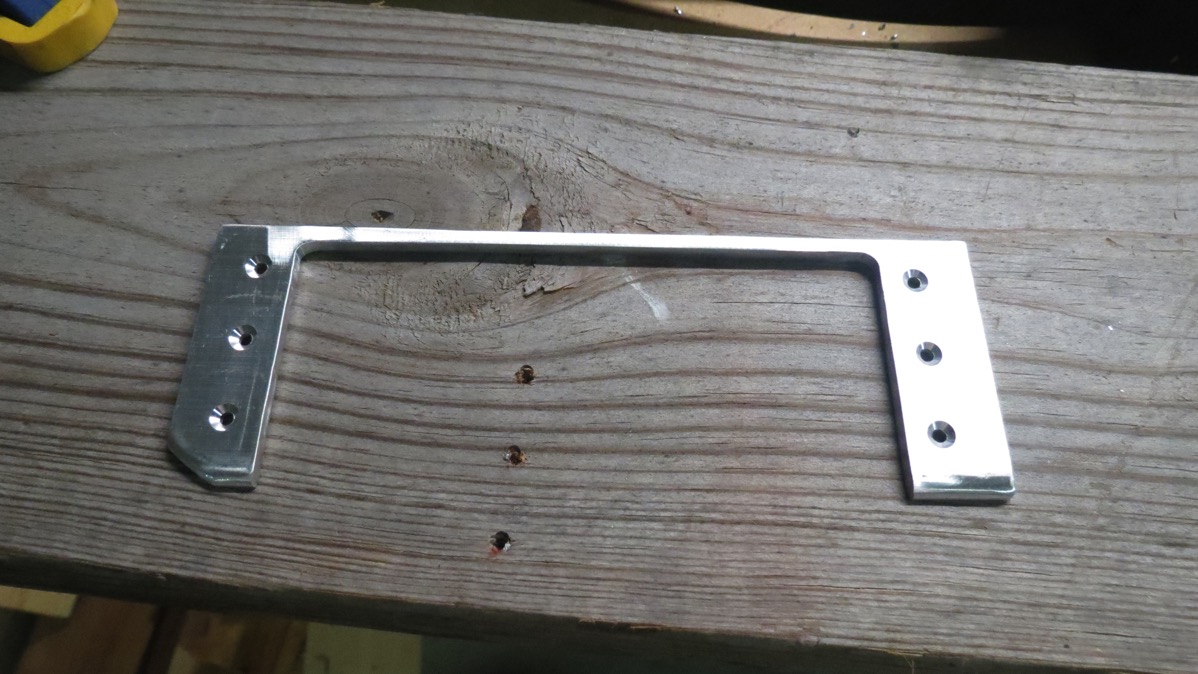
Next the spacer got some edge cleanup, removing burrs and smoothing everything out, then I clecoed it to the cover plate again and went to work final-trimming the edges that needed to be aligned with the cover plate. This was just a bunch of filing and Dremeling and sanding and polishing and smoothing and checking and blah blah blah. In the end it’s not quite perfect, but workable as far as I’m concerned. This photo’s a little blurry, but oh well, Should have used macro mode, I suppose:
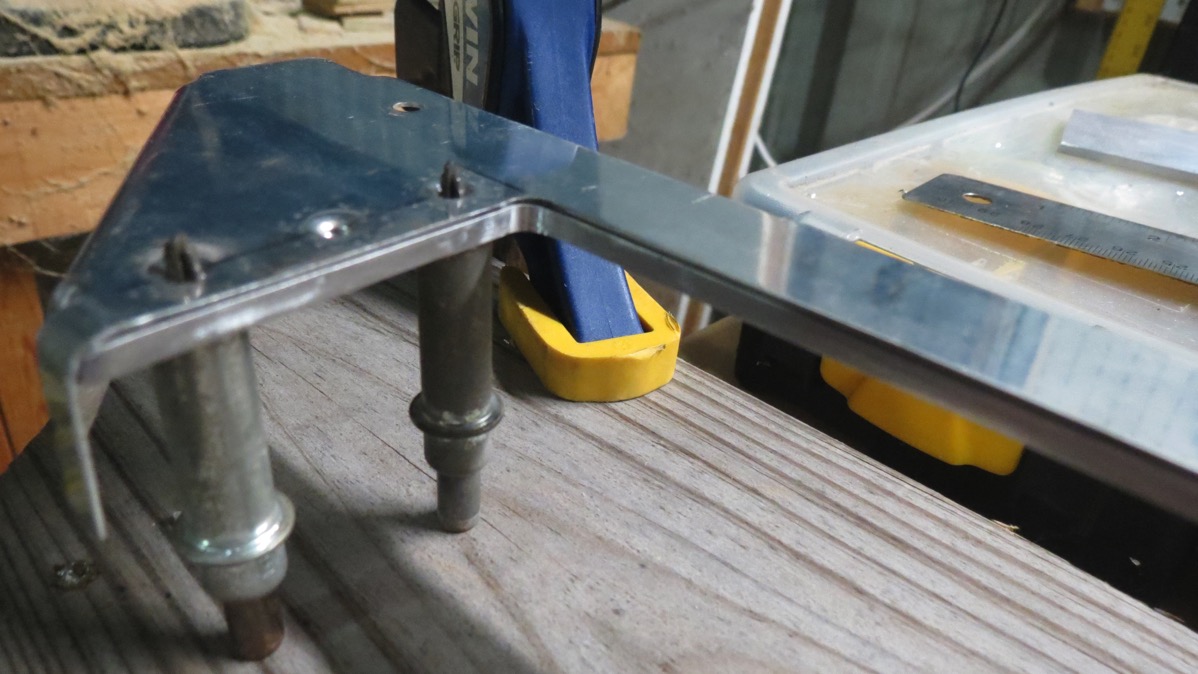
As I was doing this, though, I did realize I’d neglected to consider one thing. The top plate of the throttle quadrant is larger than the cutout on the cover plate, so the spacer plate will rest on top of that throttle top plate. This is a problem because of the rivets – if I’d set them without thinking about this, the cover plate wouldn’t be able to sit flush against the throttle due to the shop heads of the rivets. Fortunately, there’s an easy way to handle this – I countersunk the other side of the holes in the spacer plate, and I’ll just set the rivets double-flush. if I need to I can even sand the shop heads down a bit – it wouldn’t be best practice for a structural piece, but here it’ll be no problem.
But before I could rivet, I needed to shoot primer on the spacer. So I got that done, and set the piece aside. I’ll probably see about getting it riveted tomorrow night, and then I can trial-fit everything together and see what it looks like. I think what I’m going to do here as far as paint is make the entire quadrant mount black, rather than using the stone-texture paint like everywhere else. The idea will be that the instrument panel, right console (which will house some switches), and throttle quadrant will all be black and sort of match. It remains to be seen what paint I’ll actually use here, though…that’s a problem for later.