Well, we tried riveting the skins, but it didn’t go so well. More on that in a moment. I had a head start by myself – Josie had to work a little late again – so I decided to assemble the aileron hinge brackets that I primed yesterday. But first I wanted to practice some double flush riveting, since I have yet to use that technique at all. I’d done some research ahead of time, mainly wanting to learn how to properly size rivets for this technique. Not too surprisingly, the length spec is a bit shorter to allow for the countersink to be filled.
Out in the garage, I cut up one of the extra fuel access plates I had lying around and used those as a double flush test. My first attempt, I still used a too-long rivet and ended up with quite a bit of a head sticking up:

So I made another hole, countersunk, and tried again with the next shorter rivet size. Much better, though still sticking up a bit:

Realistically, that’s fine for this task; the plans call for normal shop heads, so even though I’m going for the double flush technique, having a bit of a shop head sticking out isn’t a huge deal. And sure enough, the rivets in the brackets came out looking quite nice:

After shooting/squeezing the remaining rivets, I had four finished brackets:


And then it was time for the real fun. After much reading, I’d decided to back rivet the wing skins; my logic was that this only really required a skilled person on one side of the work. Seemed more likely to turn out some nice-looking rivets. Using this technique require the use of a ridiculously long double offset back rivet set:

Oh, and as a random aside, here are the dogs watching from inside the house, wearing their ear muffs. Yeah, we have those:

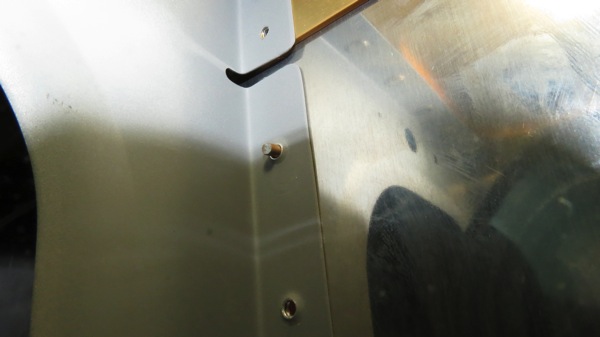
Unfortunately, as alluded to earlier, the riveting didn’t go so well. Here’s my first attempt, with the rivet already starting to lean over. And that was after I felt like I was beating the thing to death with the gun:

I found a problem almost immediately. See, on the other side of the skin, Josie is holding this big five-pound bucking bar against the flush head. It came with some kind of coating on the faces of the bar, which for some stupid reason I thought was supposed to stay on, but after seeing how the rivet was making a dent in it, I realized I was really wrong. With that soaking up some of the impact from the rivet gun, no wonder things weren’t going well. So I peeled the coating off the bucking bar, drilled out the rivet, and tried again.
Still didn’t go right; despite banging on the rivet way more than I felt should be necessary, it didn’t form a good head and instead just folded over a bit. Ugh.

Clearly I need to do some more research on this technique. Maybe I need to crank up the pressure at the gun some more. I probably should have practiced on some scrap before going to town on the wing; the way thing are going, I might end up with an “oops” NAS1097 rivet in my very first hole.
One thing is for sure, this back riveting technique seems just as fraught with peril as just shooting these things the normal way. Seems pretty awkward to me as well. I might even abandon it entirely if I keep having issues during the next work session…