I picked up this morning with work on the center canopy rail I started on a few days ago. I got all the rivet and screw holes laid out along the rail cap piece, which is what’s used as a guide for all the drilling. As mentioned before, it took me a bit to figure out the plans here, but the gist is that there are eight screw holes a specified distance apart, and between each pair of screw holes are five rivet holes, which make the spacer and cap into a single T-shaped piece.
So I started out by marking the screw hole locations and drilling them initially to #40. That let me cleco the rivet fane between each pair of holes and center punch the rivet holes in between. With that done, I clamped the spacer onto the cap and drilled the screw holes up to #30. This was where the first thing went wrong for the day; since it takes a bit to get the drill through that thick spacer piece, I wasn’t really good at anticipating when the drill would break through, and once I had a few holes in the wood block I was backing the work with…well, on one hole the bit broke through and barely even slowed down, and so I ended up making a nice little circular scratch with the drill chuck:
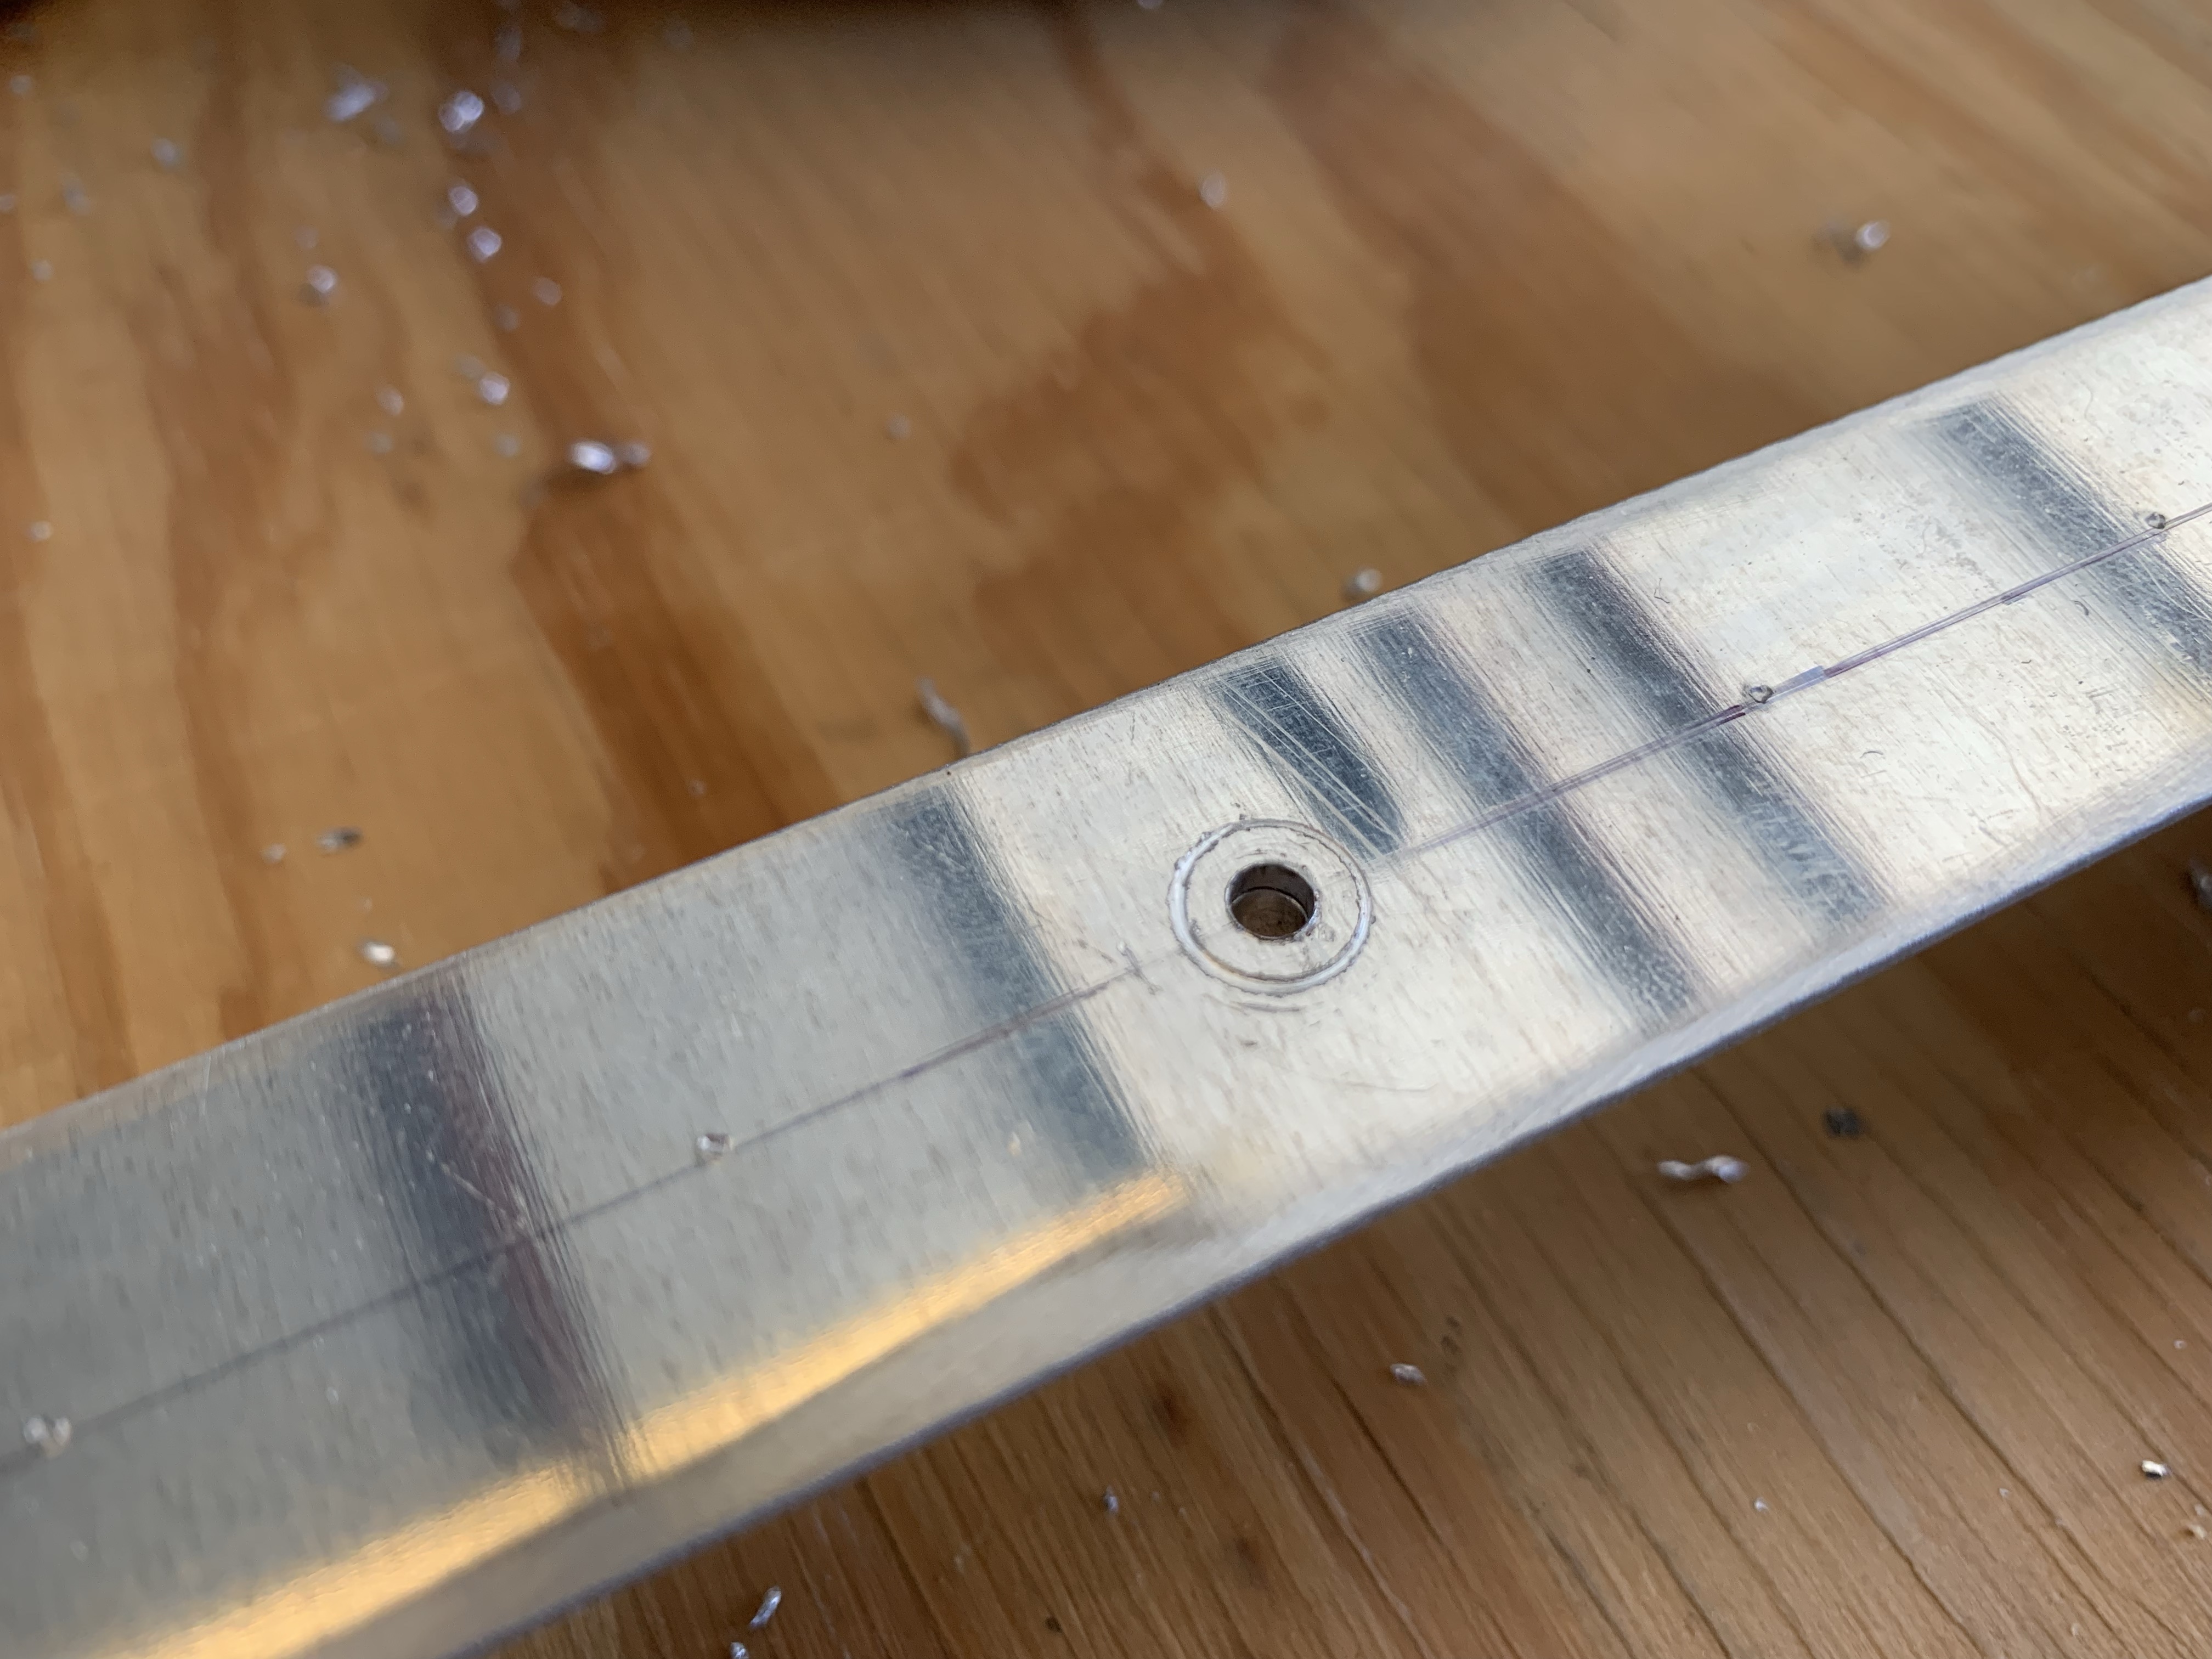
This was bothersome to me, since this is going to be a very visible part of the airplane that also likely won’t be painted…so there are limited options for getting rid of this ugliness. Now, this hole will eventually be countersunk for a #6 screw, but the screw head is still smaller than the scratch, so that wouldn’t help. I came up with the idea of maybe upsizing to a #8 screw, and to test if that would actually cover the scratch, I intentionally marred a piece of scrap and then worked on countersinking it, and found that I could cover the scratch if I was liberal with the countersink, putting the screw head just below flush.
So with that in mind, I kept going, moving on to drilling the rivet holes in the assembly. Everything seemed to be going well until I separated the parts for deburring and eventual countersinking, and found that the other side of those rivet holes were…let’s say inconsistent. Apparently my attempts to hold the drill bit square to the rail cap failed pretty miserably, and I drilled the holes in various states of crookedness. Still, the visible part looked OK, so I thought maybe the slightly off holes might be OK…until I tried countersinking them, at which point it was obvious they were crooked enough to cause problems with the countersink cage.
At that point, I decided it was settled that these parts were officially junk. Fortunately, the replacement cost isn’t bad at all – under $20 for the parts from Van’s – but I’m sure the shipping will be a bit interesting since both pieces are about 4’ long. Oh well, that’s the way things go.
Before ordering, it seemed prudent to look at the other two rails, just in case I fouled those up too. At least then I could combine the shipping cost for the parts. These are the two rails that sit on either side of the canopy, and they’re made of some C-channel type extrusions. Interestingly, the back end of each channel is precut at an angle to match the bulkhead behind the rear seats, but the rails still need to be trimmed at the front end. Marking these was a little interesting since they’re not a nice square cross-section, but trimming them wasn’t a big deal.
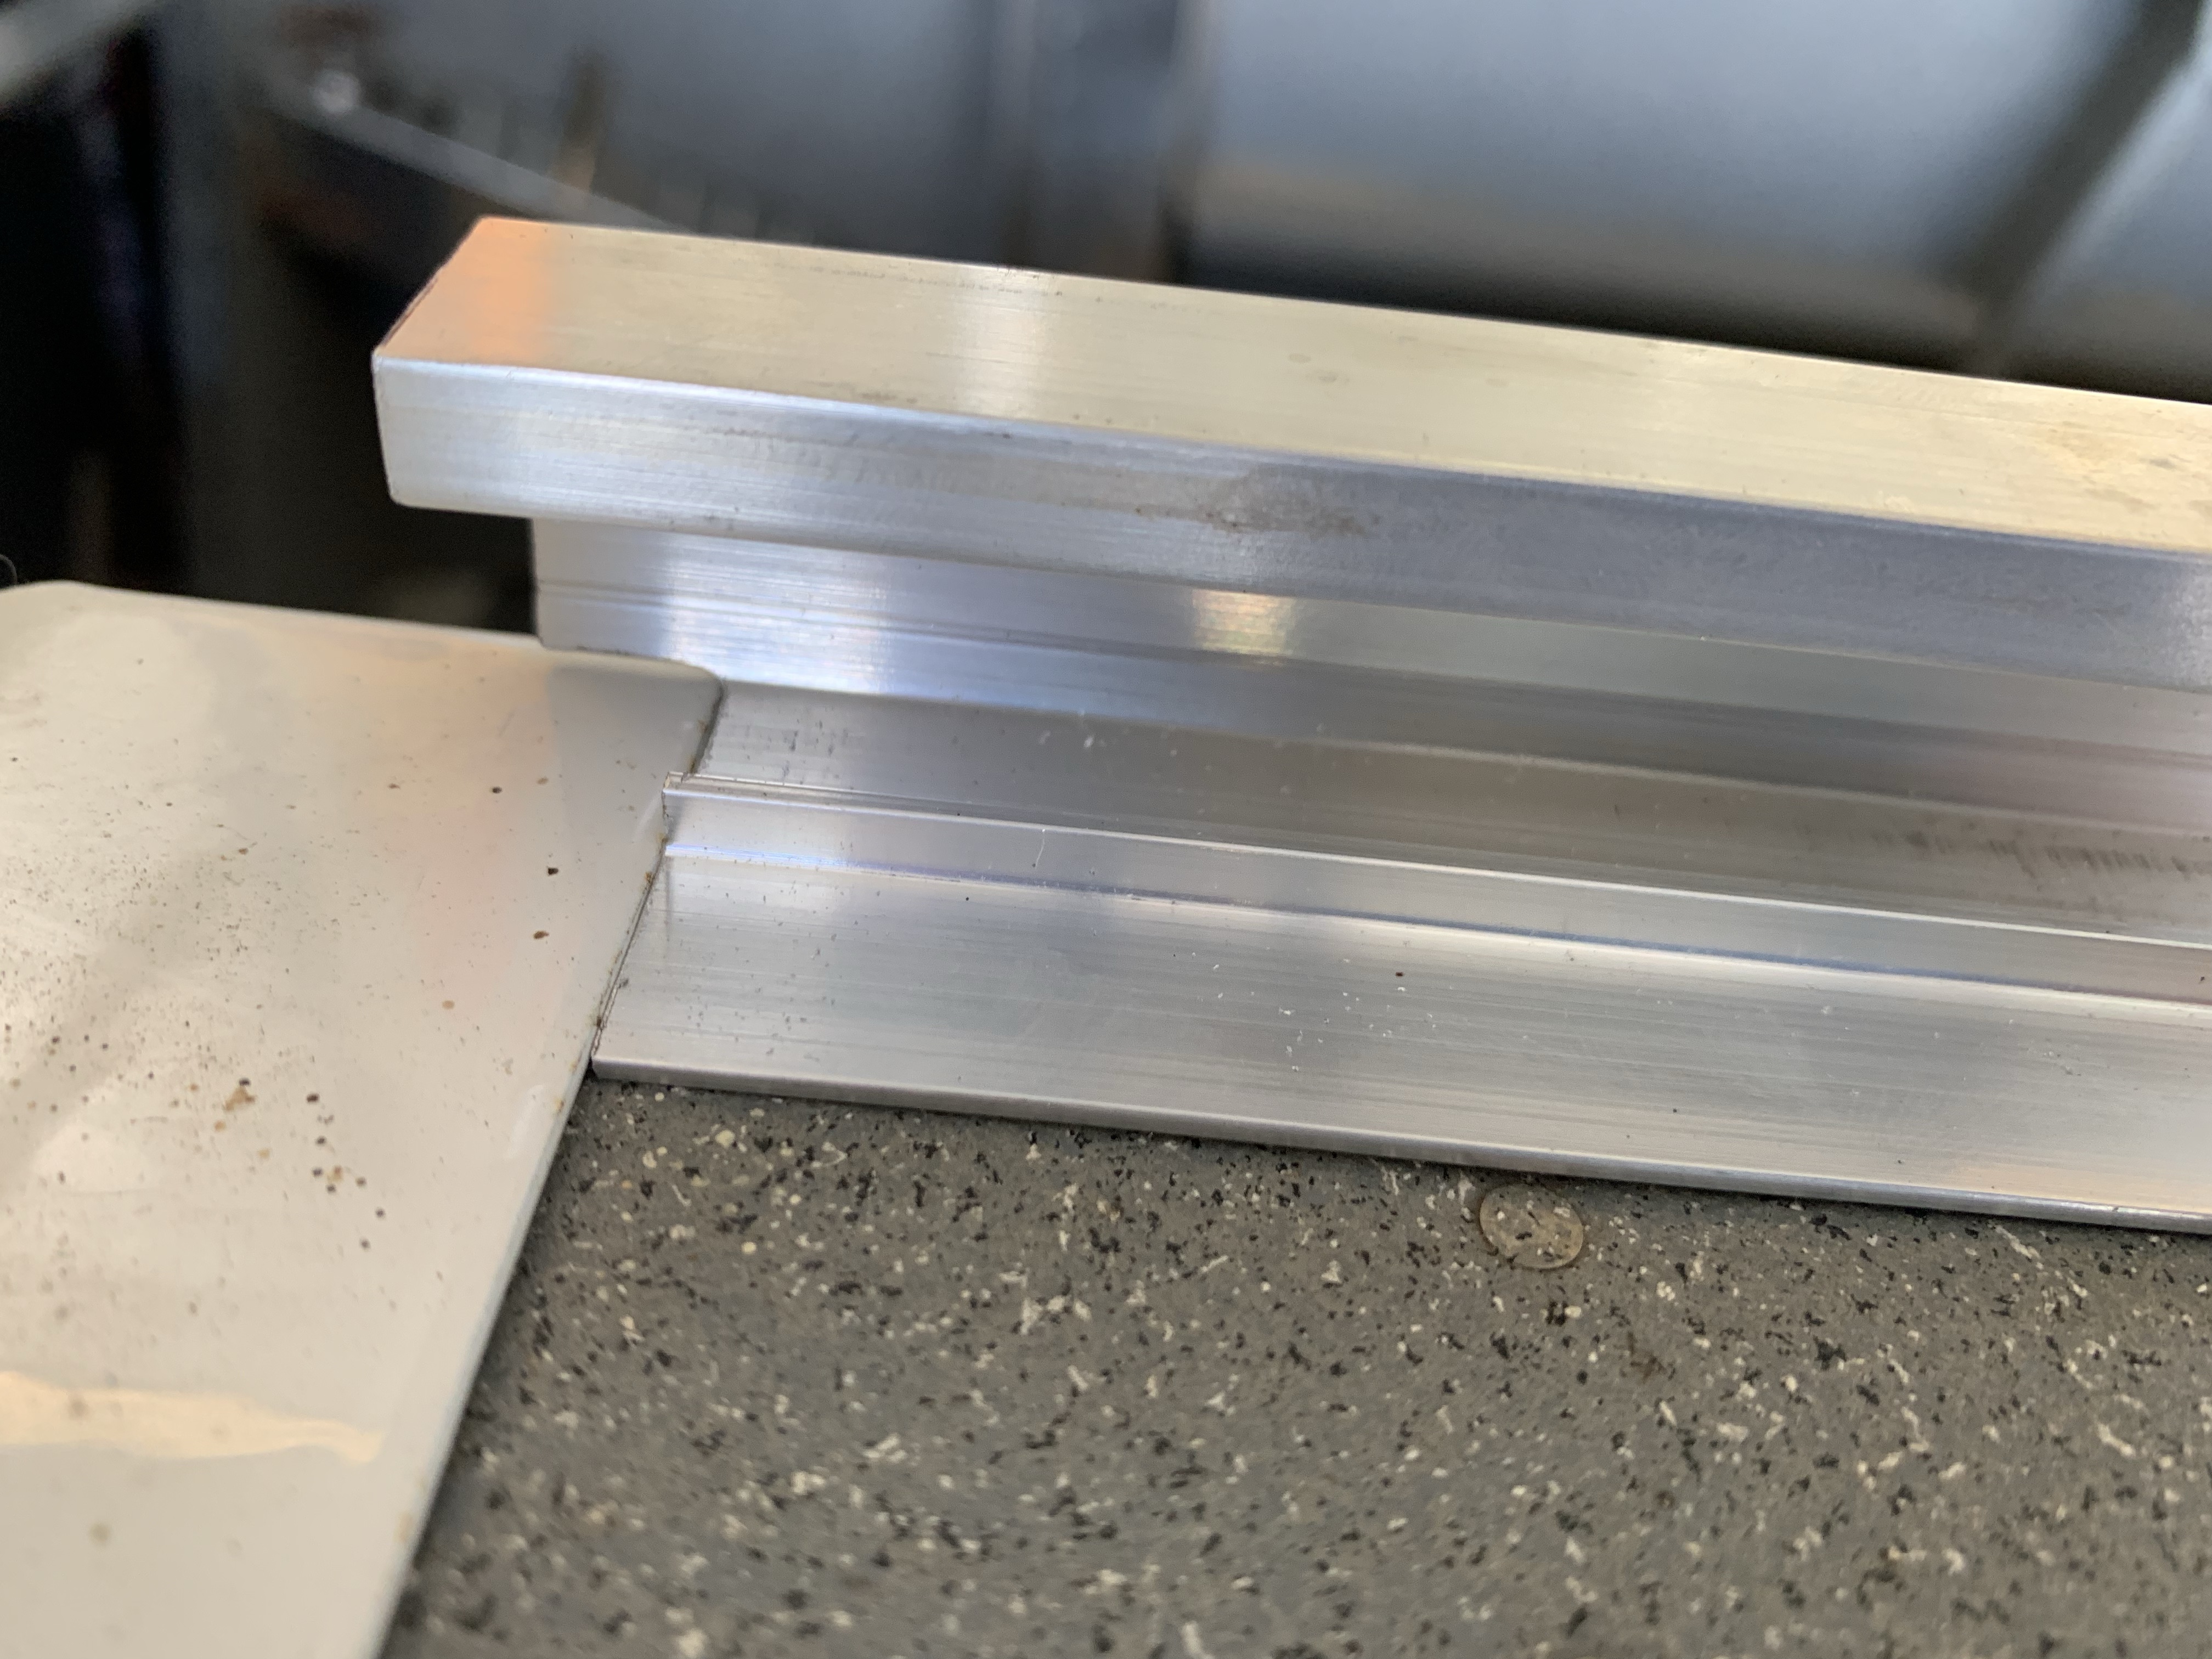
The more interesting part is that the forward end of the rails overlaps with the roll bar base, so the bottom forward corner of each rail needs to be relieved so it can sit flush elsewhere. This just required some careful rough cutting with the band saw and dremel cutting dock, followed by fine-tuning everything with files. In the end, I got a nice tight fit with the base:
Unfortunately, that’s all I can do with the canopy right now. Next steps would be to install the center rail on the fuselage and clamp these side rails into place, then start working on fitting the canopy frame, but…yup, no center rail for me. So I ended up crawling back inside the fuselage to reassemble some stuff I removed for riveting clearance. First up was reattaching the wire bundle in the aft most bay; I had to remove the the zip ties holding to the pad mounts to have clearance for bucking rivets. Was definitely a lot of fun getting my arms back in there; well actually, I could only get one arm in for aft pad. Turns out starting a zip tie one-handed is an interesting challenge.
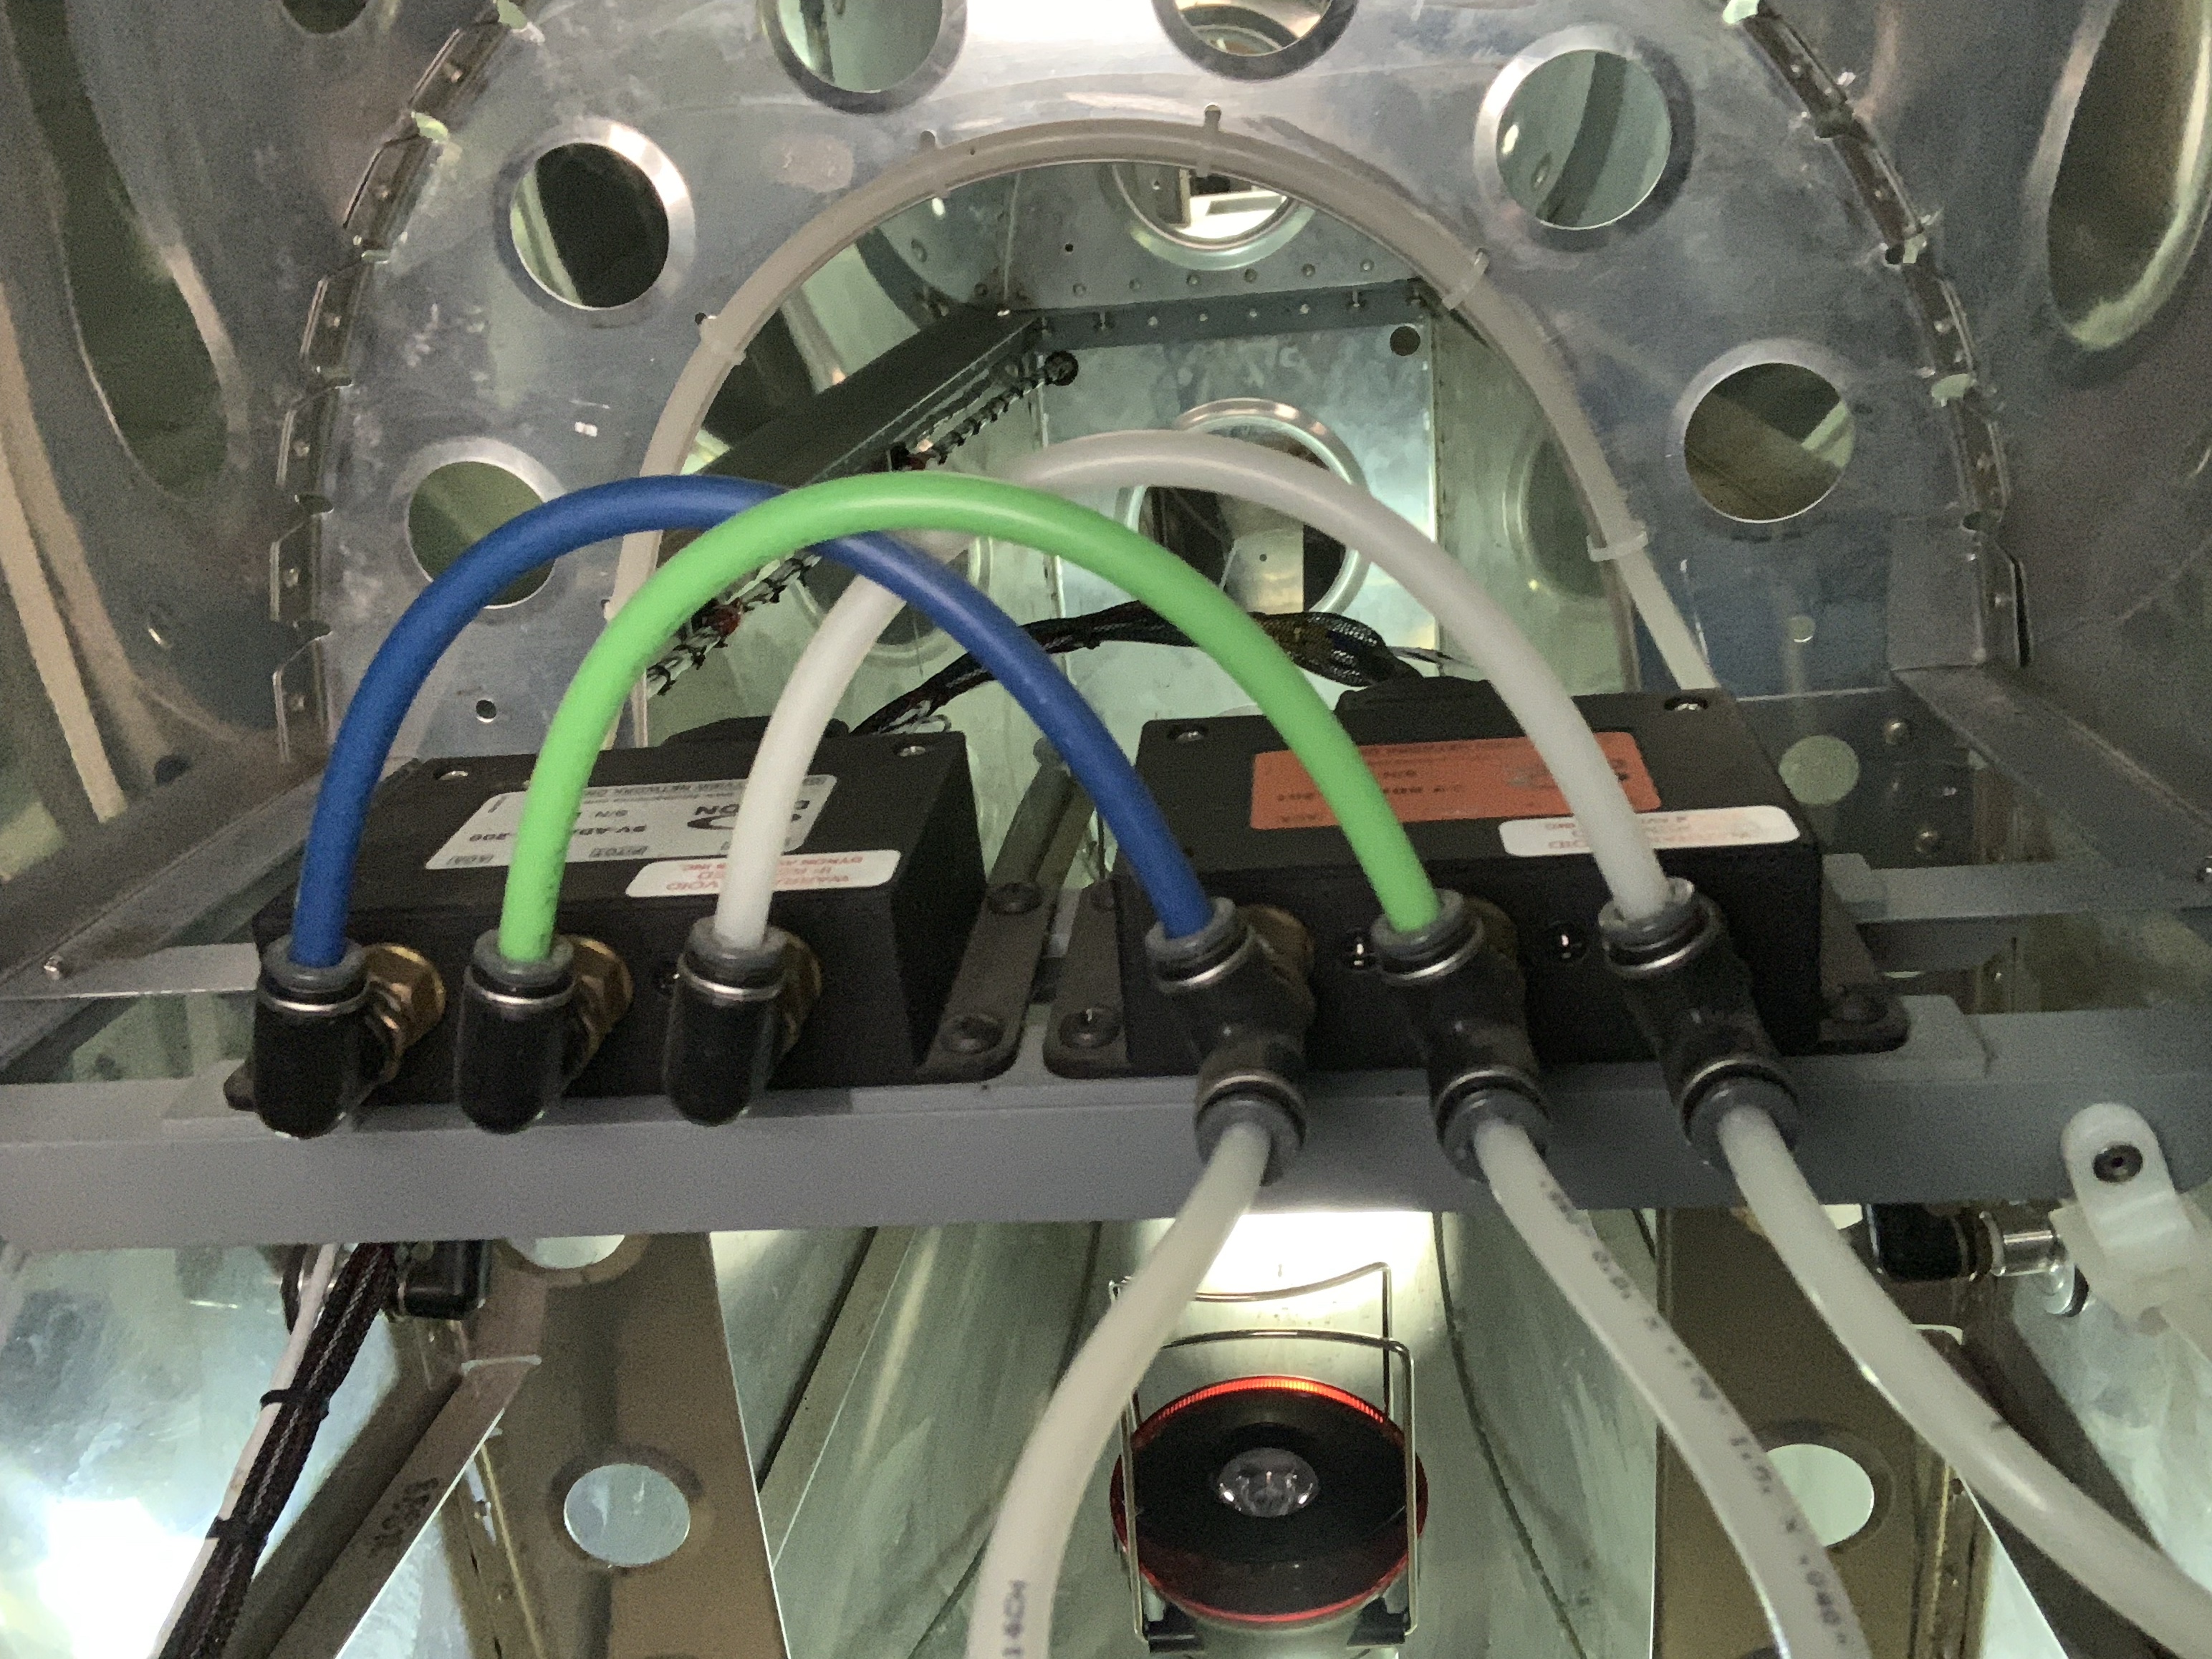
Next was permanently installing the ADAHRS mount. This is attached to the longerons with blind rivets, because there’s simply no way to get a rivet gun back in here. I guess screws would have been an option as well, but I don’t really intend for the entire mount to ever be removed, except in the case of a major systems overhaul way down the road. A side note here: the little “pop” you get when the stem breaks on a blind rivet is a whole lot louder when it happens inside an aluminum cone.
But hey, with the network/OAT connectors…reconnected…along with the static line, these are pretty mush ready to go. Only thing remaining will be routing the pitot and AOA lines back here at some point. Original plan here was to run them uninterrupted from the wingtip, though I’m kind of considering putting in disconnects inside the fuselage at the wing root, simply so I can go ahead and get the lines routed back here. I’m pretty on the fence about that.
Oh yeah, look, a photo:
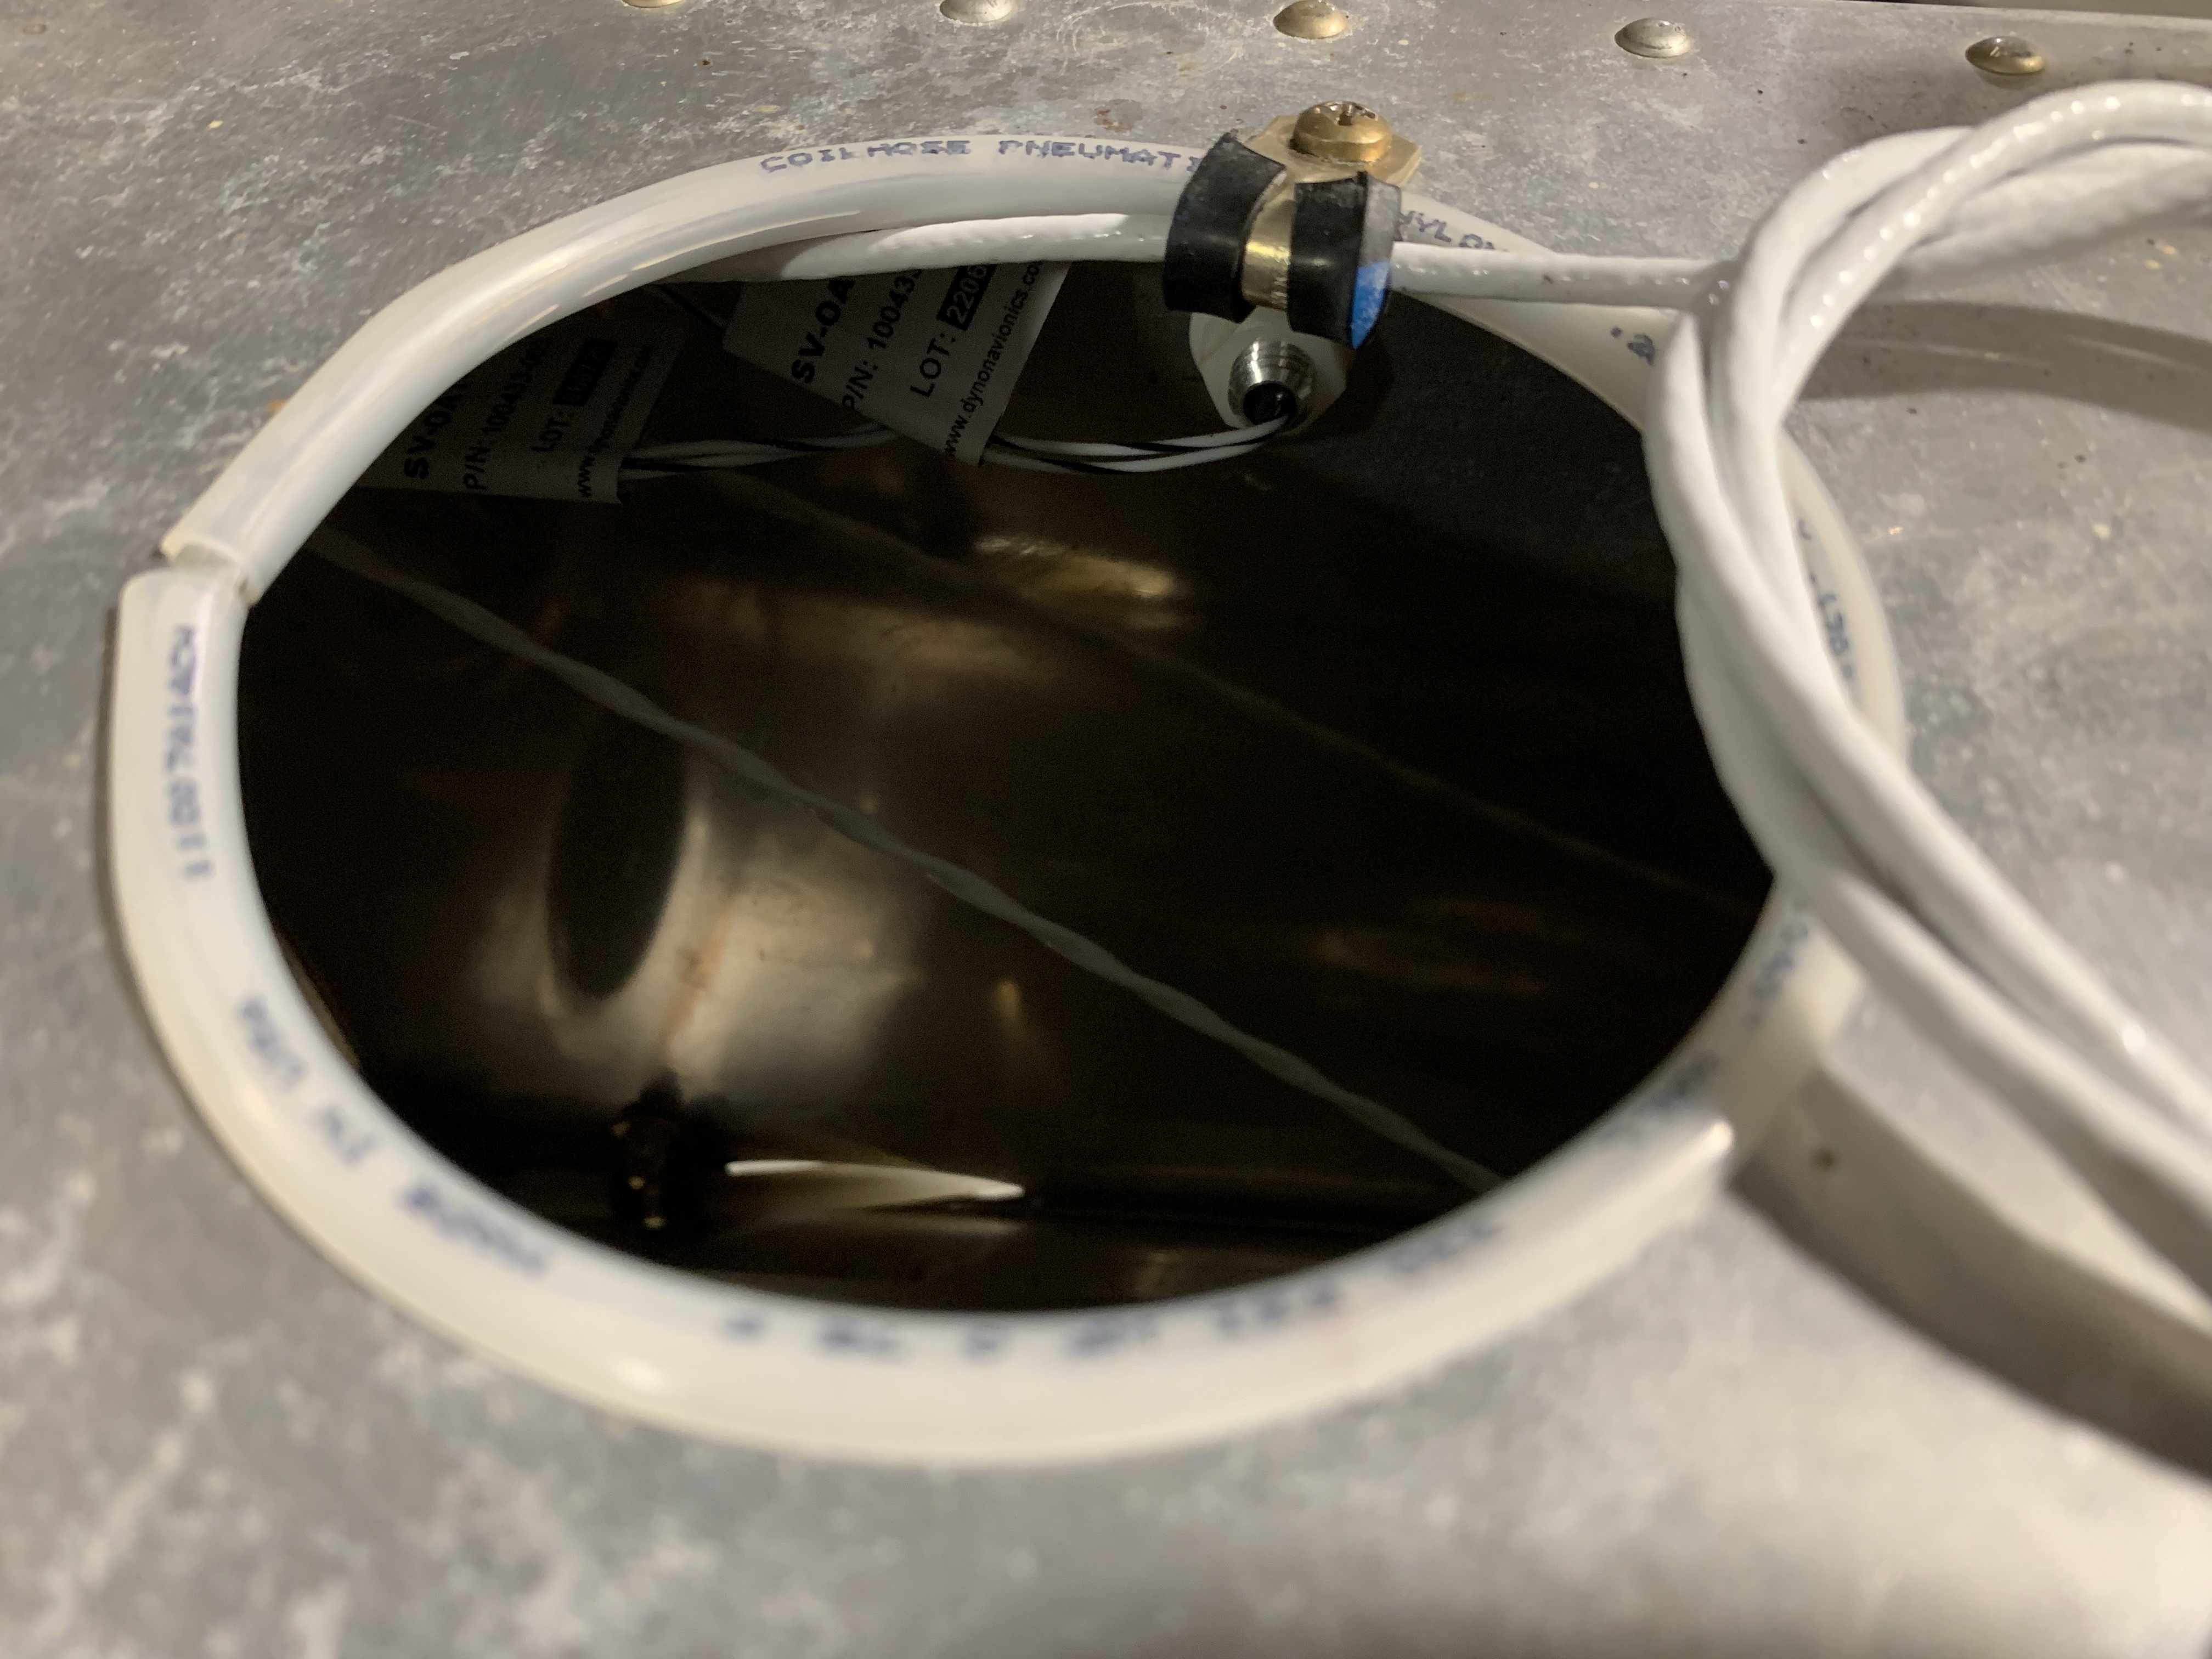
Finally, for one more random systems thing, I took care of some routing for the elevator trim cable. This will come up through the aft deck lightening/access hole; I went with the same anti-chafe setup I’ve done elsewhere, just taking some of my surplus static line, splitting it, and slipping it over the edge of the hole. Then I added an adel clamp to hold the wire in place where it passes through the hole:
Now I just have to figure out what to work on while I wait for parts. Kind of thinking I may go ahead and mount the empennage again, this time for what might be the last time – though I should be careful making pronouncements like that. With the empennage in place I could go ahead and finalize the wire routing and disconnects for the elevator trim servo. I could work on the tail light wiring as well, though that would require getting my hands dirty with the fiberglass rudder fairing.
The other complicating factor is that we’re two weeks out from heading out on a three-week road trip. I’d been hoping to make some good progress on the canopy before then, but it seems unlikely that’s going to happen – I imagine the last week pre-trip isn’t going to be super productive on the airplane. Hopefully I can at least get the replacement rail parts in, and get the center rail in place for future fitting. If I can get the canopy trimming done by the end of October or so, it should still be decently warm during the days, keeping potential cracking as a smaller concern.