Whew, back to work again. It’s been a busy week, between wrapping up a project at work while simultaneously trying to get everything organized for our Oshkosh trip. Yesterday I finally managed to get a good weather day and a non-broken plane, and got my spot landings up to a level commensurate with flying to OSH. I’d intended to try and get some plane work done in the afternoon, but nope…ended up being too busy. Today, though, I finally made some time.
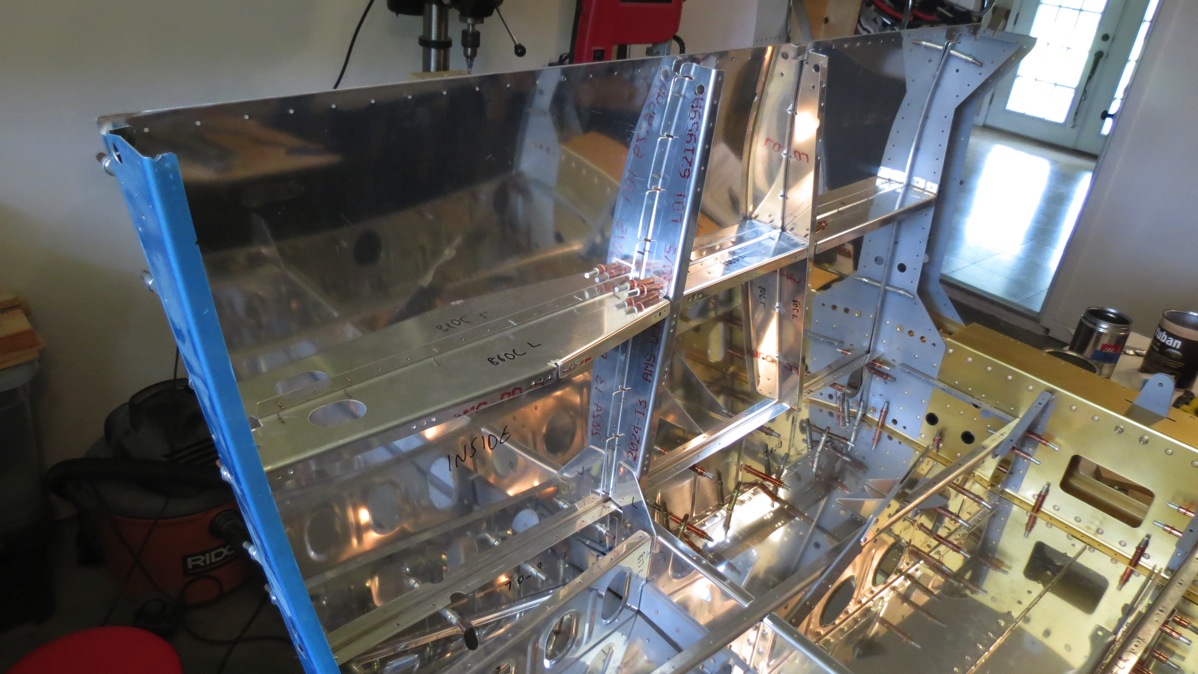
When I left off last, I’d gotten started clecoing the left mid side skin in place, but stopped short of installing the left armrest assembly. So that’s where I picked up today. One thing I learned later in the day is that it’s a lot easier to install the armrest assembly piecemeal instead of trying to put the preassembled thing in place. There are about four or five things that have to be aligned properly while you’re maneuvering this fairly floppy conglomeration.
But hey, I got it, so here’s a look at the left armrest stuff all assembled for good:
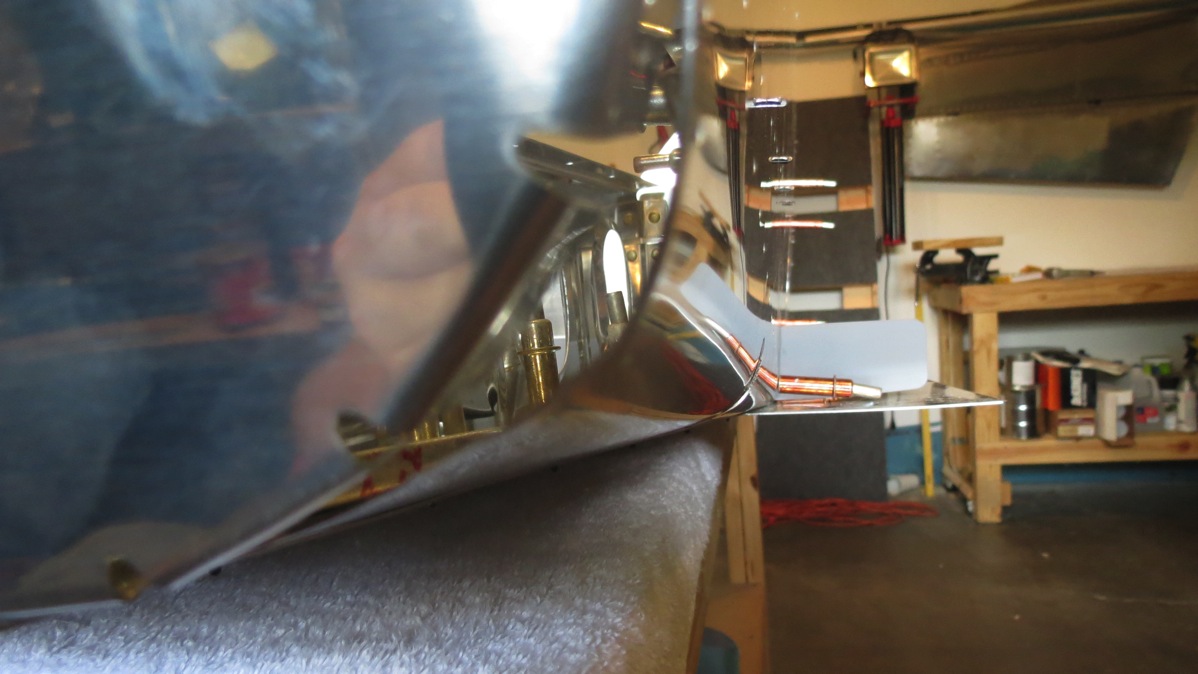
Next, I went to work on the right side. I got the skin clecoed minimally in place, but I kept having trouble getting the rear bulkhead half slid into place – just didn’t seem to want to line up. Eventually, though, I figured out why – somehow the conical bend on this skin got fouled up, and had one tight angle spot on it. I tried to get an illustrative photo, but it was pretty blurry. Reflective surfaces really seem to confound the autofocus…
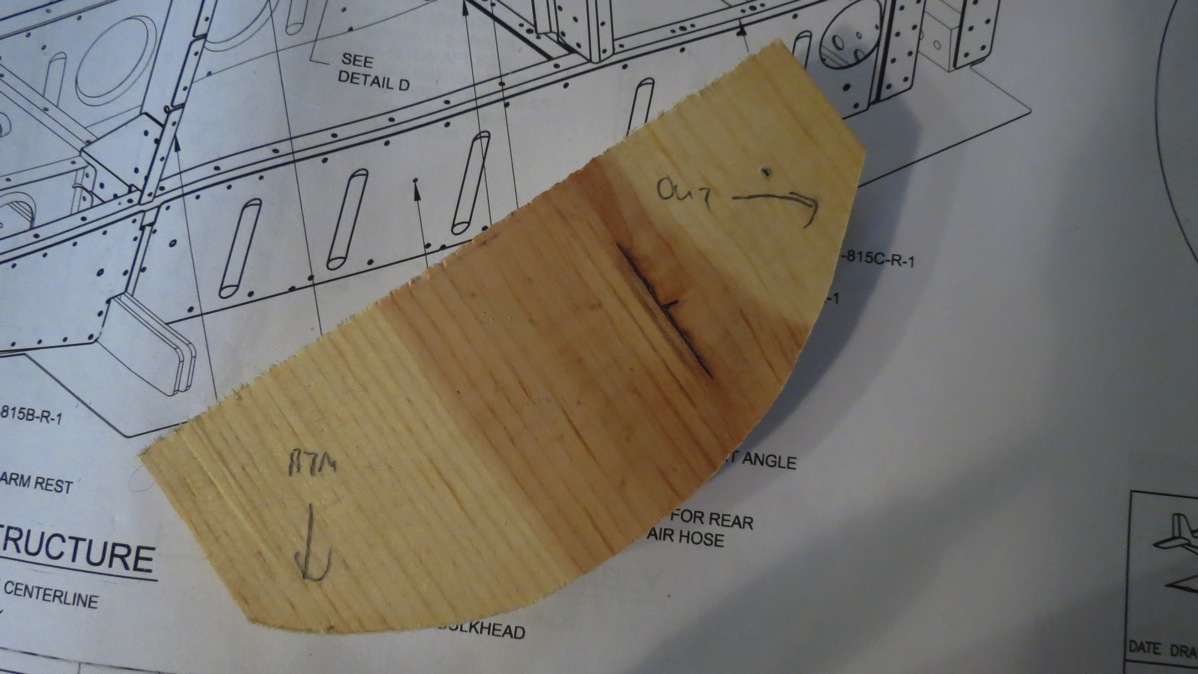
So I got the bulkhead out of the way and was able to massage the bend by hand to a better state. Along the way, I made a little guide block out of scrap wood to help me gauge the bend properly. I just traced the outline of the bulkhead and then cut it on the bandsaw:
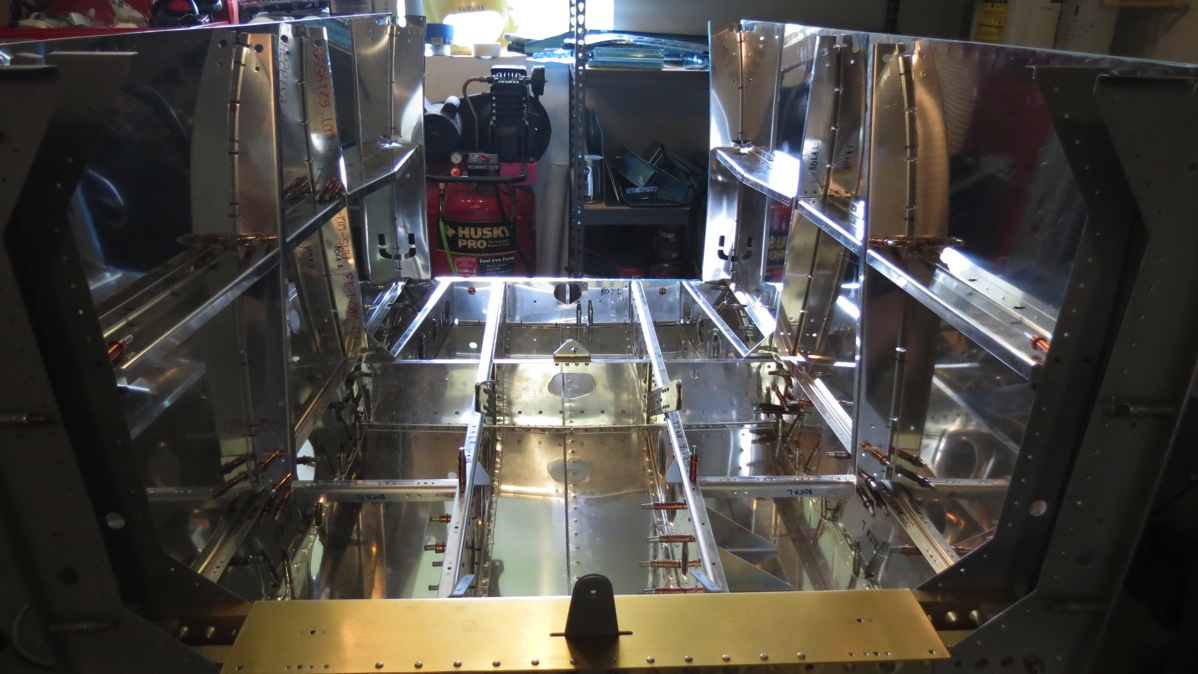
Finally, I got the skin bent properly and then clecoed the armrest and everything into place. This is basically the rear passenger area, though the back of the front seat will be behind the center section here too:
Then I got to do some match drilling. Not a whole lot in terms of holes, but most of the holes were between the armrests and the side bulkheads, so access was interesting. I used a 12” #30 bit for most of the work, but even that wasn’t enough for a couple holes, where I actually ended up spinning a drill bit with my fingers to final-drill the holes. It wasn’t too horrible, but I’ll be glad if I never have to do that again… With the match-drilling done, it’s time to bring over the forward fuselage assembly and join it to the mid fuse. Surprisingly, this was an easy one-person job. The two assemblies are initially joined with clecos in the lower center section flanges and also joining the mid cabin braces to the top of the center section.
And then it’s time for the forward side skins. I went ahead and deburred the edges of both of these, along with the large punched holes. The left skin was more fun here since there’s the cutout for the NACA duct that will feed the forward air vent. The edges in that cutout were rough, and about all I could use for smoothing were my little needle files.
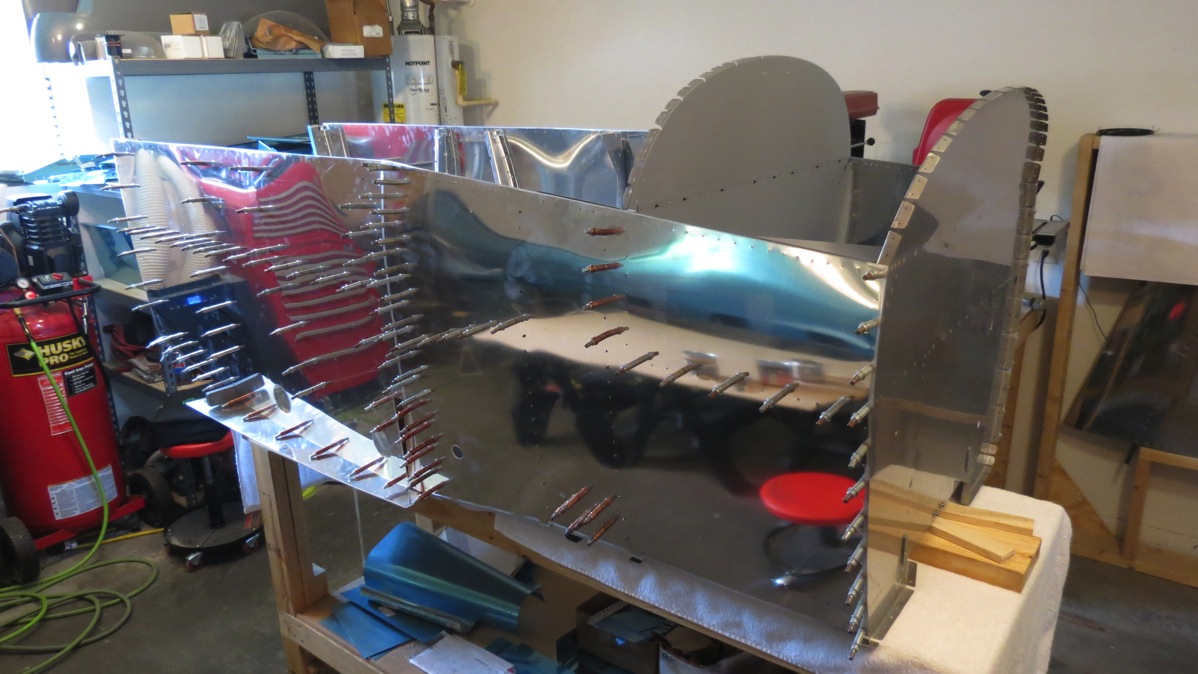
Once the deburring was done, it was time for a LOT of clecoing. The instructions say to be liberal with the clecos, and it’s obvious why – the skins don’t really want to conform to the bends at the top and bottom of the sides. I’ve got half a mind to try and bend the skins a bit, but I suspect I’d end up doing more harm than good.
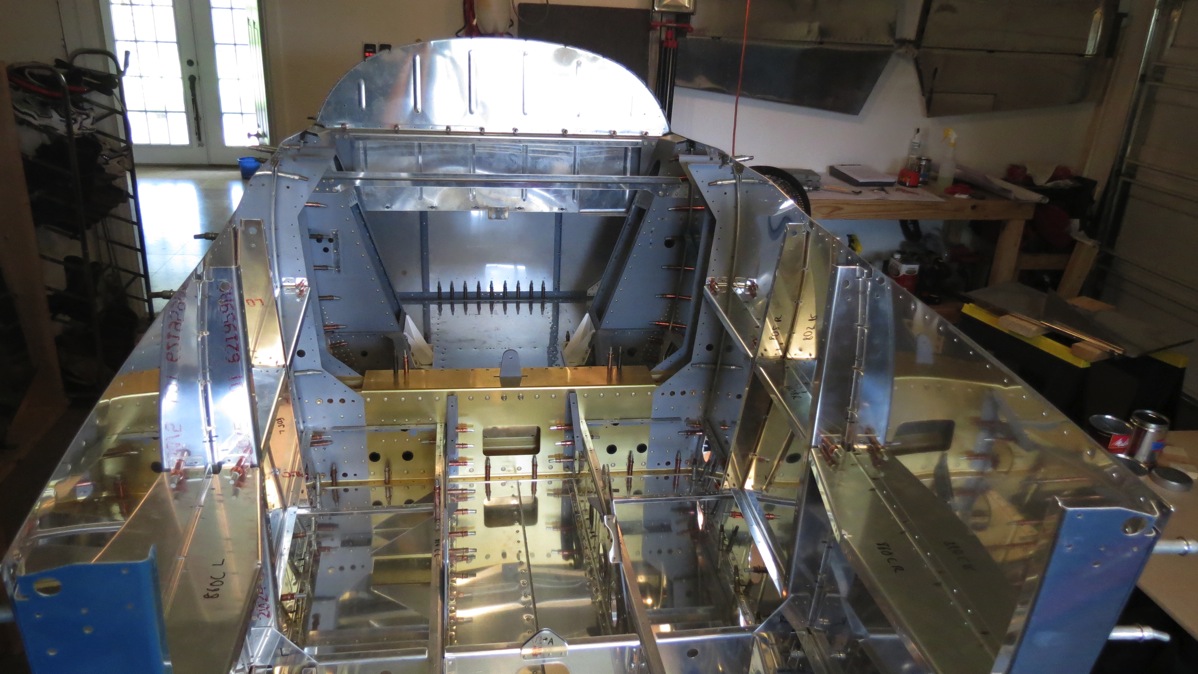
And now it really looks like an airplane part. This is basically the entirety of the cabin area; behind this will be the tailcone, mostly empty space but with the rear baggage area behind the rear seat. Ahead of it will be the engine compartment.
Next up: bulkheads for the tailcone. First step here is to separate one angle chunk into several pieces. Two of the will be crosswise angles in the tail, a third is some kind of control stop, and the final pieces will be the rudder stops. Well, I should say that they would have been the rudder stops. I was finishing up the cut on one end of the rudder stop piece when something went horribly wrong inside my bandsaw. It emitted a tremendous bang, froze up solid, and at the same time yanked the piece out of my hand, bashing my right index finger in the process. I’m not entirely sure what happened; the blade had a huge kink and was jammed against the upper and lower blade guides. The lower blade guide was loose, which might have been the cause, but I suppose it’s also possible that it was loosened by the violent stopping of the blade, so I dunno.
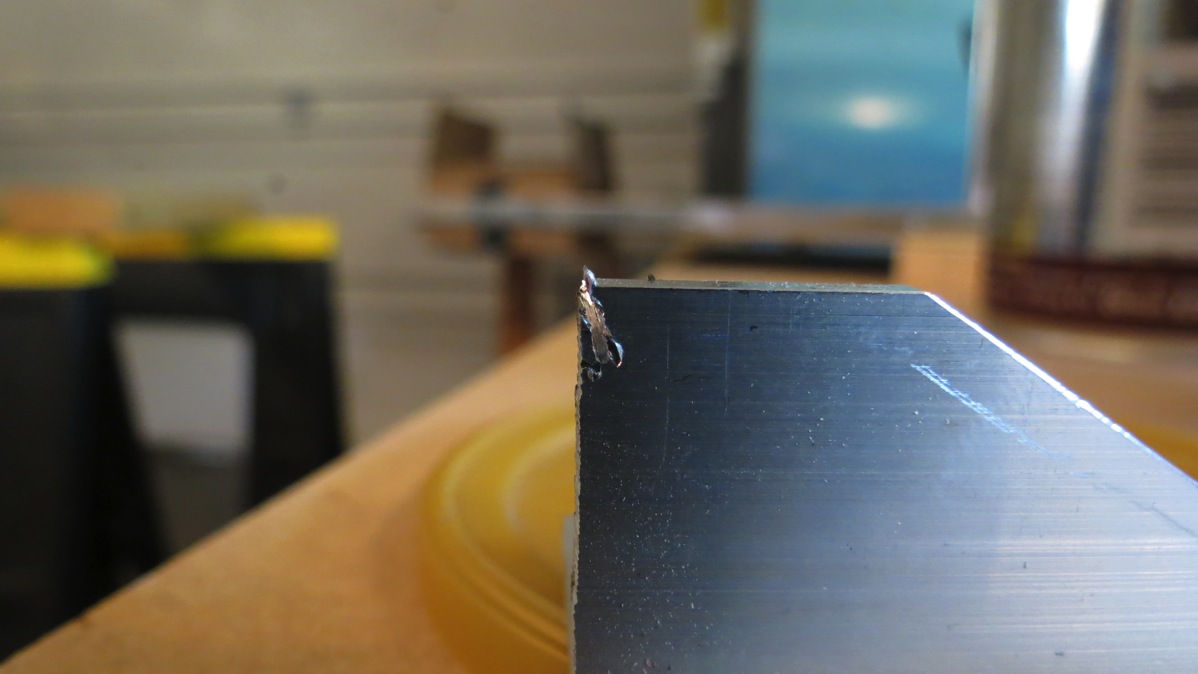
Anyway, the saw wasn’t really damaged, other than the little plastic piece on the table that surrounds the blade passage – that got broken in half, probably when the angle piece was jerked out of my hand. I removed the destroyed blade, installed the spare one I had lying around, readjusted the blade guides and so forth, and it ran like a top again. Unfortunately, it also took an extra chunk out of that rudder stop piece when it went crazy:
I spent some time after this radiusing some edges of the tail angles; they have to be rounded to fit properly inside the longeron angles. After that, I called it a day and – what else – went inside to continue gathering stuff for the camping trip. It’s a lot more fun when you’re weighing every single item and keeping a running total. Such is the joy of airplane camping…
Hopefully I can get a little more work in on the tailcone parts this week, but I dunno. We’ll see, I guess.