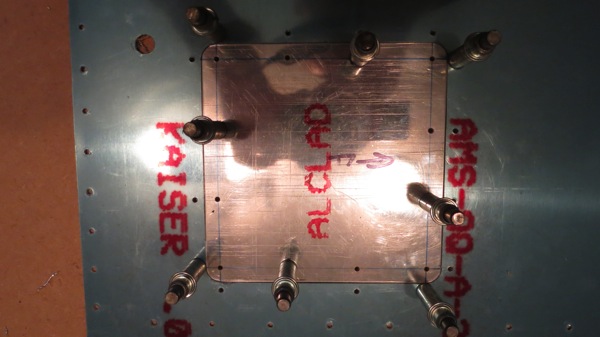
Kind of a catch-all day, moving towards the point where I start riveting the LE units. At this point the main task remaining is to dimple the skins, along with priming the replacement joint plate and the access cover/doubler I made yesterday.
First task today was to finish up that access cover. Not much to see here; I just laid out the rivet lines, drilled the holes in the cover, and then used the cover as a template to drill the holes in the doubler. I went ahead and deburred and dimpled all the rivet holes while I was at it.

Next, I addressed another issue caused my my decision to skip the stall warning kit. There are prepunched holes in the left LE skin where the stall vane would mount, plus two holes right on the leading edge that serve as guides for the slot for the vane. These needed to be filled somehow:

There seem to be several approaches to this, mainly either using body filler, or filling the holes with rivets. I opted for the latter, going with NAS1097 small-countersink rivets. So I reamed the holes out to #40, deburred, and then put a slight countersink on the skin side. I intentionally made the countersinks a little shallow so the rivets would sit slightly proud. Once I’d set the rivets, I carefully filed and sanded them down until they blended nicely with the skin. They’re still noticeable on bare metal, but should be all but invisible once the airplane is painted:

With that done, I set about deburring both LE skins. This constituted most of the time I spent today; hitting every rivet hole with a hole deburring tool, then going to town on the skin edges with the die grinder.
After that, I decided to look at the directions – which I haven’t don’t in quite some time. They mentioned installing a pitot tube fitting before building the LE units; I’m using an aftermarket pitot that will mount differently, but I figured I should take a look at it anyway. I verified that it won’t interfere with the LE installation, but after reading through the directions and looking at the mount, the backing and washer plates needed a touch of filing to fit around the mast. Apparently Gretz intentionally cuts these plates a little small, since the batches of mast tubing vary slightly. This allows the builder to fine-tune the fit, which is exactly what I did – a touch of filing, and now everything fits together nicely:

I guess I’ll see if I can get the skins dimpled this week, and maybe next weekend it’ll be time to rivet. Though I just remembered (as I was typing) that I’ll need to countersink the main spar flanged to accept all the wing skin dimples. Maybe that can be an evening task one day this week; should be pretty straightforward, just time-consuming. (lots and lots of holes…)