Today’s main goal was to have a go at making a replacement for the W-423 joint plate that I found out was fouled up. This turned out to actually be easier than I thought, though it still took a fair amount of time since I was being careful about the fitment. I started by hacking off a section of my scrap LE skin; I figured there was a decent chance it’d take more than one try to get this joint plate done right, so I gave myself lots of extra material:
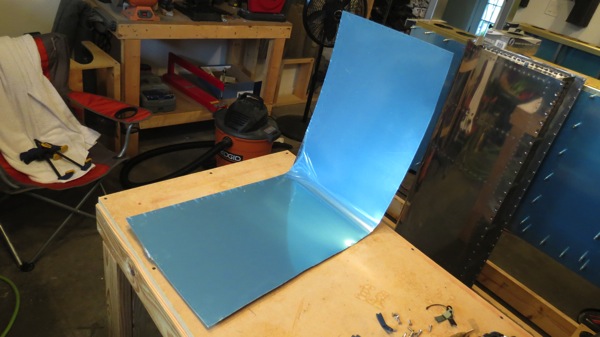
Next I trimmed off the prepunched edge using the band saw. Which, by the way, was lots of fun – feeding this fairly large bit of metal carefully through it. The bent area was especially enjoyable. Next I set the bandsaw fence to the right width for the joint plate strip, plus an extra sixteenth or so for good measure. Any extra width will just sit inside the LE bay and not get in the way of anything, so better to make this too wide than too narrow:
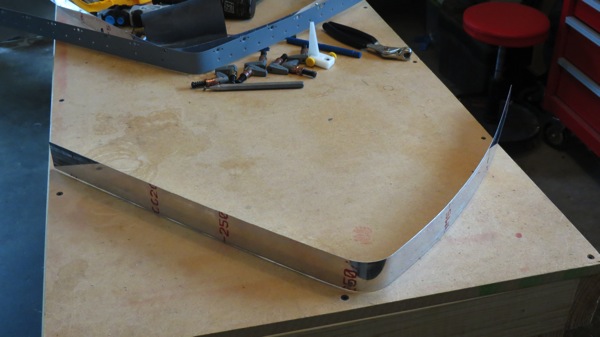
Now for the tedious part. I started by using the right tank as a template to drill the nutplate holes. The challenge here is that the tank is dimpled, and I was worried about the dimples causing inaccuracy. I mitigated this by doing one hole at a time down each side of the strip; I’d clamp the strip in place, center punch the next hole, drill that hole to size, deburr and dimple, then clamp everything back together again. I worked my way down the tank like this, and in the end things lined up pretty nicely:
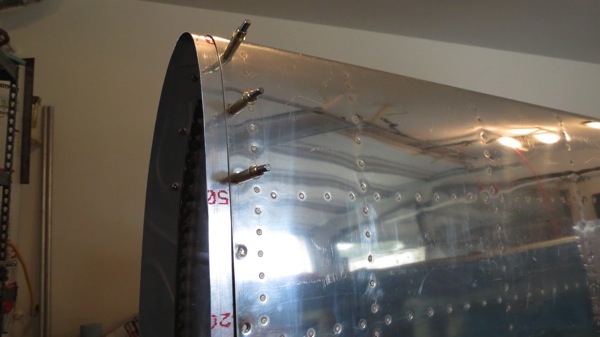
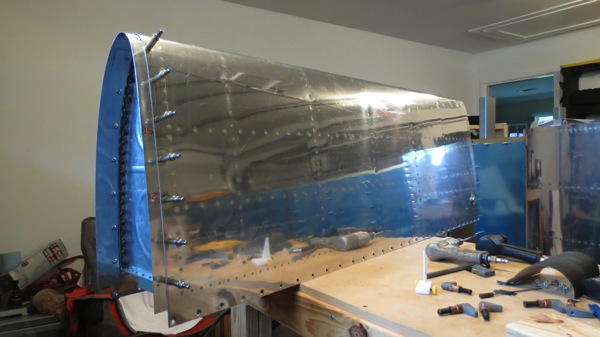
The next step was to drill the joint plate to the right LE skin. I put the tank on the spar and ran in a few of the screws on the top and bottom to hold it to the spar. Then I assembled the right LE unit, sans the inboard rib. This allowed me to use the LE skin as a drill template for the joint plate. Here again, I worked my way gradually down each side, clecoing as I went to ensure everything stay together nice and tight:
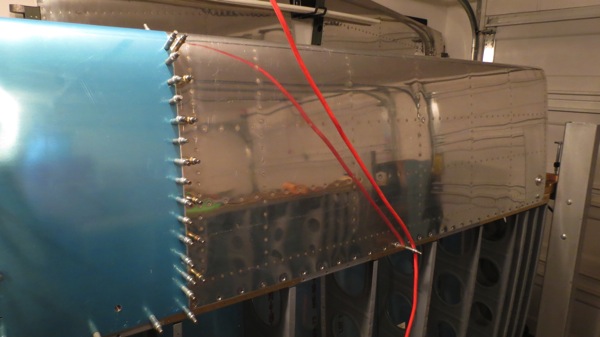
That’s all well and good, but next came the real test: would that inboard rib fit inside the joint plate strip? I figured it was possible that it distorted enough during fitting to the tank that it might have been too small. But I was able to get the strip clecoed to the rib, though it took some coercion. I ended up taking the nose of the rib to the scotchbrite wheel just to remove a little material and facilitate a better fit:

Finally, it was time to put everything together and do a full-up fit test. The rib and joint plate were clecoed into the LE unit:
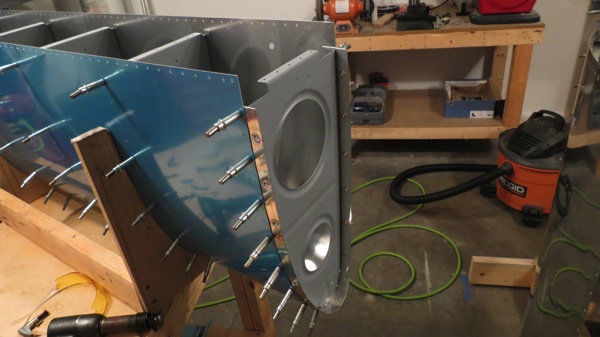
And then I put the LE and tank onto the spar. Fits great, and the tank and LE line up really nicely:
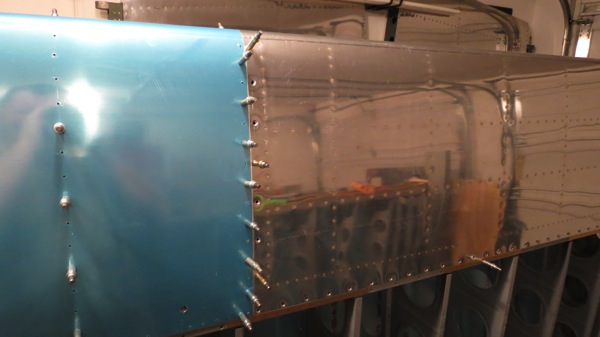
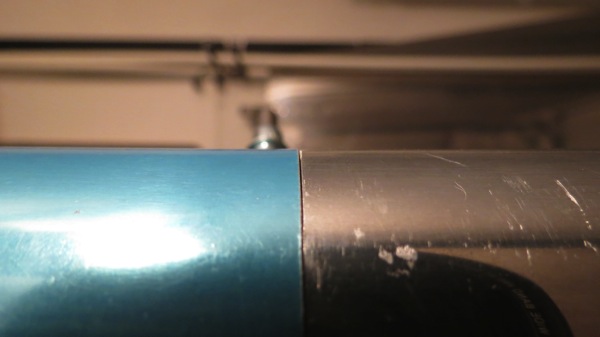
Whew! It’s a relief to have mitigated that problem.
I wasn’t quite ready to call it a night at that point, so I decide to set about making a doubler and access plate for the left LE skin. There’s an access hole precut in the skin to allow for access to the factory stall warning system. But I’m not going to install that, since I intend to install a real AoA system instead. As such, I’m going to permanently seal up this access hole; I could do that using the parts provided with the stall warning kit, but I intend to sell that kit as a unit, and the buyer would probably appreciate having the doubler and access plate included. Besides, the prepunched holes in the access plate are for screws; by making my own plate, I can drill for flush rivets instead.
First up was the doubler. I just traced the outline of the provided doubler, rough cut with snips, and then refined the edge in the band saw. The edges were cleaned up with the scotchbrite wheel, and then I used the LE skin as a template to drill the rivet holes. I decided not to cut out the center; it would just be extra work for not much reason (other than saving a tiny amount of weight):
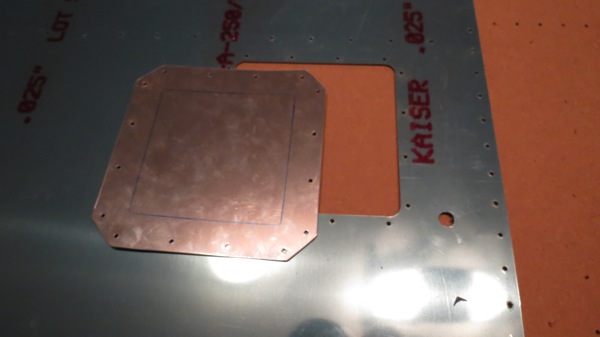
Next was the cover itself. This took substantially more time as I fine-tuned it to fit the hole. I started by using the LE hole to trace the outline, then cut to almost-there size with the band saw. The straight edges were refined right down to the marker lines with a vixen file, and then I used a cutting bit in the Dremel to round the corners. From there, it was a long and repetitive process of carefully filing down the edges and refining the corners with emery cloth until I finally had a nice snug fit:
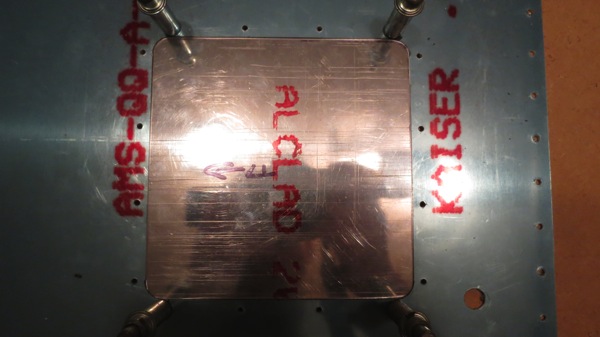
And that really is enough for one day. Tomorrow I suppose I’ll lay out and drill the rivet holes between the access cover and the doubler. Hopefully I can also get to deburring and dimpling both LE skins. It’d be nice if I could clean and prime the new joint plate and that access cover doubler, but tomorrow is going to be rainy. Maybe Thursday will be nice, we’ll see…