I started out tonight by getting to work on some cleanup. The main purpose was to get my big work table cleaned off so I’d have space to work on the turtledeck skin; along the way I got some stuff out of the fuselage as well and just generally rounded up tools and loose wire that had been lying around since I was neck deep in building harnesses.
Once I got the table cleaned off, I was about to pull down the turtledeck skin…but sort of on a whim, I decided to take a stab at fixing the GPS rack. Fabricating a new pair of angles would be a little tedious, but probably not too bad. First I wanted to confirm my suspicion that the rack was mounted too far back – to do this, I removed the rack from the panel mounts, installed the backshell, and put the GPS unit in, snugged as far as it would go. No big surprise, when I flipped the power on, it powered right up.
So I got to removing the panel and moving it over to the work table, where I then removed both HDX screens and the knob/intercom units. I knew I was going to be making some metal chips and didn’t want to get more into those guys. Drilling out the rivets in the mount angles was no big deal, but once I removed them, I discovered something interesting. I don’t remember doing it offhand, but apparently the first time I dabbed these angles I decided the GPS was sitting too far forward, so when I riveted everything together, I added a thin spacer between each angle and the panel.
It’s not easy to see, but the spacer is visible here, edge-on to the camera, with the rivet stumps still sticking up:

This was potentially a useful discovery – what if simply removing the spacers was enough to get the backshell to engage with the unit? So I went to work finishing the extraction of the old rivets, then clecoed the angles back into the panel and attached the rack. Back over to the fuselage, panel back in the plane, backshell reinstalled, and GPS snugged in, it was time to flip the switch, and…it came on. Before declaring immediate victory, I gave the backshell and rack in general a good wiggle, just in case the engagement wasn’t good enough to be secure in, say, bumpy air. I wasn’t able to get the unit to power off this way – very nice.
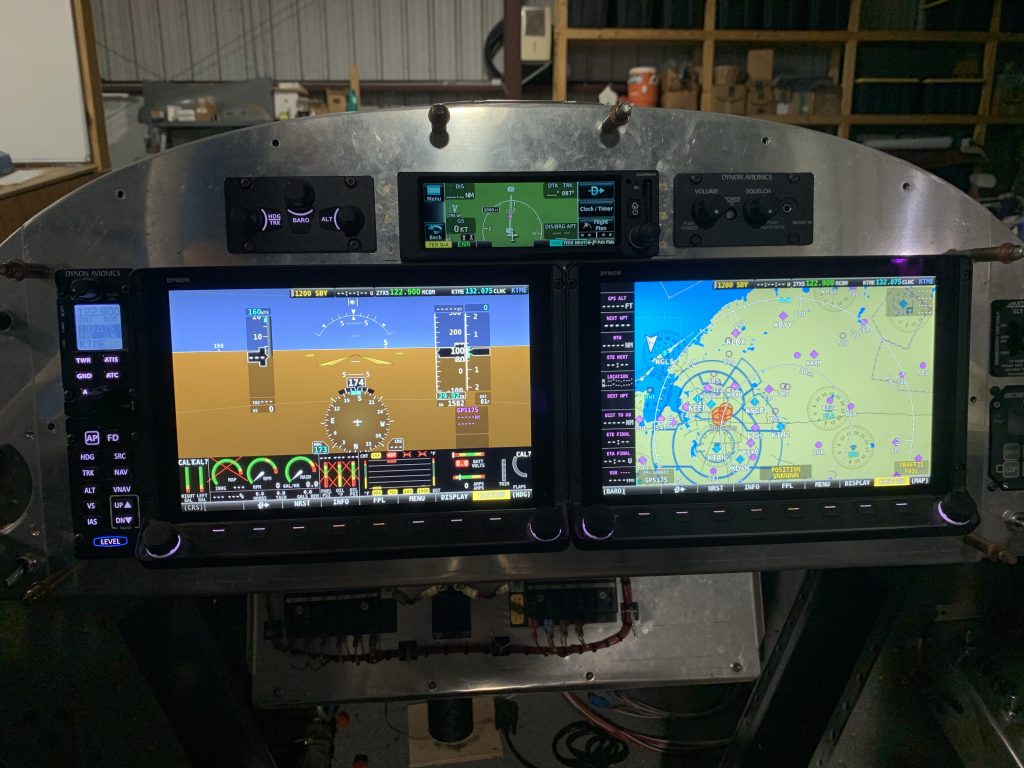
So that settled it – no need for fabricating new parts after all. I pulled the panel back out, got the angles riveted back in place, reinstalled all the avionics, and put the panel back into the plane. At long last, it was time for the full-up beauty shot I couldn’t quite get to previously:
So here we are – I’m running out of excuses not to get that turtledeck skin riveted on. Guess I’ll be sweating in that little cave in the not-too-distant future…