Today was a day of lots of trial and error. As mentioned previously, the right rear baffle piece didn’t fit the engine as well as its left rear companion. Last night I put in a little bit of time to get ahead of this – I traced the baffle piece on cardboard and cut that out, to use as a starting point for the trimming. It only took a few iterations of trimming the cardboard to get a shape that seemed like a pretty good fit.
Today I traced that new shape on the baffle and did some trimming, before going for the first trial fit on the engine. Much closer to fitting, but not quite – I guess the flexibility of the cardboard hid some remaining fitment issues. The basic frame of reference I was using here was a screw attach hole for this piece, which is located near the top right engine mount. My goal was to get this piece to where I could install that screw and pull the baffle snug against the engine.
This ended up requiring something like five or six iterations…just lots of fitting, marking interference points, removing, trimming, deburring (this piece rubs on everything while weaseling it into place), then doing it all over again. But finally I had it in a state where I could actually mount it and mate it to the adjacent piece that attaches to the cylinder head.
The next step was to evaluate how both of these pieces fit against the center brace. This is a little triangular piece that attaches to the top of the engine, and then to the baffling, to hold it in place. Getting this piece in required removing two case bolts, along with a mount for one of the injector lines. Notably, I won’t be actually using this brace, since I’ll be putting a coil pack in this same spot, but the brace is still useful for getting the baffle location right. And once I get that right, I can use that original brace to fab up an equivalent piece, which will end up being part of the coil pack mount.
Anyway, adding that brace to the mix set off another few rounds of trimming. In this case, the left rear piece did end up needing some work after all – it couldn’t quite scoot far enough aft to accommodate the brace. Fortunately, that only required maybe two iterations. The right rear piece took quite a bit more before I was finally satisfied with its positioning.
I figured the smart direction to go from here was to look at the coil pack mount. I still have some concerns about interference with the pack and the upper cowl, so the first step was just holding the pack roughly in place to see how it looked. The good news was that the rear edge sits well below the baffling, which implies that that area should be fine. However, it’s not clear exactly how the cowl will slope down from the baffle area to the front of the engine. I did a rough check by laying a yardstick from the baffle to the flywheel, which seemed encouraging but not particularly satisfying.
So I decided this was as good a time as any to drag the cowling halves out of their crate and see what things looked like. Hey, it’d have the side benefit of briefly making this thing look even more airplane-y, right?
Unfortunately, this ended up sort of derailing the day, as it turned out. After extracting the cowl halves, I tried draping the upper cowl over everything. I knew it probably wasn’t going to fit perfectly, but I just wanted some sort of rough idea. Thing was, it just wouldn’t drape properly. It would either rest on the flywheel and the baffles, or the baffles and the firewall flange. The baffles themselves seemed way too high. A closer look revealed that it was mostly the outboard corners of those baffles.
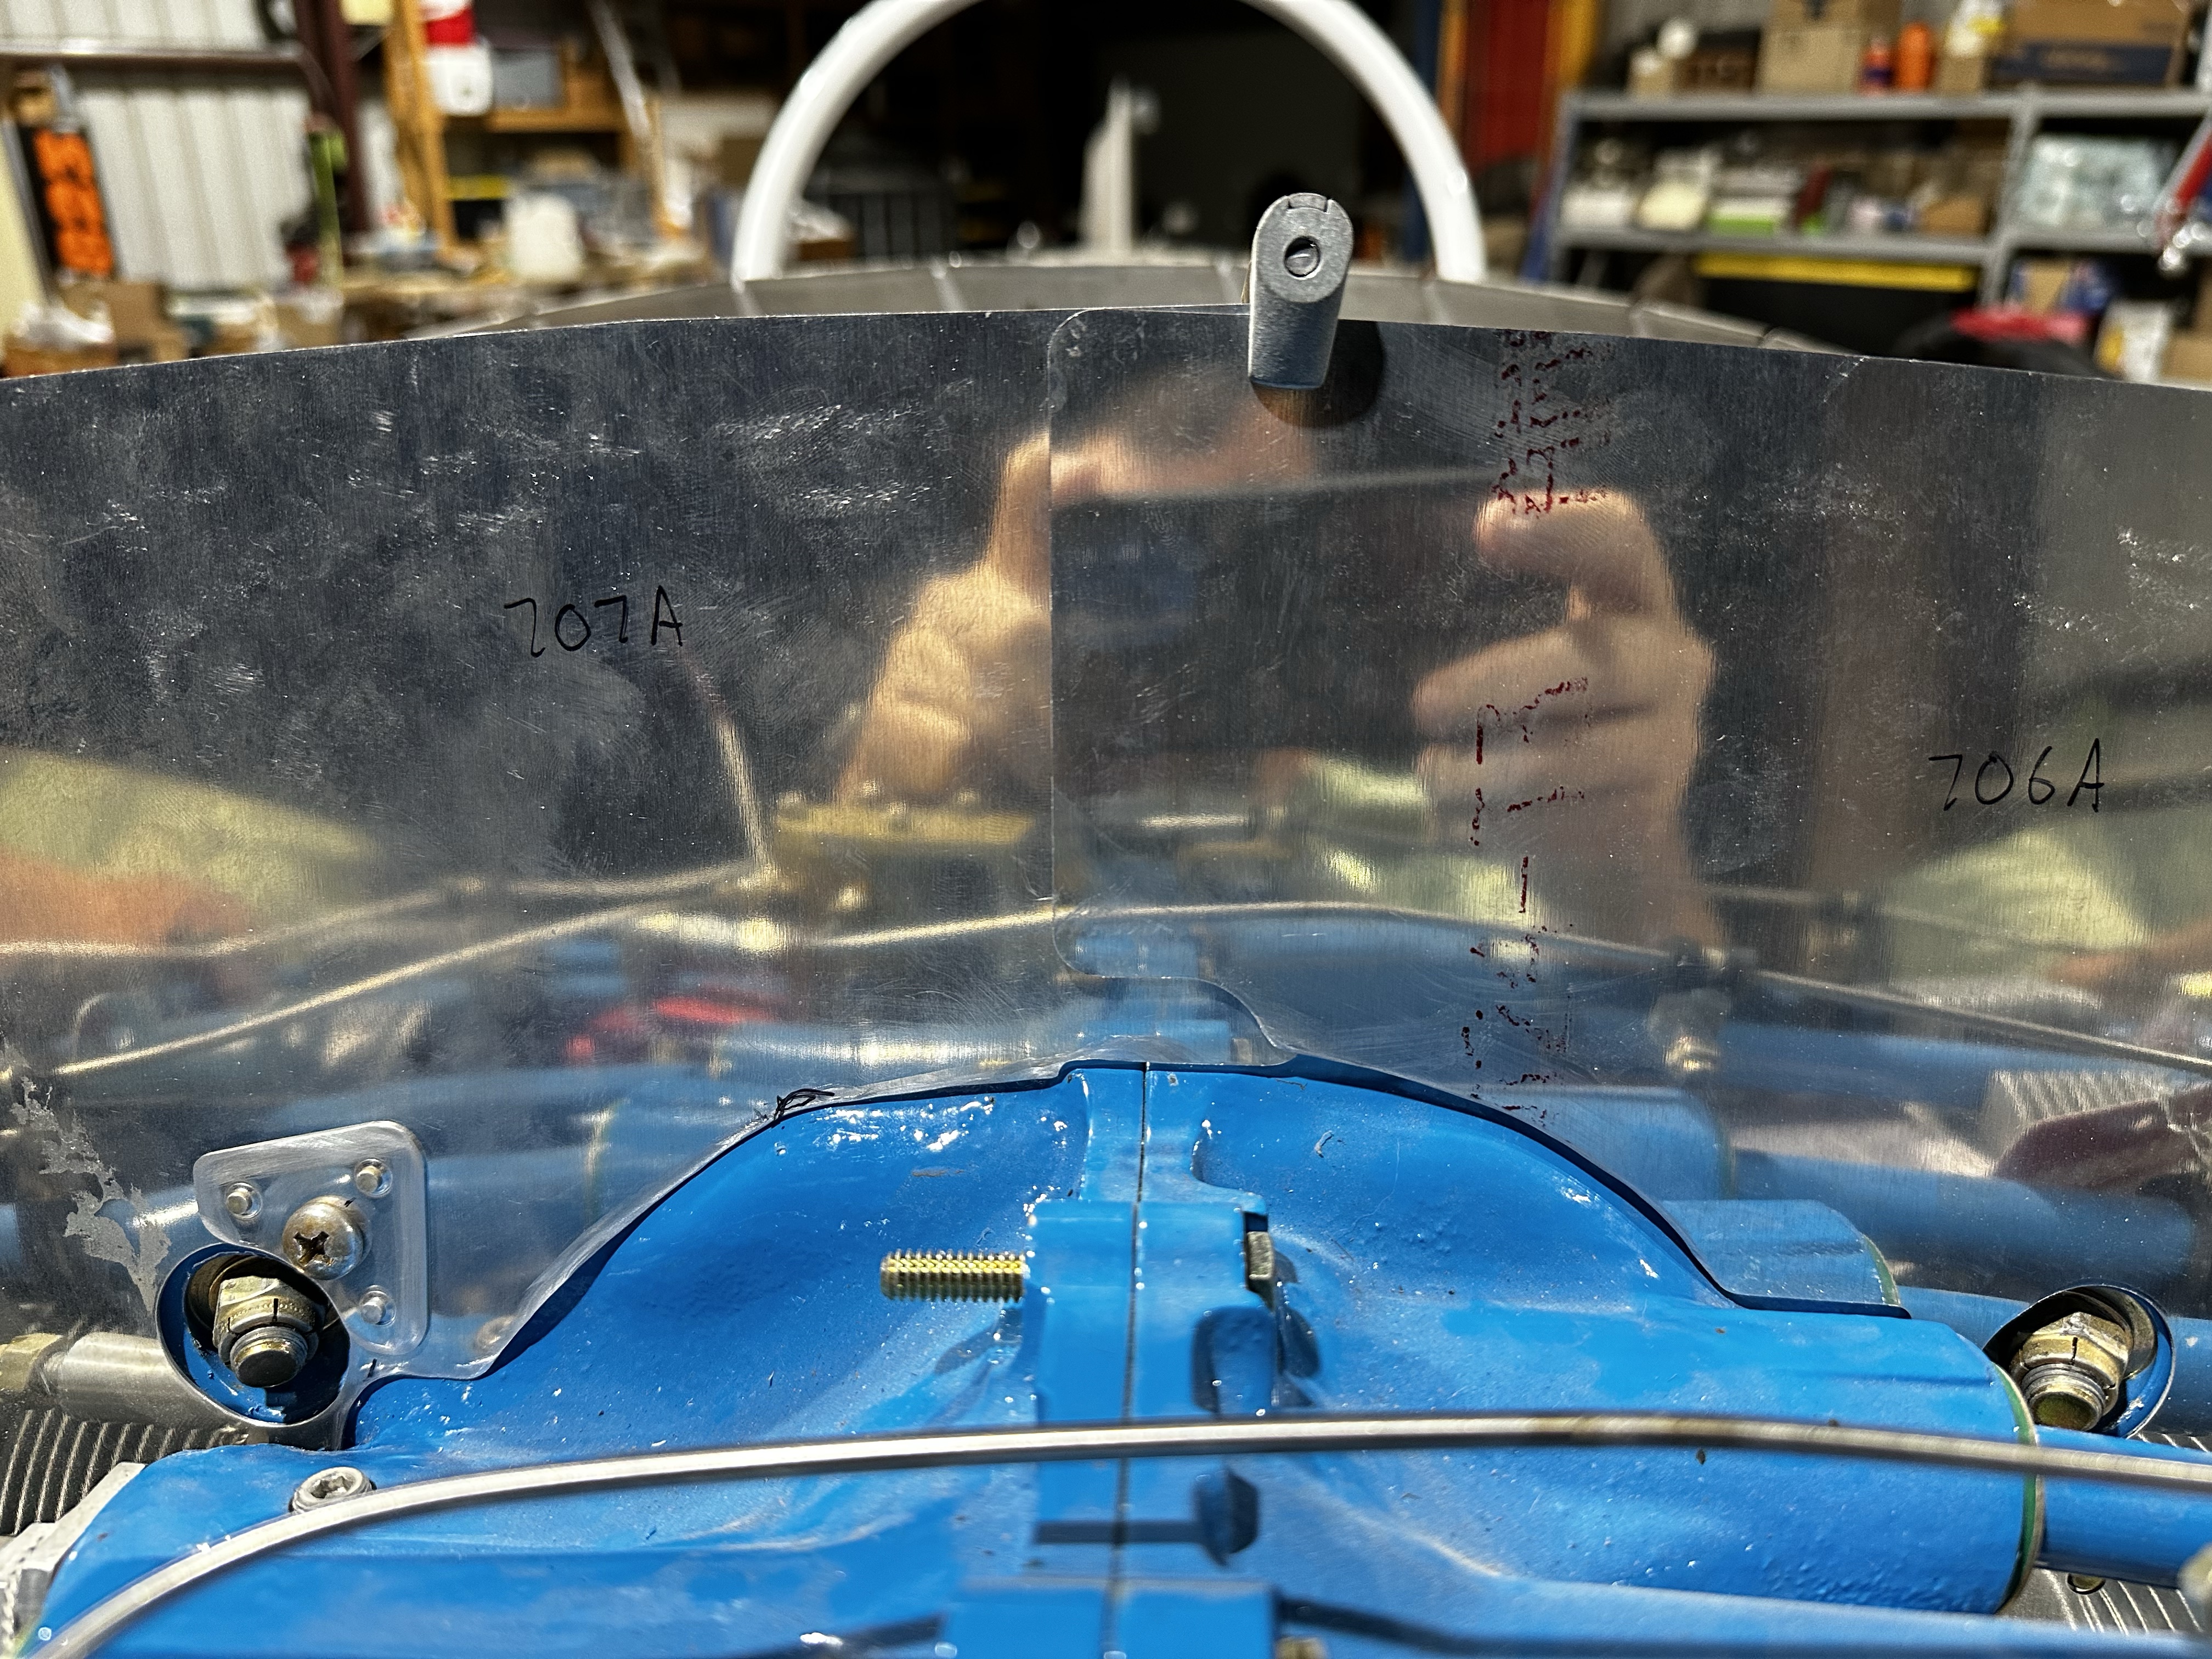
At this point I took a step back and observed, for the first time, just how different the top contour of the baffles were compared to the firewall:
I also had a moment of clarity regarding the part numbers for these pieces. Everything had been either CB-7xx or CB-10xx. It’s worth noting that for kit part numbers, the first number generally designates the model – so -8 parts might be W-8xx or F-8xx or whatever. The logical conclusion was that these were parts originally specified for an RV-7 or RV-10. Uh, did I get the wrong parts?
Digging up the FWF packing list showed that yes, I really did receive a kit for an RV-8. So I went looking for RV-8 build logs, and found one with lots of good baffle pictures, which…looked just like mine. And the builder made note of how they’d need substantial trimming to fit an -8. Well hey, there’s something I didn’t realize before…
Further digging showed that while Van’s does have an -8-specific baffle kit for an angle-valve IO-360, there’s no such thing for a parallel-valve like mine. Well, there’s something fun to look forward to.
The other thing I learned from this research is that I’m jumping the gun on some work again. I was thinking that the baffles needed to be in place before the cowl was fitted, but it seems that it’s the other way around. Which probably means that I’ll be switching gears to that task pretty soon. In the meantime I’m going to continue working on the baffles, since I already have all the parts pulled out and spread on the work table – I guess I’ll get as much done as I can right now, then put it all aside to work on the cowl instead.
Boy howdy, there’s sure a lot of jumping around and false starting on this FWF stuff.