Today I decided to start by working on the other half of the flywheel-area stuff for the SDS ignition. Previously I installed the hall sensor, now I just needed the actual magnets in the flywheel to trigger that sensor. The procedure itself is fairly straightforward, and Ross provides both clear instructions and a nice drill block for the job, but there’s still a bit of nervousness that comes with poking holes in a shiny and no doubt expensive engine part.
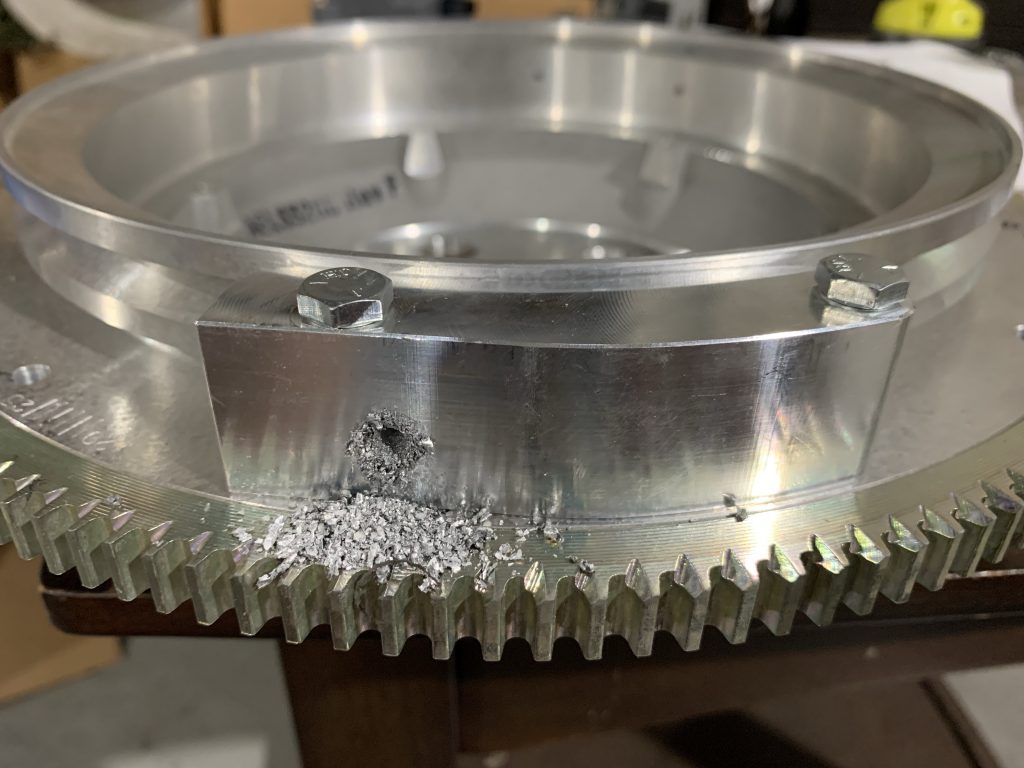
In short, the procedure calls for installing two trigger magnets 180° apart, plus a sync magnet near the first trigger magnet. Existing holes in the flywheel are used, along with the timing marks, to position the drill block in the three required positions. At each spot, the block is secured with a pair of bolts, and then it’s drilling time. We’re going through a good 3/4” or so of material, so it takes a bit of time for each hole, and you end up with plenty of chips:
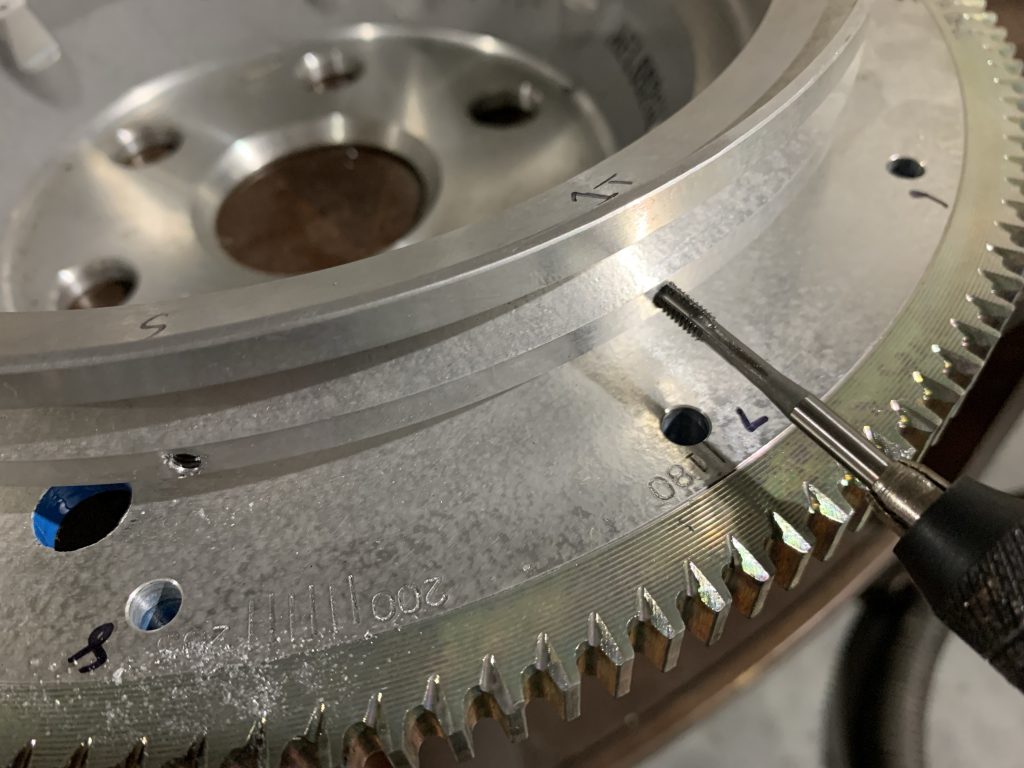
Next, after drilling all the holes, each one gets tapped for an allen-head set screw, which will be used to put the magnet in the proper radial position. Note the markings inside the flywheel; this is the #1 trigger hole I’m tapping, with the sync hole just to the left:
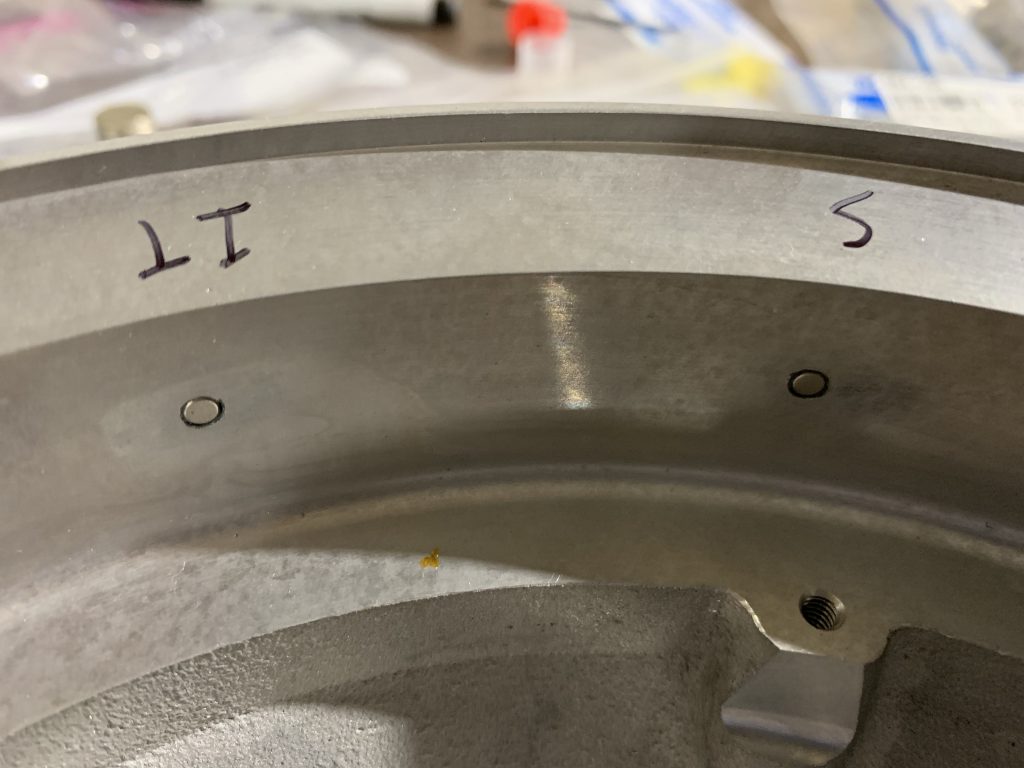
Next, we install the set screws, and test fit a magnet in each hole, adjusting the screw until the magnet sits flush with the inside flywheel surface. Finally, we remove the magnets, mix up some epoxy, then dab it in each hole before reinstalling the magnets:
There is one last step, which doesn’t merit a photo: after letting the epoxy cure, a second set screw is installed in each hole, with a bit of Loctite, thus providing some extra security that nothing will come loose.
After having some dinner, I decided to start looking at the engine baffling. I actually unpacked all this stuff a couple nights ago with the intent of doing this, but got slightly intimidated at the sheer number of parts and had one of those moments where I had to set it aside and come back with a clearer head. As per usual, the second look at the parts and plans made things seem a lot clearer. It was still obvious that I wasn’t going to start really assembling any of this stuff yet, but I did want to get a big-picture idea of how it would all fit around the engine, to identify any issues I might have with all the other systems stuff I’m doing. Sure enough, a few things presented themselves immediately.
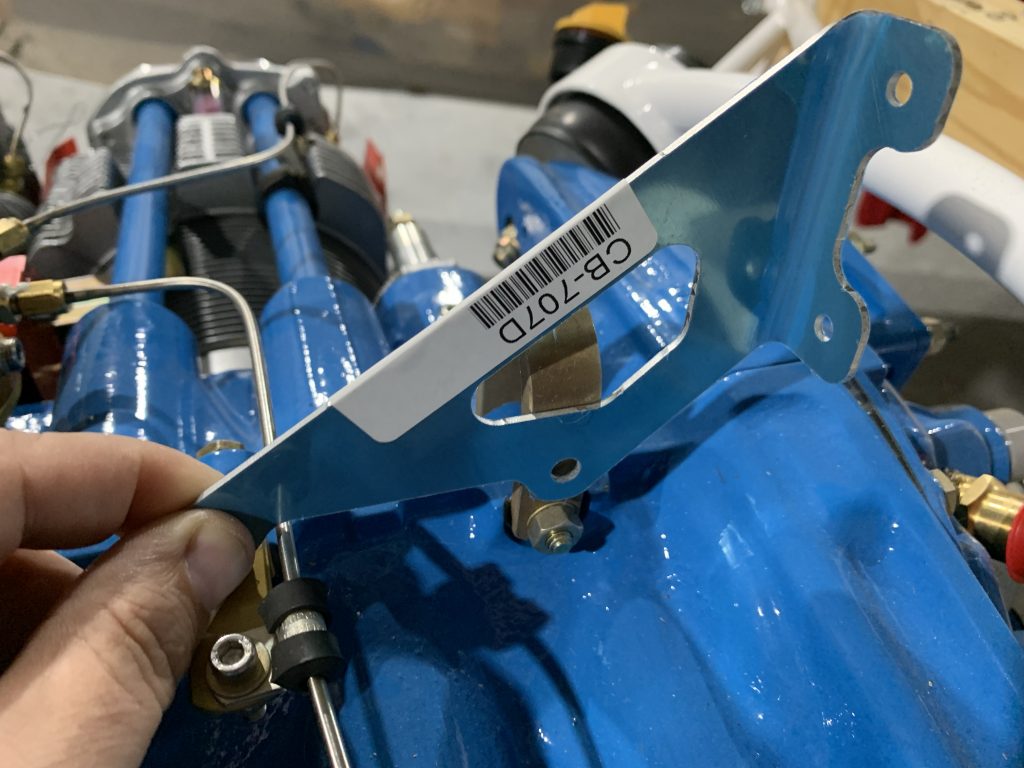
The first item is at the rear of the case. Here, the vertical back portion of the baffling is braced against the case with a little gusset piece, which uses the two rear upper case bolts to attach to the engine. This it notable because these are the same two bolts I was going to use for the coil pack mount. This probably isn’t a super difficult job to solve, but I definitely won’t be using this piece – I’ll need to fab up something that will end up being part of the coil pack mount.
The next item is one that I knew was coming, but is still worth noting. Most Lycoming cylinders have fins at the base with a, well, cylindrical profile. Titan/ECI cylinders, on the other hand, have a tapered/conical profile. The result is that the provided baffle pieces in this area won’t fit the Titan cylinders very well.
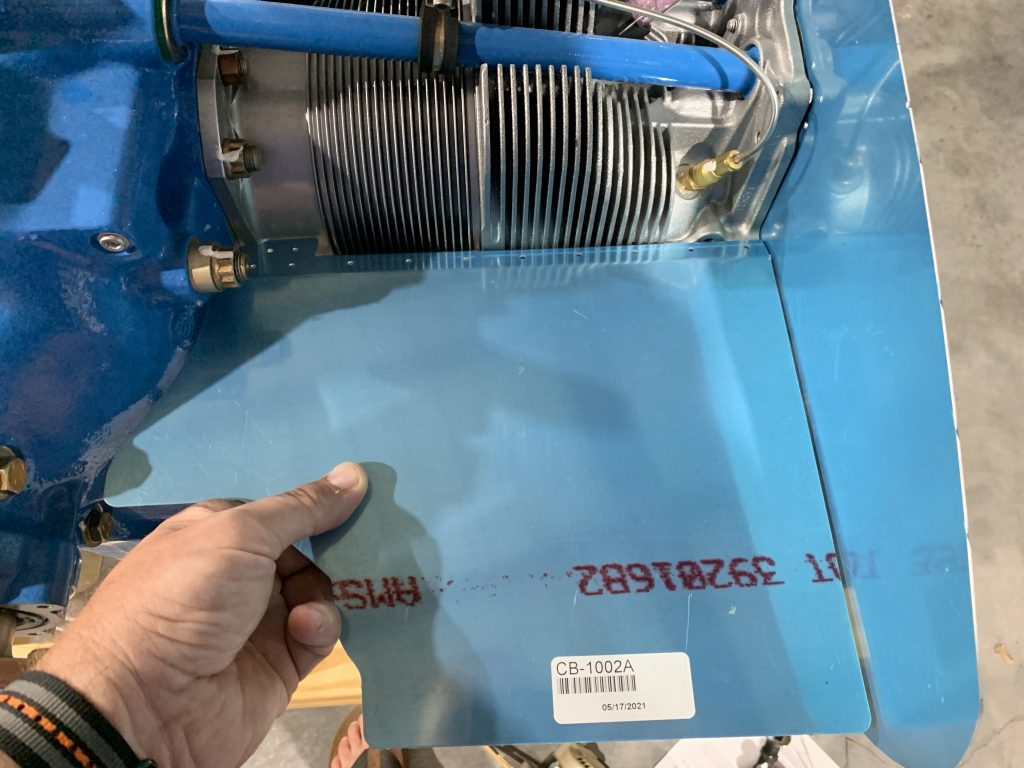
Here’s one example; we’re looking at the #2 (left front) cylinder. The piece I’m holding will form a ramp between the cylinder and the air inlet on that side of the cowl. Keep in mind that the purpose of all this baffling is to force the flow of cooling air as close to the cylinders as possible:
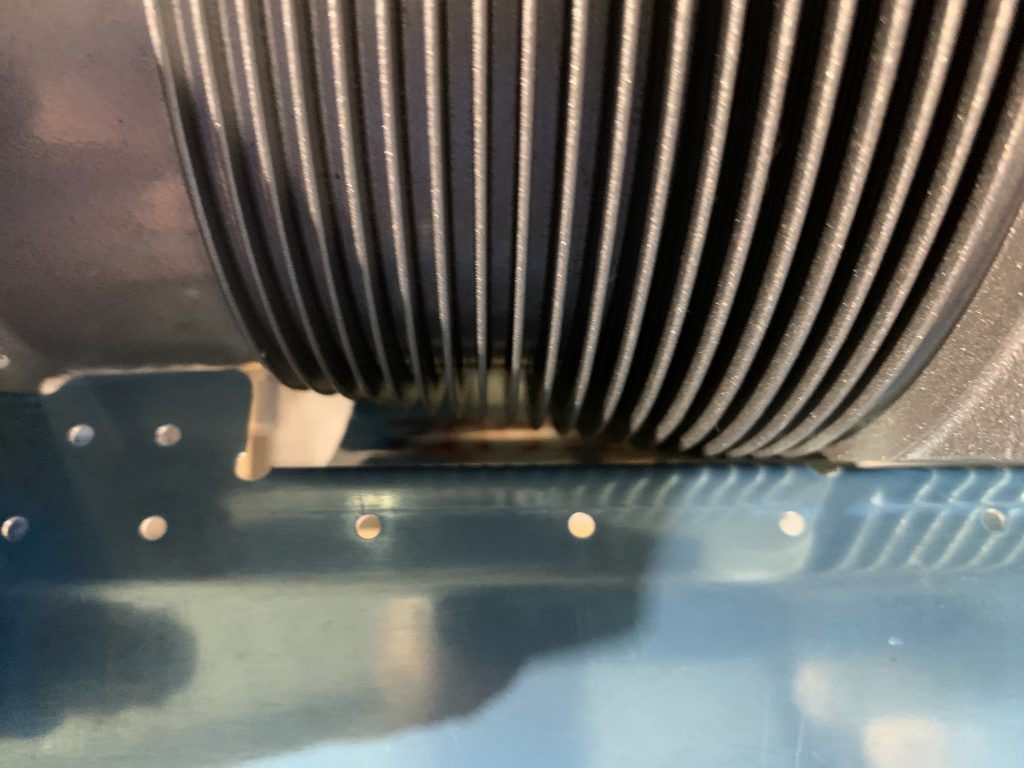
The issue is more obvious in a close-up photo: the gap between the baffle and the tapered cylinder is evident here. This is an area where air isn’t going to be kept close to the cylinder. Also somewhat visible is a curved piece of material that wraps around the cylinder; this also isn’t going to fit close to the fins.
A similar issue will exist at three other places: on the other inlet ramp to #1 cylinder, plus similar pieces that butt up to the #3 and #4 cylinders at the back of the engine. Fortunately, this is a solved problem; previous builders have fabricated new pieces to better fit the conical profile, and even have templates available online to cut these pieces. The existing wraparound bits will be cut off and the new pieces riveted in their place.
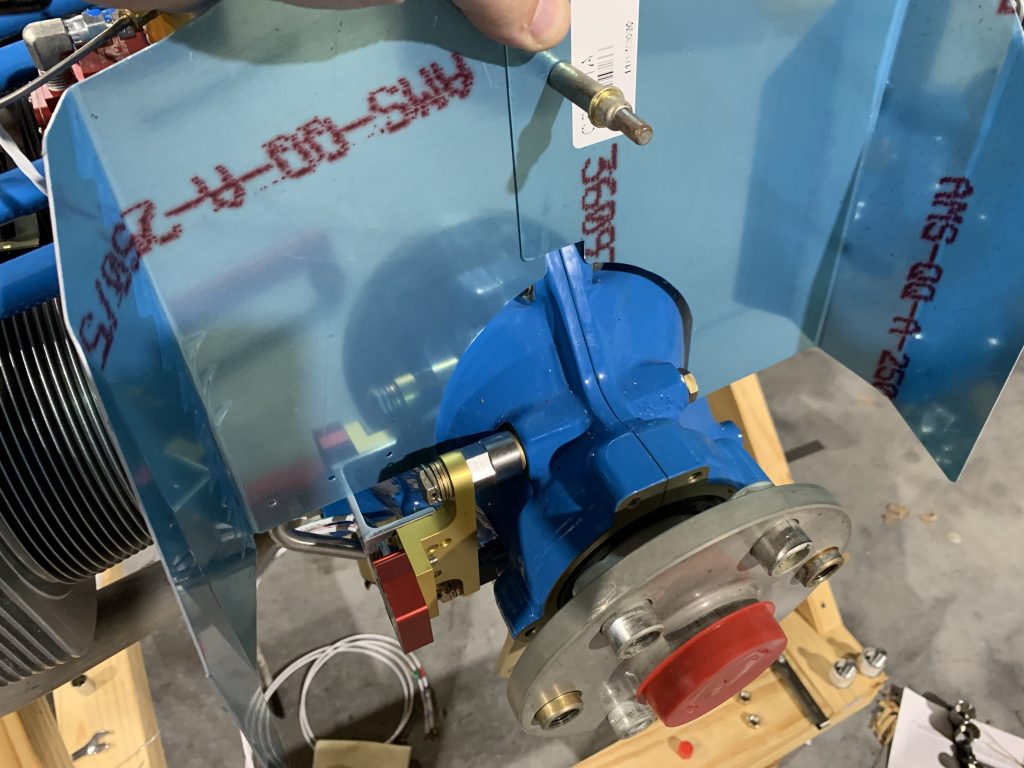
Finally, we come to the front of the engine. Here we have another vertical piece, which fits tightly around the case just behind the crank snout. Another wide shot gives an idea of the big picture:
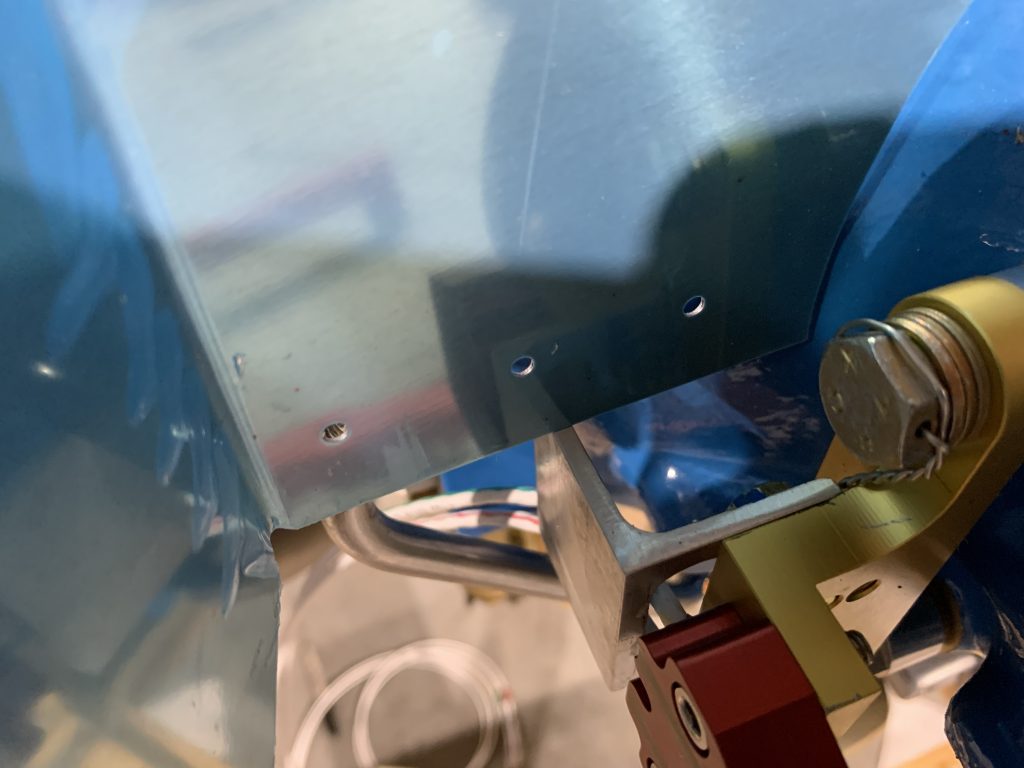
Moving closer, we can see the issue here – that nice big cable guard I made for the hall sensor protrudes too far back. I can’t even slide this piece down to where it’s supposed to be with that guard in place. So I’ll have to remove that when the time comes to fit the baffling, and get it trimmed to fit better:
All this baffling stuff also raises some order-of-operation concerns. I’ve been holding off on riveting the forward upper skin in place until I can finalize the wiring runs. Finalizing those runs requires getting the engine hung and at least some of the wiring fed through, most notably the ignition stuff. Finalizing those runs in the engine compartment, in turn, will probably require doing some baffle fitting to handle spots where the runs will need to penetrate the baffling. It’s possible that properly fitting the baffling will require having the cowl in place. And I don’t think I can fit the cowl until…the forward top skin is riveted. Maybe. I’m not at all sure there’s actually a problem here, but it’s going to be a thing to keep in the back of my head while mucking with FWF stuff.
Ok, enough of that…let’s get on to a few more minor items. Last time I was concerned about the mechanical fuel pump’s inlet fitting, which I couldn’t remove without removing the pump itself. The main concern I had about plumbing with the provided 45° fitting in place was that the fitting is pointing to the right side of the aircraft, whereas the firewall penetration for fuel supply is located to the left of the pump. That is, a slight difference in fitting orientation could require a somewhat longer fuel line.
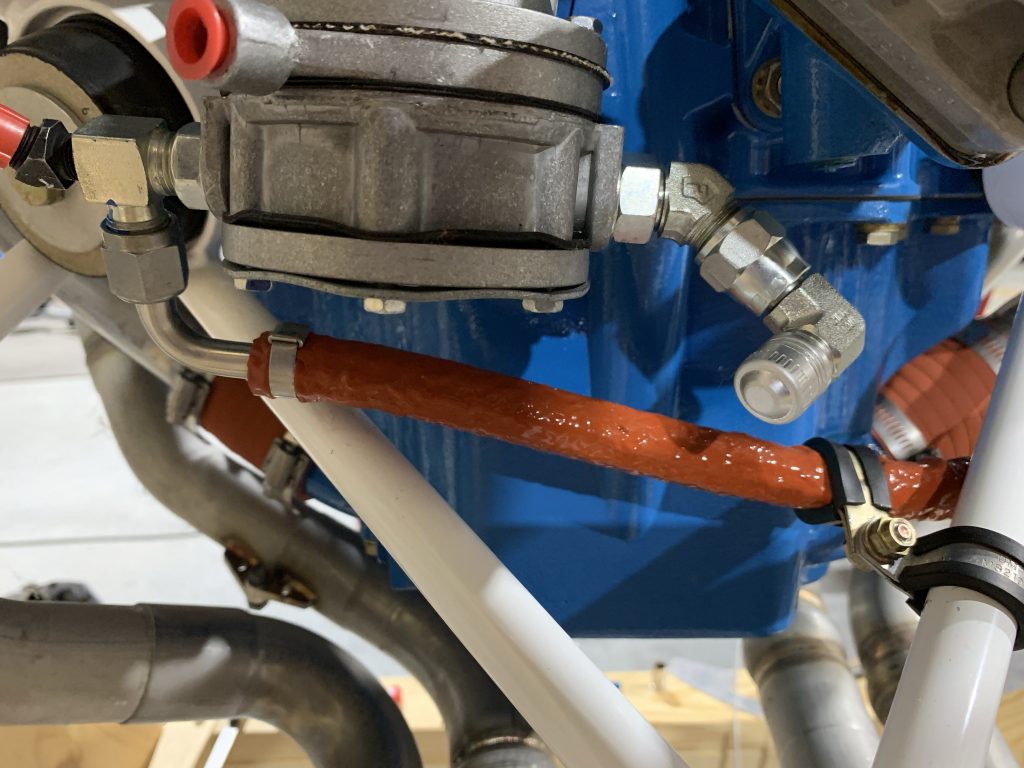
However, a potential solution occurred to me: I had an extra 90° AN adapter, which was originally installed on the injection servo. Since the custom hose I got has 90° fittings on each end, that adapter was now unused…and adding it to the inlet fitting means I now have a potentially straighter shot to the firewall penetration. This would also give a lot more freedom for orienting this fitting to work nicely with the line. It’s still something to test fit next time I hang the engine, but I feel really confident I can make this work without having to remove and then reinstall the pump:
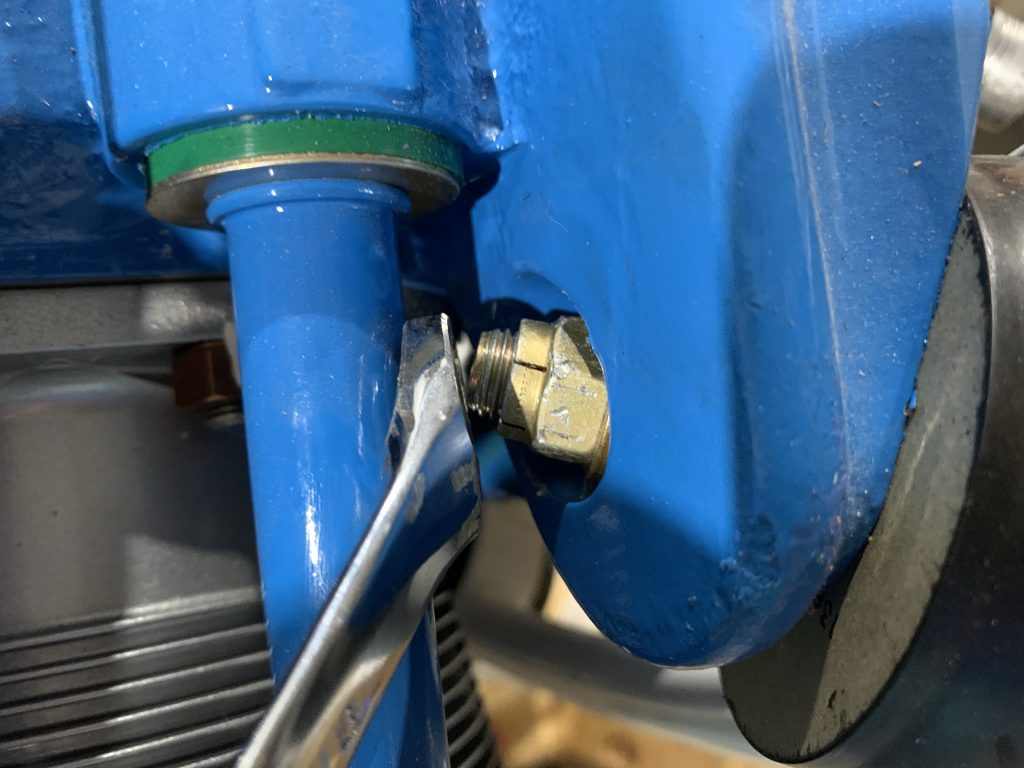
The last item was fixing a long-incomplete task. Back when I first got the engine installed on the mount, I was only able to fully tighten three of the four mount bolts. For the fourth, the nut on the forward side of the mount was super close to the #4 pushrod tube. I could get a wrench on it to start tightening the bolt, but as more and more of the bolt protruded, it would end up trapping my box end wrench. And there’s no room to use the open end in the engine case recess.
This was actually why I originally bought that cheap wrench set – the same one I grabbed the 7/16” wrench for to make my torch-bent tool earlier this week. Tonight I finally got around to grinding the 5/8” box end down to a really slim head, which can fit in the tight space and allow the bolt to be properly torqued:
Whew! That was a lot of writing for a relatively small amount of shop time. I think it may be about time to hang this engine again and start working on some of the fitting/locating work that requires it in place. Maybe that’s what I’ll get to tomorrow.