All right – so over this past week, I’ve been kind of getting my focus refined. As I mentioned last time, the whole reason I got started with this systems planning exercise was so I could get a rough estimate of a wire order, and in turn be ready to get the wing wiring runs pulled. That goal has been achieved, and this past week I placed several orders for a bunch of electrical stuff – some crimp terminals for general use, what I hope are all the D-sub connectors and pins I’ll need, some Molex connector supplies (which I intend to use for the wingtip light connections), and last but not least – about three-tenths of a mile of wire. Seriously.
With that done, it’s time to refocus on the original sort of strategic task – getting the wings closed up. One task that kind of holds that up is completion of a service bulletin on the inboard aileron hinges. The service bulletin relates to spar cracks emanating from the rivets that attach the hinge brackets. The fix is to add a rather beefy doubler on the inside of the spar. Getting this done on a flying aircraft has to be a whole lot of fun, though it’s not required unless cracks are found. Since my wings aren’t closed up, and I have good access, I’m doing it as a preventative measure.
To start with, the brackets have to be removed, which means drilling out eight rivets per bracket. Nothing too exciting here, other than being really careful not to damage the spar. Fortunately, with the factory heads on the outside, if anything’s likely to be damaged, it’s the brackets themselves. That’s no fun, but it’s way better than mangling a spar and maybe having to build a new wing.
About halfway through taking the rivet heads off. Sorry, photo turned out a bit blurry:

After removing the heads and punching out a few rivets, and having the bracket come loose:

And here we are, a bracket-free spar:

Next up is fitting the doublers. Each spar has two doubler pieces, both made of heavy alclad angle material. One doubler covers the rivet holes on both sides of the bracket, the other doubles again (triples?) the outboard rivet holes. The result is a sort of U-shaped assembly on the spar, like so:

There is, however, a small catch here. Those doublers are nearly the height of the spar, and as such their ends sit pretty close to the spar. Multiple people on VAF have expressed concerns with being able to set the adjacent skin-to-spar rivets. Not only is there no room to get a bucking bar in here, some folks report there’s not even room to put a blind rivet in these holes.
Fortunately, Van’s has approved removing the corners of these doublers,. This doesn’t compromise the strength, and opens up a good bit more working room. It’s simple to mark and make the cuts necessary.
The doublers as delivered:

And after removing the corners for clearance:

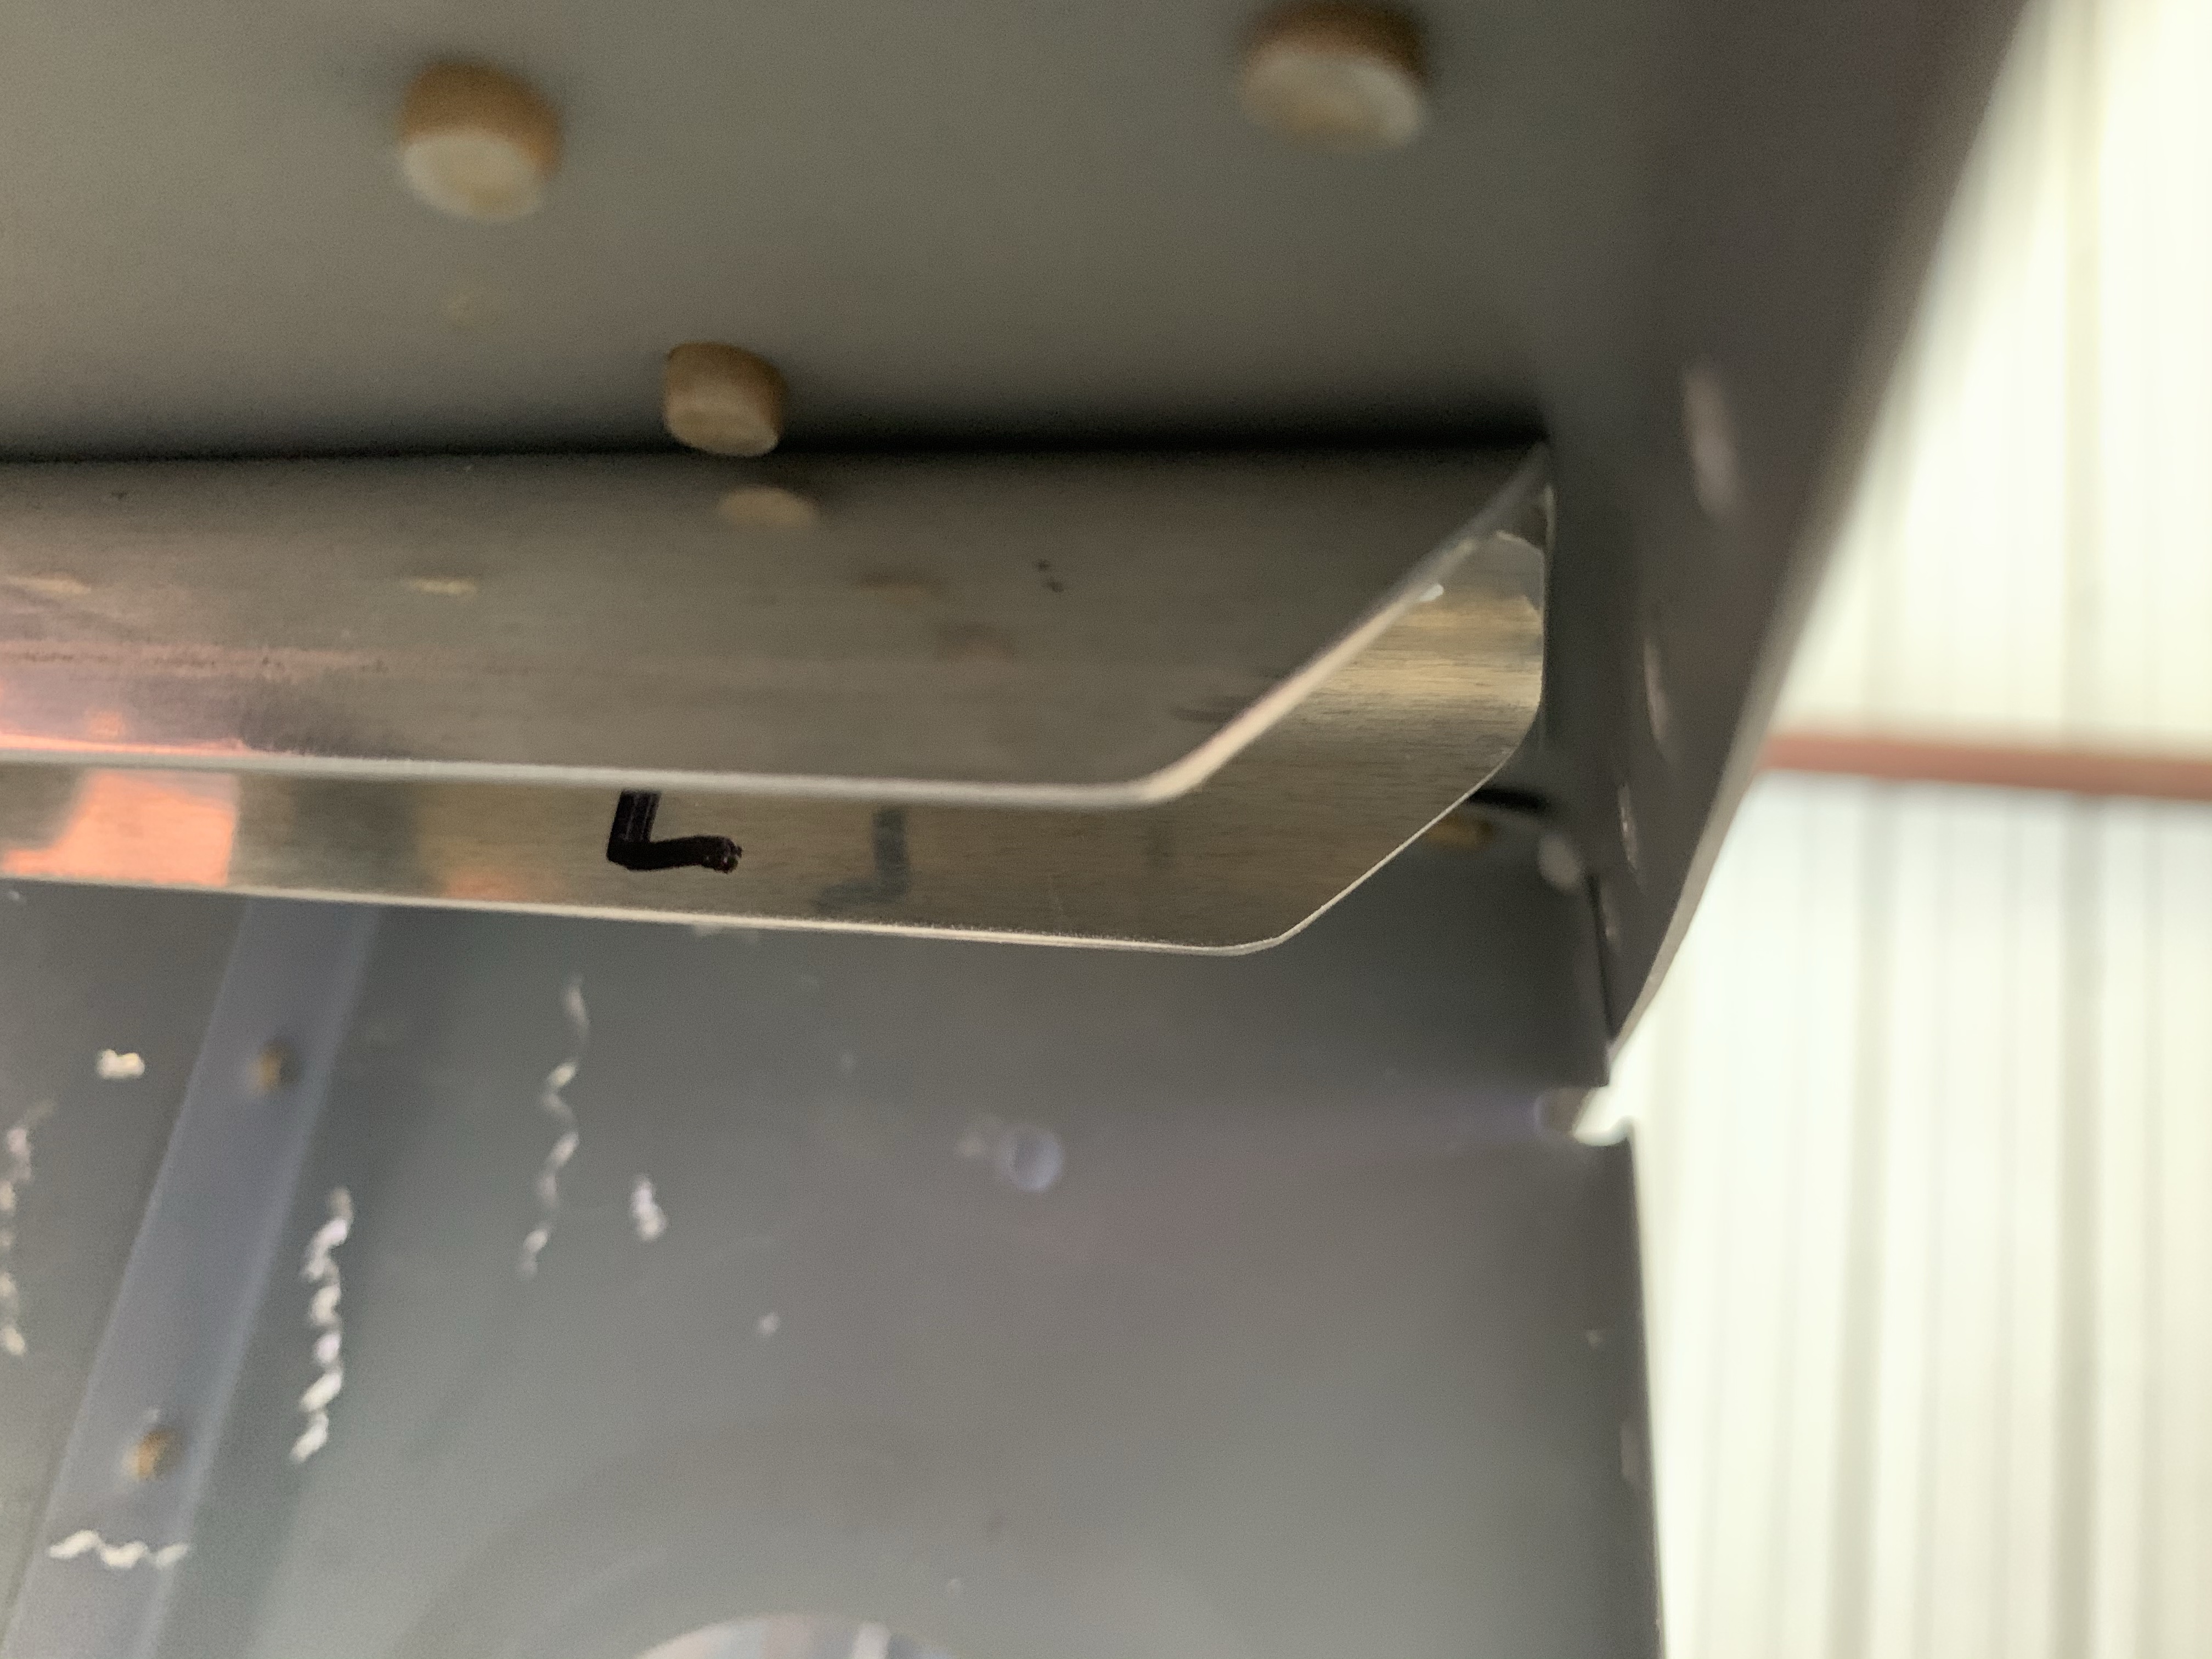
After getting those all smoothed and deburred, it was time for some riveting, and before long, I had installed aileron brackets once again:

This was a really straightforward procedure, honestly moreso than I expected. I’d been dreading doing it a bit, I guess just from the general idea of drilling around my lots-of-time-invested wings, and maybe due to a little PTSD with how the horizontal stab SB went. Nice to get it all knocked out in a single day.
So now what’s next? Well, in the process of all that systems planning, I was thinking about how the wing wiring will enter the fuselage. There’s no holes in the fuselage in that area, other than the ones for the aileron push tubes, and obviously I’m not going to be running wiring through there. What I’d like to do is just have the wing conduit runs extend into the fuselage, with the wires then routed to their connection points under the seat. This, of course, will require adding holes in the fuselage sides, but the real fun has been trying to figure out how to locate them so they match the conduit locations. I can’t just easily hang the wings on there and mark it with a sharpie.
So what I’ve been thinking about doing is making a drill jig, which can locate off the rear of the main spar. I can fab this up using the wing as a guide, then put it on the fuselage using the carry-through as my reference point, and make my holes. it won’t need to be ridiculously precise, as I can make the holes slightly oversize compared to the conduit OD. It’ll still be a little nerve-wracking making that hole, though, especially since it’ll be months before I get to find out if I did it right…
I suppose something else I could be working on is fitting my landing lights to the mounts in the wings. Maybe I can get the nav/strobe lights mounted in the wingtips, too. Neither of these are really blocking closing out the wings, but they’ve gotta be done at some point, and I guess it might as well be now.
Of course, as I type this, it occurs to me that I’ll probably want to pull wiring for the roll servo in the right wing before I close it…which will probably work best if I have the servo on hand…I’ll at least want the bracket in there before I close anything…oh right, I need to pull the pitot lines in the right wing before I close it too.
OK yeah, there’s plenty to do.