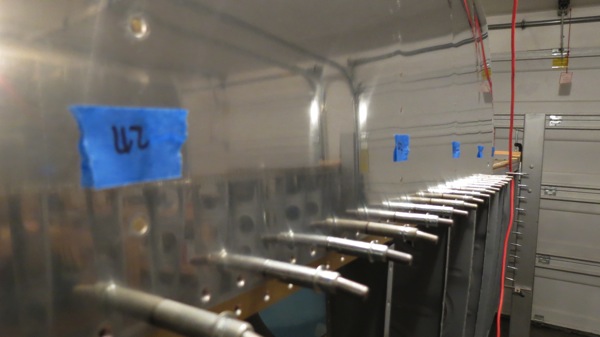
Went to work tonight setting all the blind Cherry rivets to hold the LE ribs to the main spar. Before starting, I labeled each rib with the rivet that would be needed. There are three different lengths of rivets required here, and I wanted to be sure I got it right:

Pulling the rivets was lots of fun. The end ribs were pretty easy, there’s a fair amount of room there. Here’s the first rib after I set all five rivets:

It got more fun from there. Except for one other rib on each wing, there’s very limited access to pull the rivets. I bought a special tool specifically for this task. That little bit of metal allows the rivet puller to sit at a slight angle for a little extra room. Between that and using the puller whose nose I ground down before, I was able to get the rivets pulled without a whole ton of trouble, though the process was kind of tedious.
And of course, on the last rivet, I messed up. Probably because I was thinking about how I was about to be done with this. I wasn’t careful with the positioning of the puller, and the rivet head didn’t sit flush against the spar:

And so began about 45 minutes of work to get that thing drilled out. First I tried just drilling it, but the bit hung in the rivet and just spun it madly in the hole. I went in for some research and discovered that knocking the mandrel out was a good first step. I managed to get that done without a lot of difficulty, but the rivet was still spinning when I tried to drill. I tried grabbing the backside of it with pliers, but doing so in the tight confines of the LE interior was nigh-impossible.
Finally I came up with a plan. I notched a piece of scrap alclad to act as a shim between the rivet head and the spar to help prevent damage. Then I used a little engraving cutter for the Dremel, which had a round head a touch larger than the hole in the rivet. I was able to use that to cut into the head until the head popped off, and then it was a matter of knocking the body out.
The anodizing had worn off the spar from the rivet spinning, so I swabbed a bit of primer on with a q-tip and let it dry a bit before setting the replacement rivet. And of course I was really careful to do it right the second time around. Much better:

So I guess tomorrow night I’ll work on squeezing the flush rivets between the LE skins and the spars. There are quite a few of those, but at least it’ll be easier than pulling those Cherry rivets in tight quarters.