Nice to have a Friday off where I can get in some good work. Yeah, the theme is identical to last time, I didn’t feel like trying to come up with a more clever title.
First up was moving forward with that baffle brace. I made some measurements and marks on my cardboard template for some stuff I wanted to tweak, then laid out and made the first bend. The final piece will have two bends, but I decided I didn’t need that complexity for the template. A better idea was to just keep trimming it until it touched the baffle at the desired spot – mostly I just wanted a basic template for bending the metal later.
When I was satisfied with that, I started laying things out on the actual material. As before, I started with the two bolt holes, since they’re by far the most critical dimension. Then it was just a lot of measuring and drawing and so on, followed by a lot of work with the band saw/Dremel/files/etc.
Bending was even more fun. I should have been smarter about this; instead of camping the piece to a table with lumber, I clamped it straight in the vise. This was good in terms of holding the piece securely while I beat on it with a hammer, but it left some marks from the jaws that I’ll need to clean up. And of course the bending required some trial and error, with repeated fits on the engine until I was satisfied.
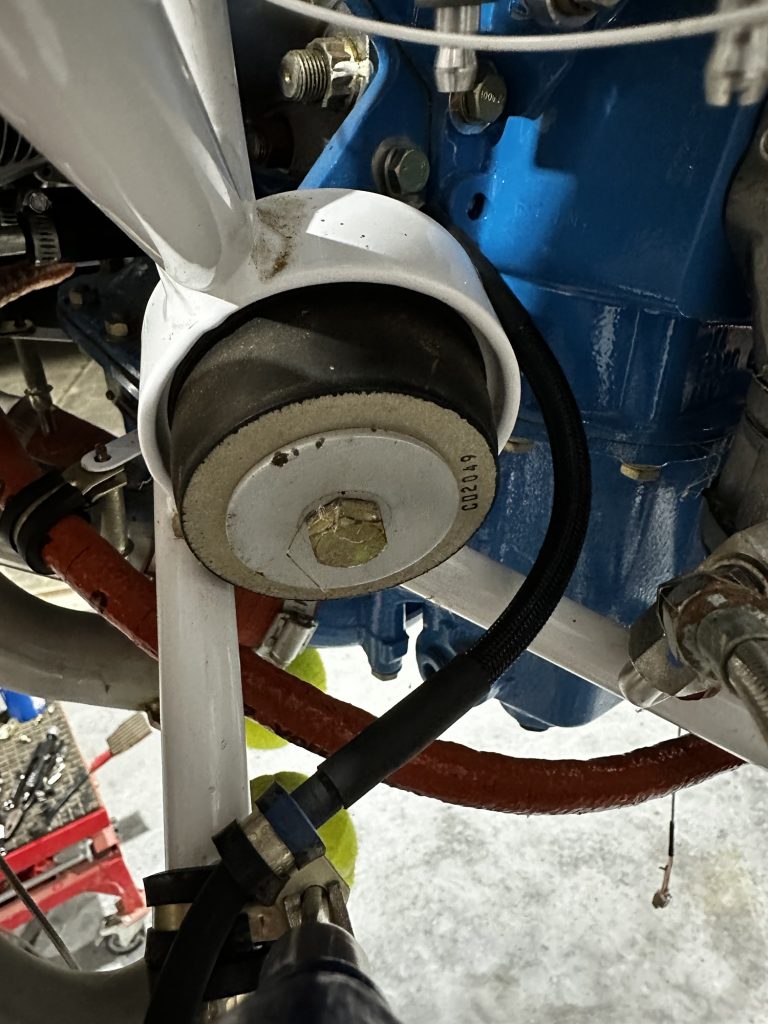
For the final act, I laid out and cut a couple lightening holes. This still will need to have the screw holes drilled in assembly with the baffle, but for now it sits in place nicely:

With that buttoned up, I turned my attention back to the firewall passthroughs. I popped into the local hardware store last week and bought some longer stainless screws, which I judged to be perfectly fine for this non-structural use. After drilling and preparing the screw holes in the firewall, attaching the passthrough just required coating the backside with fire stop sealant before actually putting the screws in. Getting the nuts on these screws wasn’t much fun, but I got it done. I did both the right- and left-side passthroughs, even though for the moment I’ll mostly be working with the right-side one.
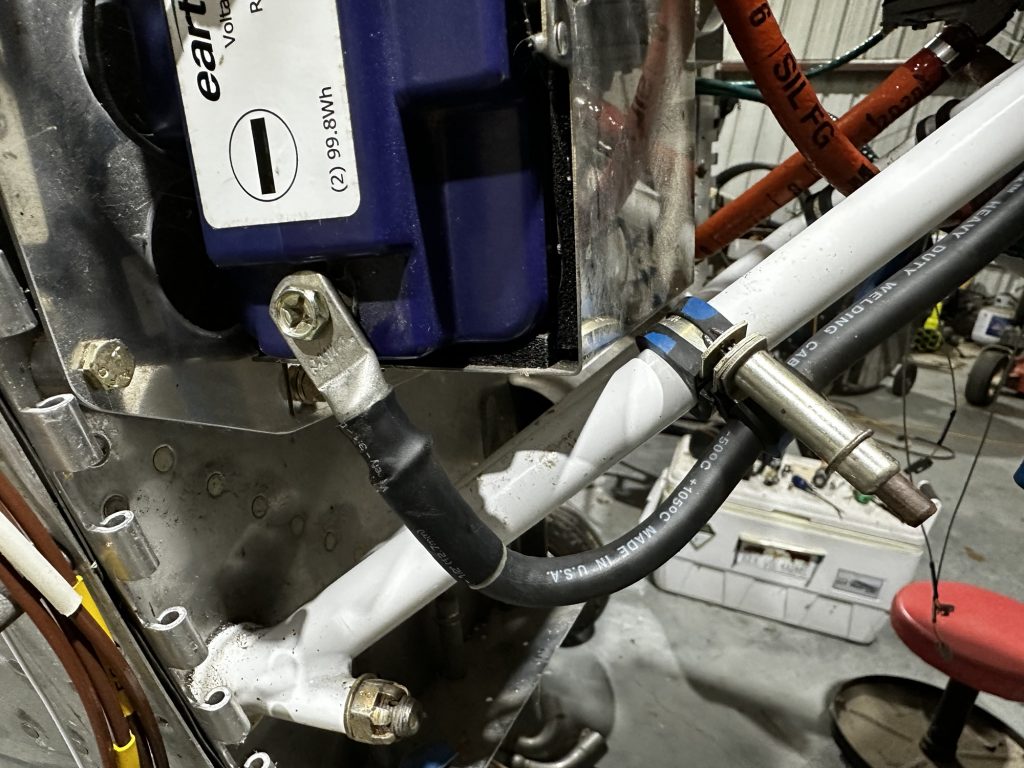
Next up I got to fish all the harness wires through the fitting – very carefully, so as to not disturb the tape flags on each wire. I’d really rather not have to trace a circuit to figure out what a wire was if I lost a flag. I also went ahead and put the outer firesleeve stub in place.
The final bit of work for the day was to fish the CPI2 ignition harness wires through the fitting. Since these are pre-terminated on the firewall side, it’s necessary to fish them back into the cabin, and thence into the area of the avionics shelf. This was also a slightly tense moment, as I got to find out if the harness lengths I estimated when ordering the system were going to work. The good news is that everything reaches, though there’s a lot less slack than I might have expected.
As usual for wiring in progress, it looks messy now, but soon the routing and tidying will begin:

Next, I think I need to finish cleaning the avionics shelf and get it reinstalled in the fuse. That’s so I can finish terminated the CPI2 harness, then work on lacing that part of the harness up to the firewall. Then I’ll know exactly how much slack I have up front to start routing wires around to sensors and so forth.