So, in a development that will probably be completely unsurprising to folks following this build, I found myself unable to leave well enough alone with those pin covers, which led to some work sessions over the past few days.
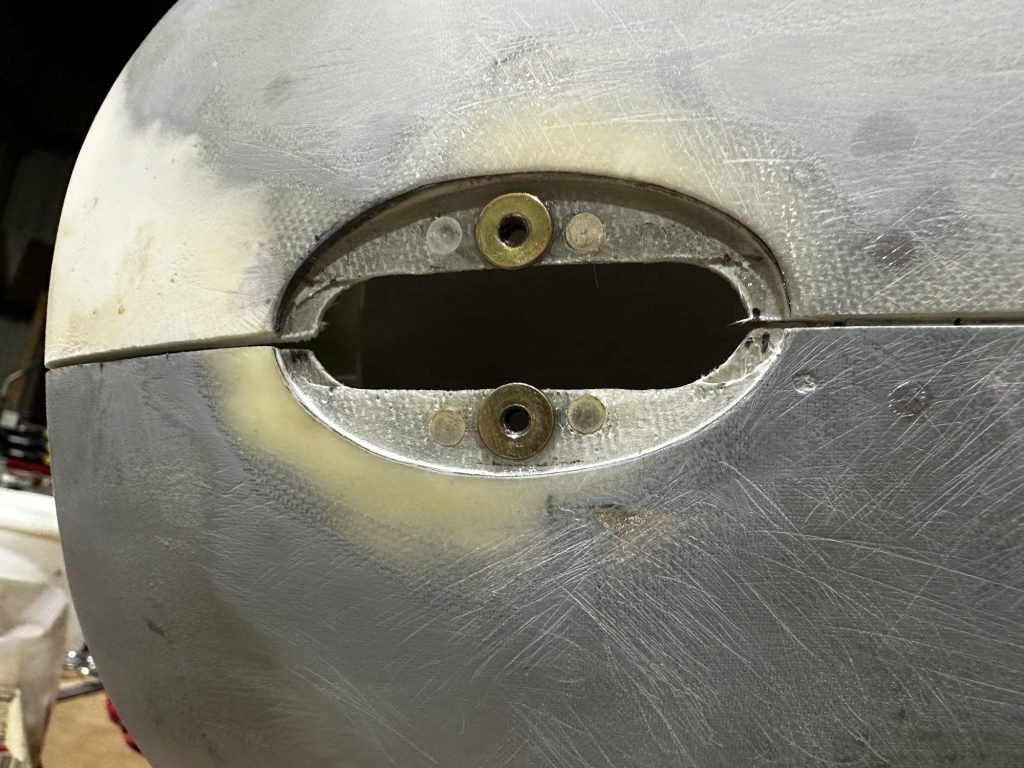
First up, as mentioned previously, I tried spacing the covers out a bit with washers. I liked the way this placed them against the cowl, so I decided to keep that spacing. As a first step, I attached each washer in place with a bit of superglue, using the screws to hold them in place while the glue dried. That gave me “permanent” spacers to start with:
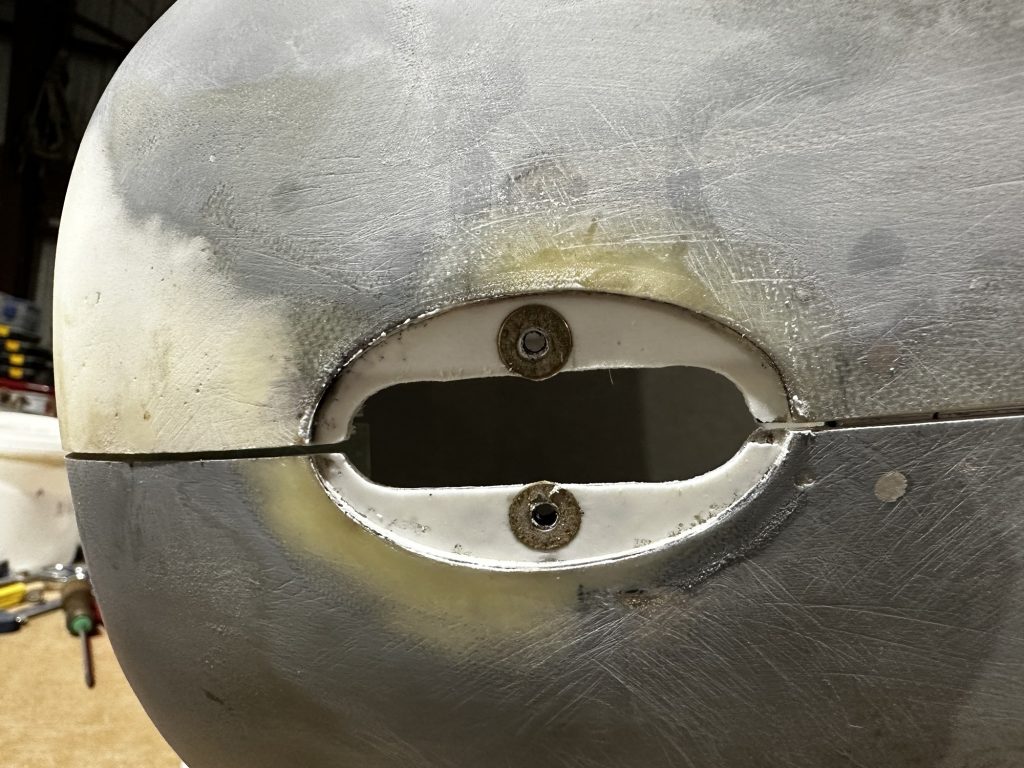
I wanted to shoer up the rest of the area back there, though – with just the washers in place, the covers were able to rock around a bit, since they were now only making contact on the washers themselves. I fixed this with some good old-fashioned micro filler; I mixed up a match, smeared it around the edges of the cover recess, and then installed the dummy covers in place, which squeezed the micro to cover the entire mating surface. The next day I opened the cut lines again, cleaned off the excess, and ended up with a nice mating surface:
From there, I started fiddling with the gaps some more. At first I thought I might have found a way to clean up the gaps without using more filler – I started playing around with working sandpaper between the edges of the covers and the cowl, and carefully removing material that way. Unfortunately, I eventually decided this wasn’t going to work. First off, it would take me an absurd amount of time to open the gaps up that way, but more importantly, the largest gap was big enough that if I evened everything to match, I’d have an ugly setup all around.
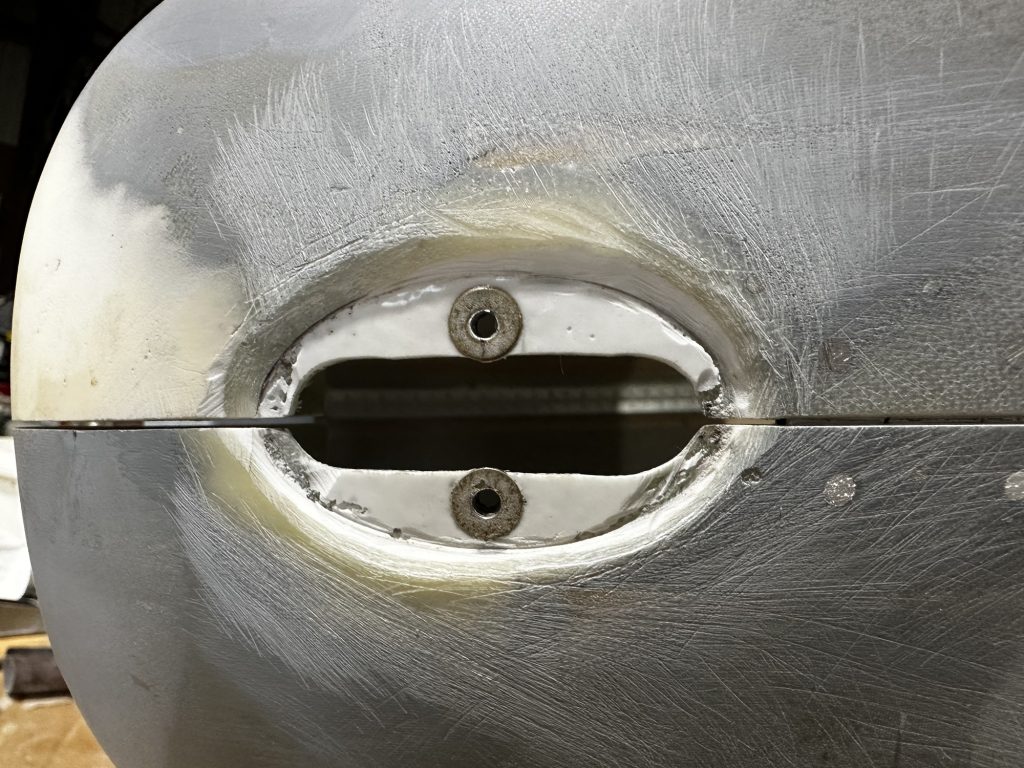
So I resigned myself to using more micro filler here. I experimented a bit with using electrical tape around the covers to allow for molding the micro with a decent gap from the get-go, and it seemed to work out fairly well. Then I got the Dremel out and committed to the task by sanding a bevel all the way around the cover openings on both sides. I also rough-sanded the area around the cover to ensure the filler would adhere; since I’ll be blending a contour here, I wanted to carry the filler an inch or so away from the opening in all directions.
Sanding that bevel also meant messing up that nice micro layer I added before, but no worry, it’s going to get replaced:
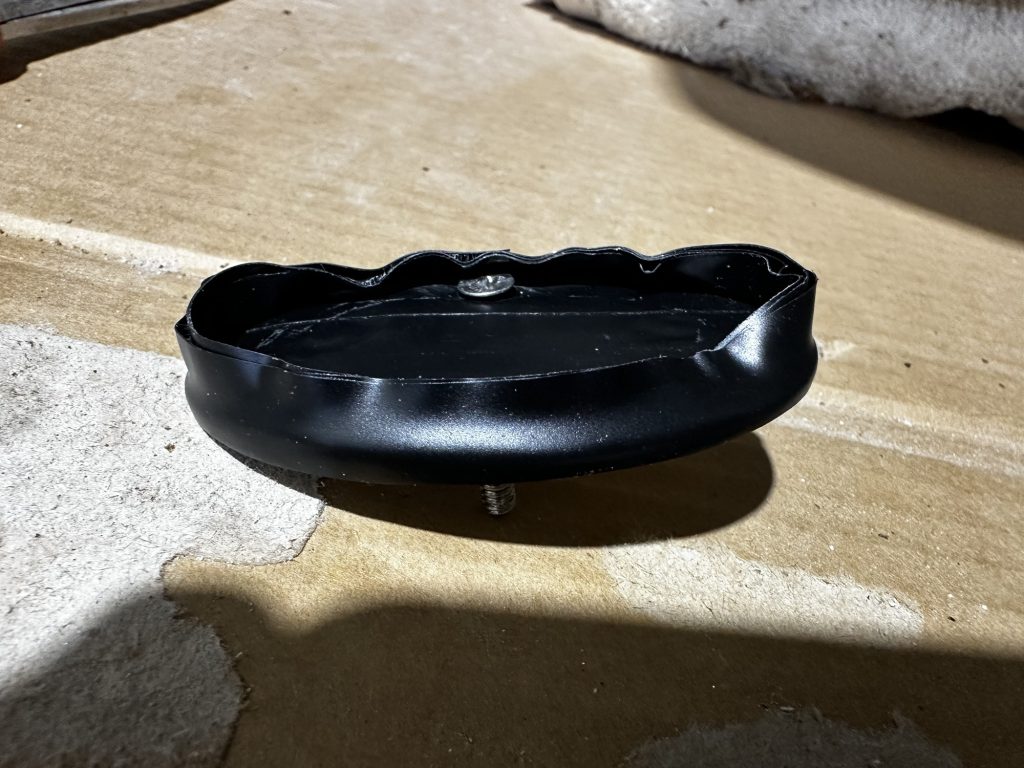
Next was final-prepping the covers. The backside has a layer of clear packing tape, while the front is protected by electrical tape – this will protect the covers when I’m contour-sanding this later on. Finally, I wrapped I’ve layers of tape around the edge of each cover, then carefully trimmed off the excess on the backside. I left the excess on the front, figuring it would provide a nice surface to push the filler up against:
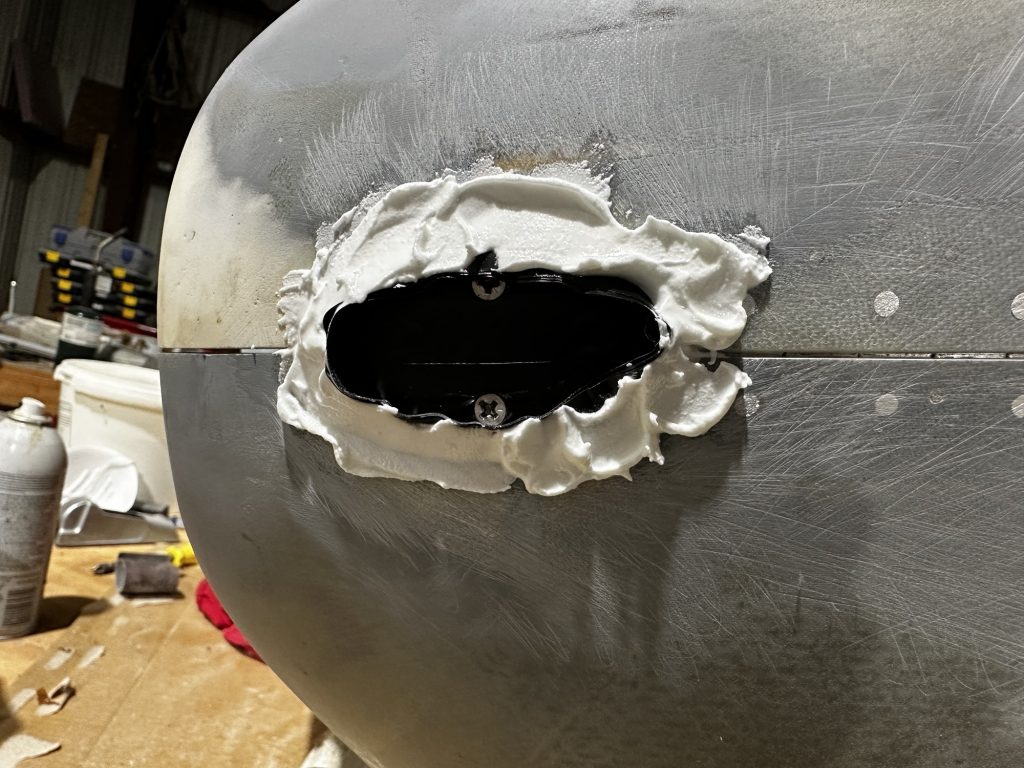
After that, it was pretty much repeating the previous procedure; wiping micro around the edges of the openings, then installing the taped-up covers. This time, to accommodate the contour sanding, I added more micro around the perimeter, pushed up against that extra tape. Like any good application of filler, the immediate aftermath looks awful. I’ve come to accept that this is just the way it is:
One thing I’ve learned to make the micro mess a little better is ti wait about half an hour, then use a gloved finger to pack the filler down and smooth it out a bit. This makes things a little easier for sanding, and also allows me to fine-tune the distribution of the stuff. When the filler is fresh, there comes a point where the more I try to spread it, the more it just adheres to the popsicle stick I’m using and makes things worse. But once it’s set up just a bit, I can move it around with a little more finesse.
Another item I’ve been poking at this week is the oil door, which will be the next item to address. I’ve always intended to go with a hidden hinge – a fairly common modification – but for some reason I had the idea in my head to fabricate my own instead of just buying the $40 unit from Spruce. For once, I did the smart thing here – I started drawing up a design for my own hinge, trying to figure out the geometry, then after about half an hour realized that this was a dumb thing to burn a lot of extra time on. Prefab hidden hinge it is!
The other oil door consideration is how to latch the door. The plans method is just a couple quarter-turn fasteners, which I don’t like at all. I’d been considering using Hartwell latches, or the common push-button Camlock type seen on a lot of certified aircraft. But after doing some research and poking around, I’ve decided to go with a hidden latch as well. I got the idea from this build log and I like the simplicity. It uses simple piano hinge halves, with a Bowden cable acting as the hinge pin. The cable extends to the town inlet up front, and the door is unlatched by simply pulling the cable out about 6”.
This approach means I don’t have to make careful cutouts in the door for a latch system, in addition to making things look nice and slick with no visible hardware. I also like that it’s pretty fail-safe – an oil door that gets stuck closed is a big problem, because removing the cowl requires reaching in through the oil door to pull cowl pins. Some of the other, more complex hidden-latch setups would make me concerned about a possible failure becoming a real annoyance. The cable setup should be pretty bulletproof.